Note
Access to this page requires authorization. You can try signing in or changing directories.
Access to this page requires authorization. You can try changing directories.
This tutorial demonstrates how to add agentic capability to an existing data-driven ASP.NET Core CRUD application. It does this using two different approaches: Microsoft Agent Framework and Foundry Agent Service.
If your web application already has useful features, like shopping, hotel booking, or data management, it's relatively straightforward to add agent functionality to your web application by wrapping those functionalities as tools (for Microsoft Agent Framework) or as an OpenAPI endpoint (for Foundry Agent Service). In this tutorial, you start with a simple to-do list app. By the end, you'll be able to create, update, and manage tasks with an agent in an App Service app.
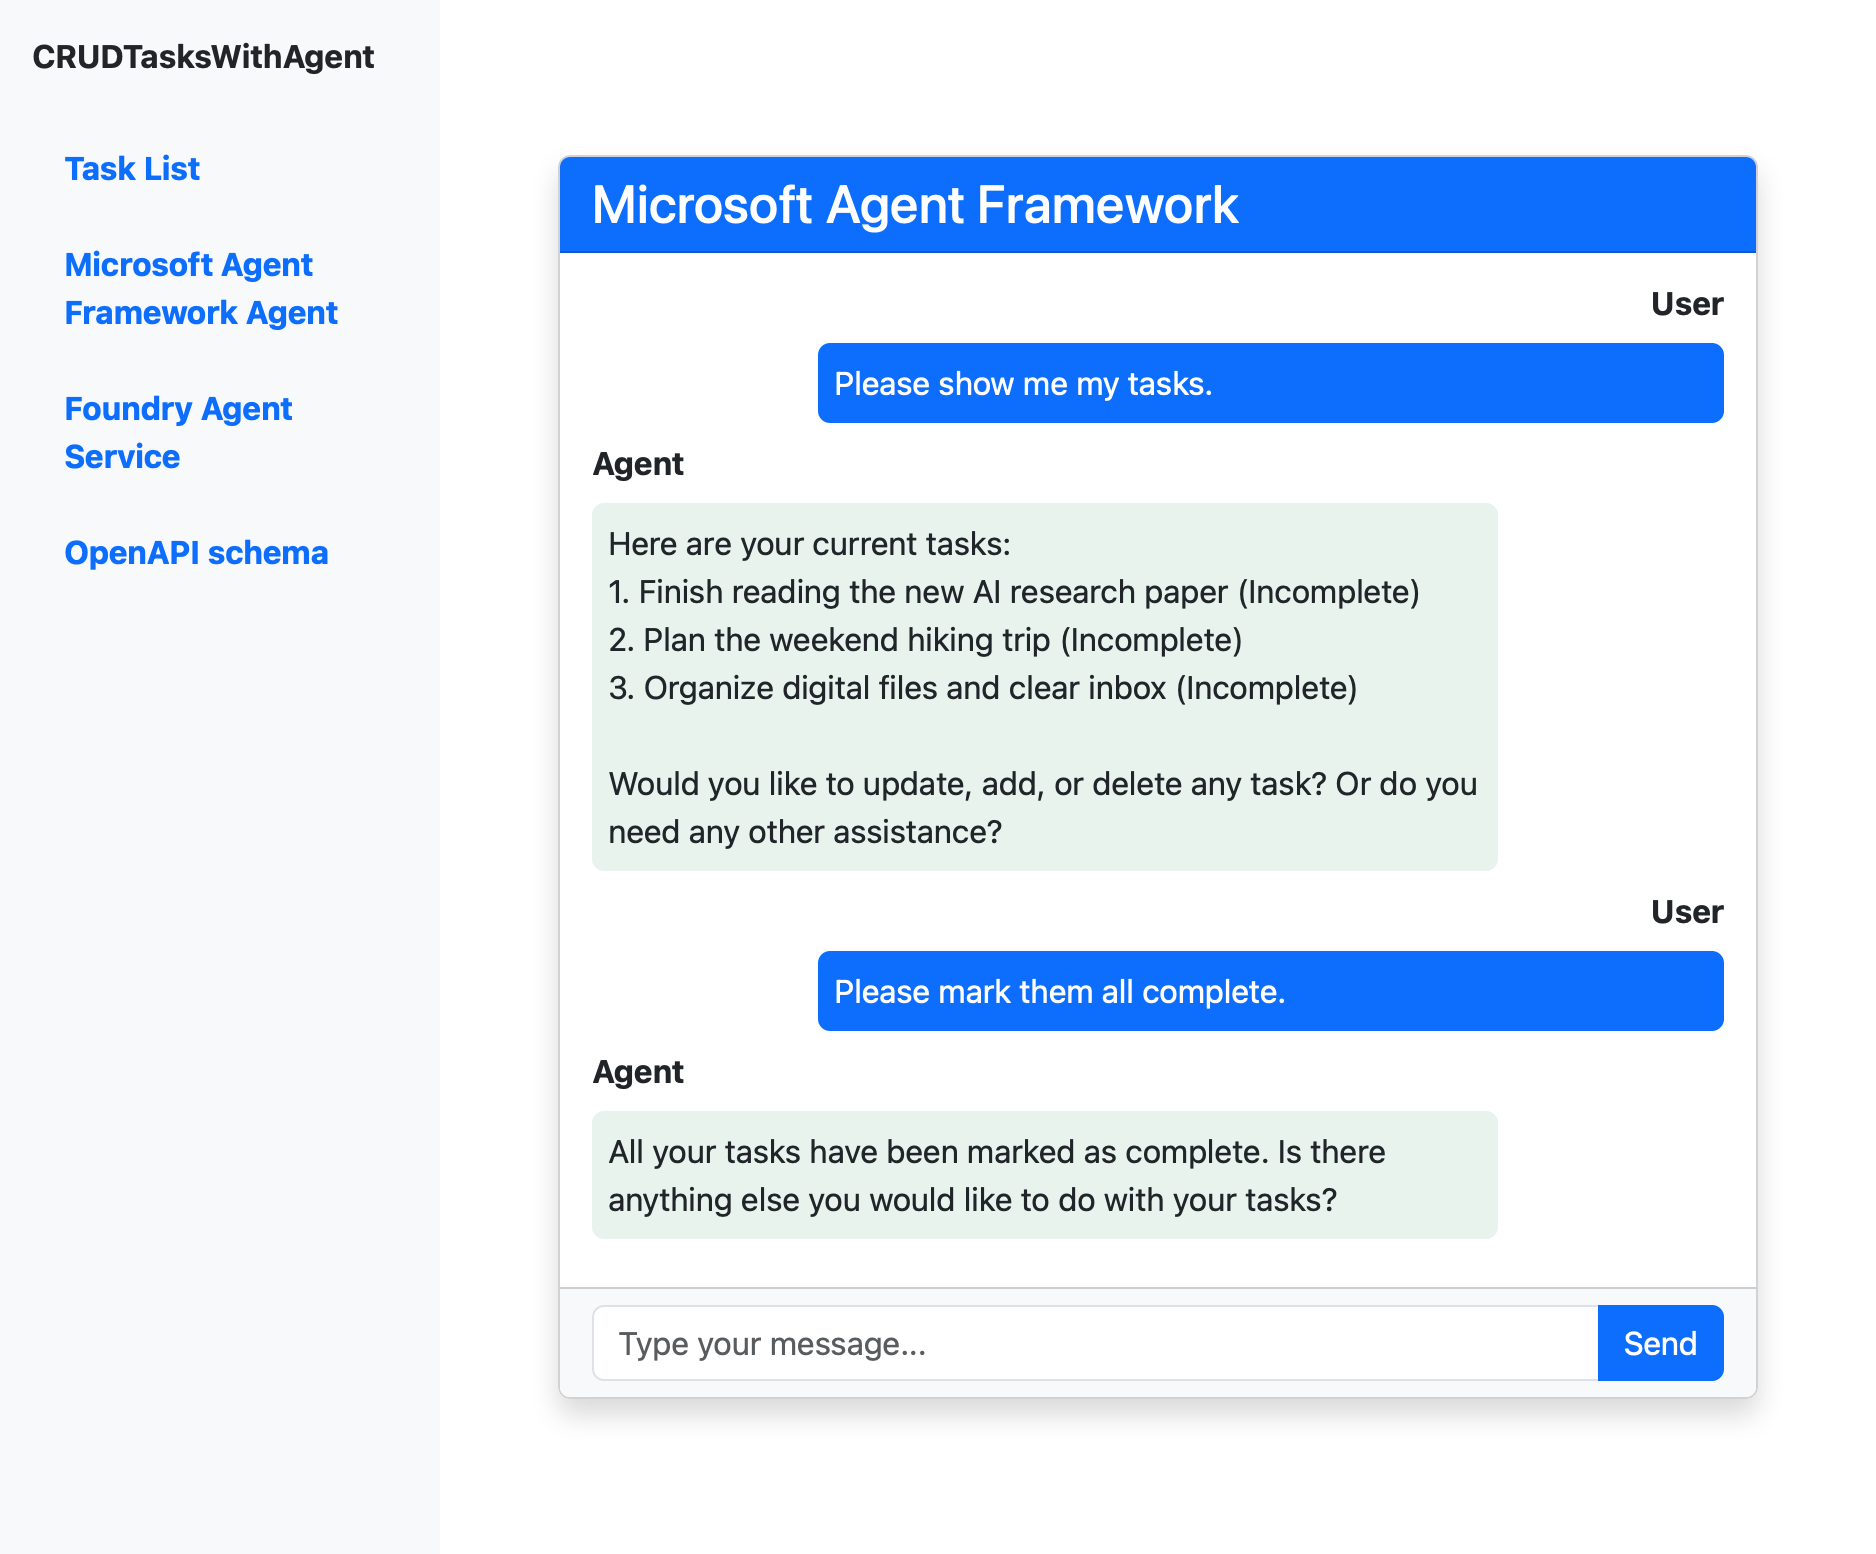

Both Microsoft Agent Framework and Foundry Agent Service enable you to build agentic web applications with AI-driven capabilities. The following table shows some of the considerations and trade-offs:
| Consideration | Microsoft Agent Framework | Foundry Agent Service |
|---|---|---|
| Performance | Fast (runs locally) | Slower (managed, remote service) |
| Development | Full code, maximum control | Low code, rapid integration |
| Testing | Manual/unit tests in code | Built-in playground for quick testing |
| Scalability | App-managed | Azure-managed, autoscaled |
| Security guardrails | Custom implementation required | Built-in content safety and moderation |
| Identity | Custom implementation required | Built-in agent ID and authentication |
| Enterprise | Custom integration required | Built-in Microsoft 365/Teams deployment and Microsoft 365 integrated tool calls. |
In this tutorial, you learn how to:
- Convert existing app functionality into tools for Microsoft Agent Framework.
- Add the tools to a Microsoft Agent Framework agent and use it in a web app.
- Convert existing app functionality into an OpenAPI endpoint for Foundry Agent Service.
- Call a Foundry agent in a web app.
- Assign the required permissions for managed identity connectivity.
Prerequisites
- An Azure account with an active subscription - Create an account for free.
- GitHub account to use GitHub Codespaces - Learn more about GitHub Codespaces.
Open the sample with Codespaces
The easiest way to get started is by using GitHub Codespaces, which provides a complete development environment with all required tools preinstalled.
Navigate to the GitHub repository at https://github.com/Azure-Samples/app-service-agentic-semantic-kernel-ai-foundry-agent.
Select the Code button, select the Codespaces tab, and select Create codespace on main.
Wait a few moments for your Codespace to initialize. When ready, you'll see a fully configured development environment in your browser.
Run the application locally:
dotnet runWhen you see Your application running on port 5280 is available, select Open in Browser and add a few tasks.
Review the agent code
Both approaches use the same implementation pattern, where the agent is initialized as a service (in Program.cs) in a provider and injected into the respective Blazor component.
The AgentFrameworkProvider is initialized in Services/AgentFrameworkProvider.cs. The initialization code does the following:
- Creates an
IChatClientfrom Azure OpenAI using theAzureOpenAIClient. - Gets the
TaskCrudToolinstance that encapsulates the functionality of the CRUD application (in Tools/TaskCrudTool.cs). TheDescriptionattributes on the tool methods help the agent determine how to call them. - Creates an AI agent using
CreateAIAgent()with instructions and tools registered viaAIFunctionFactory.Create(). - Creates a thread for the agent to persist conversation across navigation.
// Create IChatClient
IChatClient chatClient = new AzureOpenAIClient(
        new Uri(endpoint),
        new DefaultAzureCredential())
    .GetChatClient(deployment)
    .AsIChatClient();

// Get TaskCrudTool instance from service provider
var taskCrudTool = sp.GetRequiredService<TaskCrudTool>();

// Create agent with tools
var agent = chatClient.CreateAIAgent(
    instructions: @"You are an agent that manages tasks using CRUD operations.
        Use the provided functions to create, read, update, and delete tasks.
        Always call the appropriate function for any task management request.
        Don't try to handle any requests that are not related to task management.
        When handling requests, if you're missing any information, don't make it up but prompt the user for it instead.",
    tools:
    [
        AIFunctionFactory.Create(taskCrudTool.CreateTaskAsync),
        AIFunctionFactory.Create(taskCrudTool.ReadTasksAsync),
        AIFunctionFactory.Create(taskCrudTool.UpdateTaskAsync),
        AIFunctionFactory.Create(taskCrudTool.DeleteTaskAsync)
    ]);

// Create thread for this scoped instance (persists across navigation)
var thread = agent.GetNewThread();

return (agent, thread);
Each time the user sends a message, the Blazor component (in Components/Pages/AgentFrameworkAgent.razor) calls Agent.RunAsync() with the user input and the agent thread. The agent thread keeps track of the chat history.
var response = await this.Agent.RunAsync(sentInput, this.agentThread);
Deploy the sample application
The sample repository contains an Azure Developer CLI (AZD) template, which creates an App Service app and deploys your sample application. The App Service system-assigned managed identity is retained for outbound Azure AI calls. A separate user-assigned managed identity and federated identity credential let App Service authentication act as the generated Microsoft Entra application without a client secret.
In the terminal, sign in to Azure by using Azure Developer CLI:
azd auth loginFollow the instructions to complete the authentication process.
Deploy the Azure App Service app by using the AZD template:
azd upWhen prompted, give the following answers:
Question Answer Enter a new environment name: Type a unique name. Select an Azure Subscription to use: Select the subscription. Pick a resource group to use: Select Create a new resource group. Select a location to create the resource group in: Select Sweden Central. Enter a name for the new resource group: Type Enter. In the AZD output, find the URL of your app and navigate to it in the browser. Also copy the Foundry OpenAPI managed identity audience value for later. The output looks like this:
 Deploying services (azd deploy)

   (✓) Done: Deploying service web
   - Endpoint: <URL>

 Foundry OpenAPI managed identity audience:
     api://<generated-client-id>
When Microsoft prompts you, sign in by using an account in the deployment tenant, and verify that the task list loads.
In the same authenticated browser, append
/openapi/v1.jsonto the App Service endpoint. Copy or save the generated OpenAPI schema for later.Note
App Service authentication returns an HTTP 302 redirect for unauthenticated browser requests. This sample contains both a browser UI and APIs, so the redirect provides a usable sign-in experience. API-only apps commonly use HTTP 401 instead.
Create and configure the Microsoft Foundry resource
In the Foundry portal, create a project.
Deploy a model of your choice (see Microsoft Foundry Quickstart: Create resources).
From top of the model playground, copy the model name.
On the home page, copy the Azure OpenAI endpoint for later.
Assign required permissions
In the Foundry portal, select Manage in the top menu.
In Project details, select the Parent resource for your project, and then select Open in Azure portal.
From the Azure portal, you can assign role-based access for the resource.
Add the following role for both the App Service app's managed identity and the user you use with
az login:Target resource Required role Needed for Foundry Cognitive Services OpenAI User The chat completion service in Microsoft Agent Framework. For instructions, see Assign Azure roles using the Azure portal.
Configure connection variables in your sample application
Open appsettings.json. Using the values you copied earlier from the Foundry portal, configure the following variables:
Variable Description AzureOpenAIEndpointAzure OpenAI endpoint (copied from the Foundry portal home page). ModelDeploymentModel name in the deployment (copied from the model playground in the new Foundry portal). Note
To keep the tutorial simple, you'll use these variables in appsettings.json instead of overwriting them with app settings in App Service.
Note
To keep the tutorial simple, you'll use these variables in appsettings.json instead of overwriting them with app settings in App Service.
Sign in to Azure with the Azure CLI:
az loginThis allows the Azure Identity client library in the sample code to receive an authentication token for the logged in user. Remember that you added the required role for this user earlier.
Run the application locally:
dotnet runWhen you see Your application running on port 5280 is available, select Open in Browser.
Validate both pivots separately:
- Microsoft Agent Framework: Select Microsoft Agent Framework Agent, and ask the agent to create a task. Microsoft Agent Framework calls the in-process task tool.
- Foundry Agent Service: Select Foundry Agent Service, and ask the agent to create a task. The remote Foundry agent calls the deployed, protected
/api/tasksendpoint with managed identity.
The task that the Foundry agent creates appears in the deployed App Service instance, not the local in-memory database. The Foundry OpenAPI tool always uses the server URL embedded in the OpenAPI schema.
Back in the GitHub codespace, deploy your app changes.
azd upNavigate to the deployed application again and test the chat agents.
Frequently asked questions
How do I add retrieval augmented generation (RAG) to the Foundry agent?
This guidance applies to the Foundry Agent Service path in this tutorial. It doesn't change the LangGraph, Semantic Kernel, or Microsoft Agent Framework implementations shown in the other tab.
Create or select a Foundry IQ knowledge base, and then connect the knowledge base to the Foundry Agent Service agent. The connection is exposed to the agent as a managed MCP knowledge tool.
The App Service code continues to invoke the same agent by name through its existing Foundry client and agent_reference. The web app doesn't need a direct Azure AI Search integration or its own MCP client. If the UI displays sources, process the citation annotations returned by the agent.
Clean up resources
When you're done with the application, you can delete the App Service resources to avoid incurring further costs:
azd down --purge
Then, delete the Foundry resource if you created it separately.