Note
Access to this page requires authorization. You can try signing in or changing directories.
Access to this page requires authorization. You can try changing directories.
The PostgreSQL extension for Visual Studio Code lets you create new PostgreSQL servers without leaving your editor. You can spin up a local PostgreSQL container with Docker or Podman for development and testing, provision a fully managed Azure Database for PostgreSQL flexible server for production workloads, or create an Azure HorizonDB (Preview) cluster for high-scale scenarios.
Prerequisites
- Visual Studio Code with the extension installed.
- For a local container server: Docker or Podman is installed and available to the extension host. If you rely on Container Tools settings, verify
containers.containerClientorcontainers.containerCommand. Otherwise, the extension detects Docker first and then Podman. - For an Azure server: An Azure account with an active subscription. If you don't have one, create an account for free.
- For an Azure HorizonDB (Preview) cluster: An Azure account with an active subscription and access to Azure HorizonDB (Preview).
Open the Create New Server hub
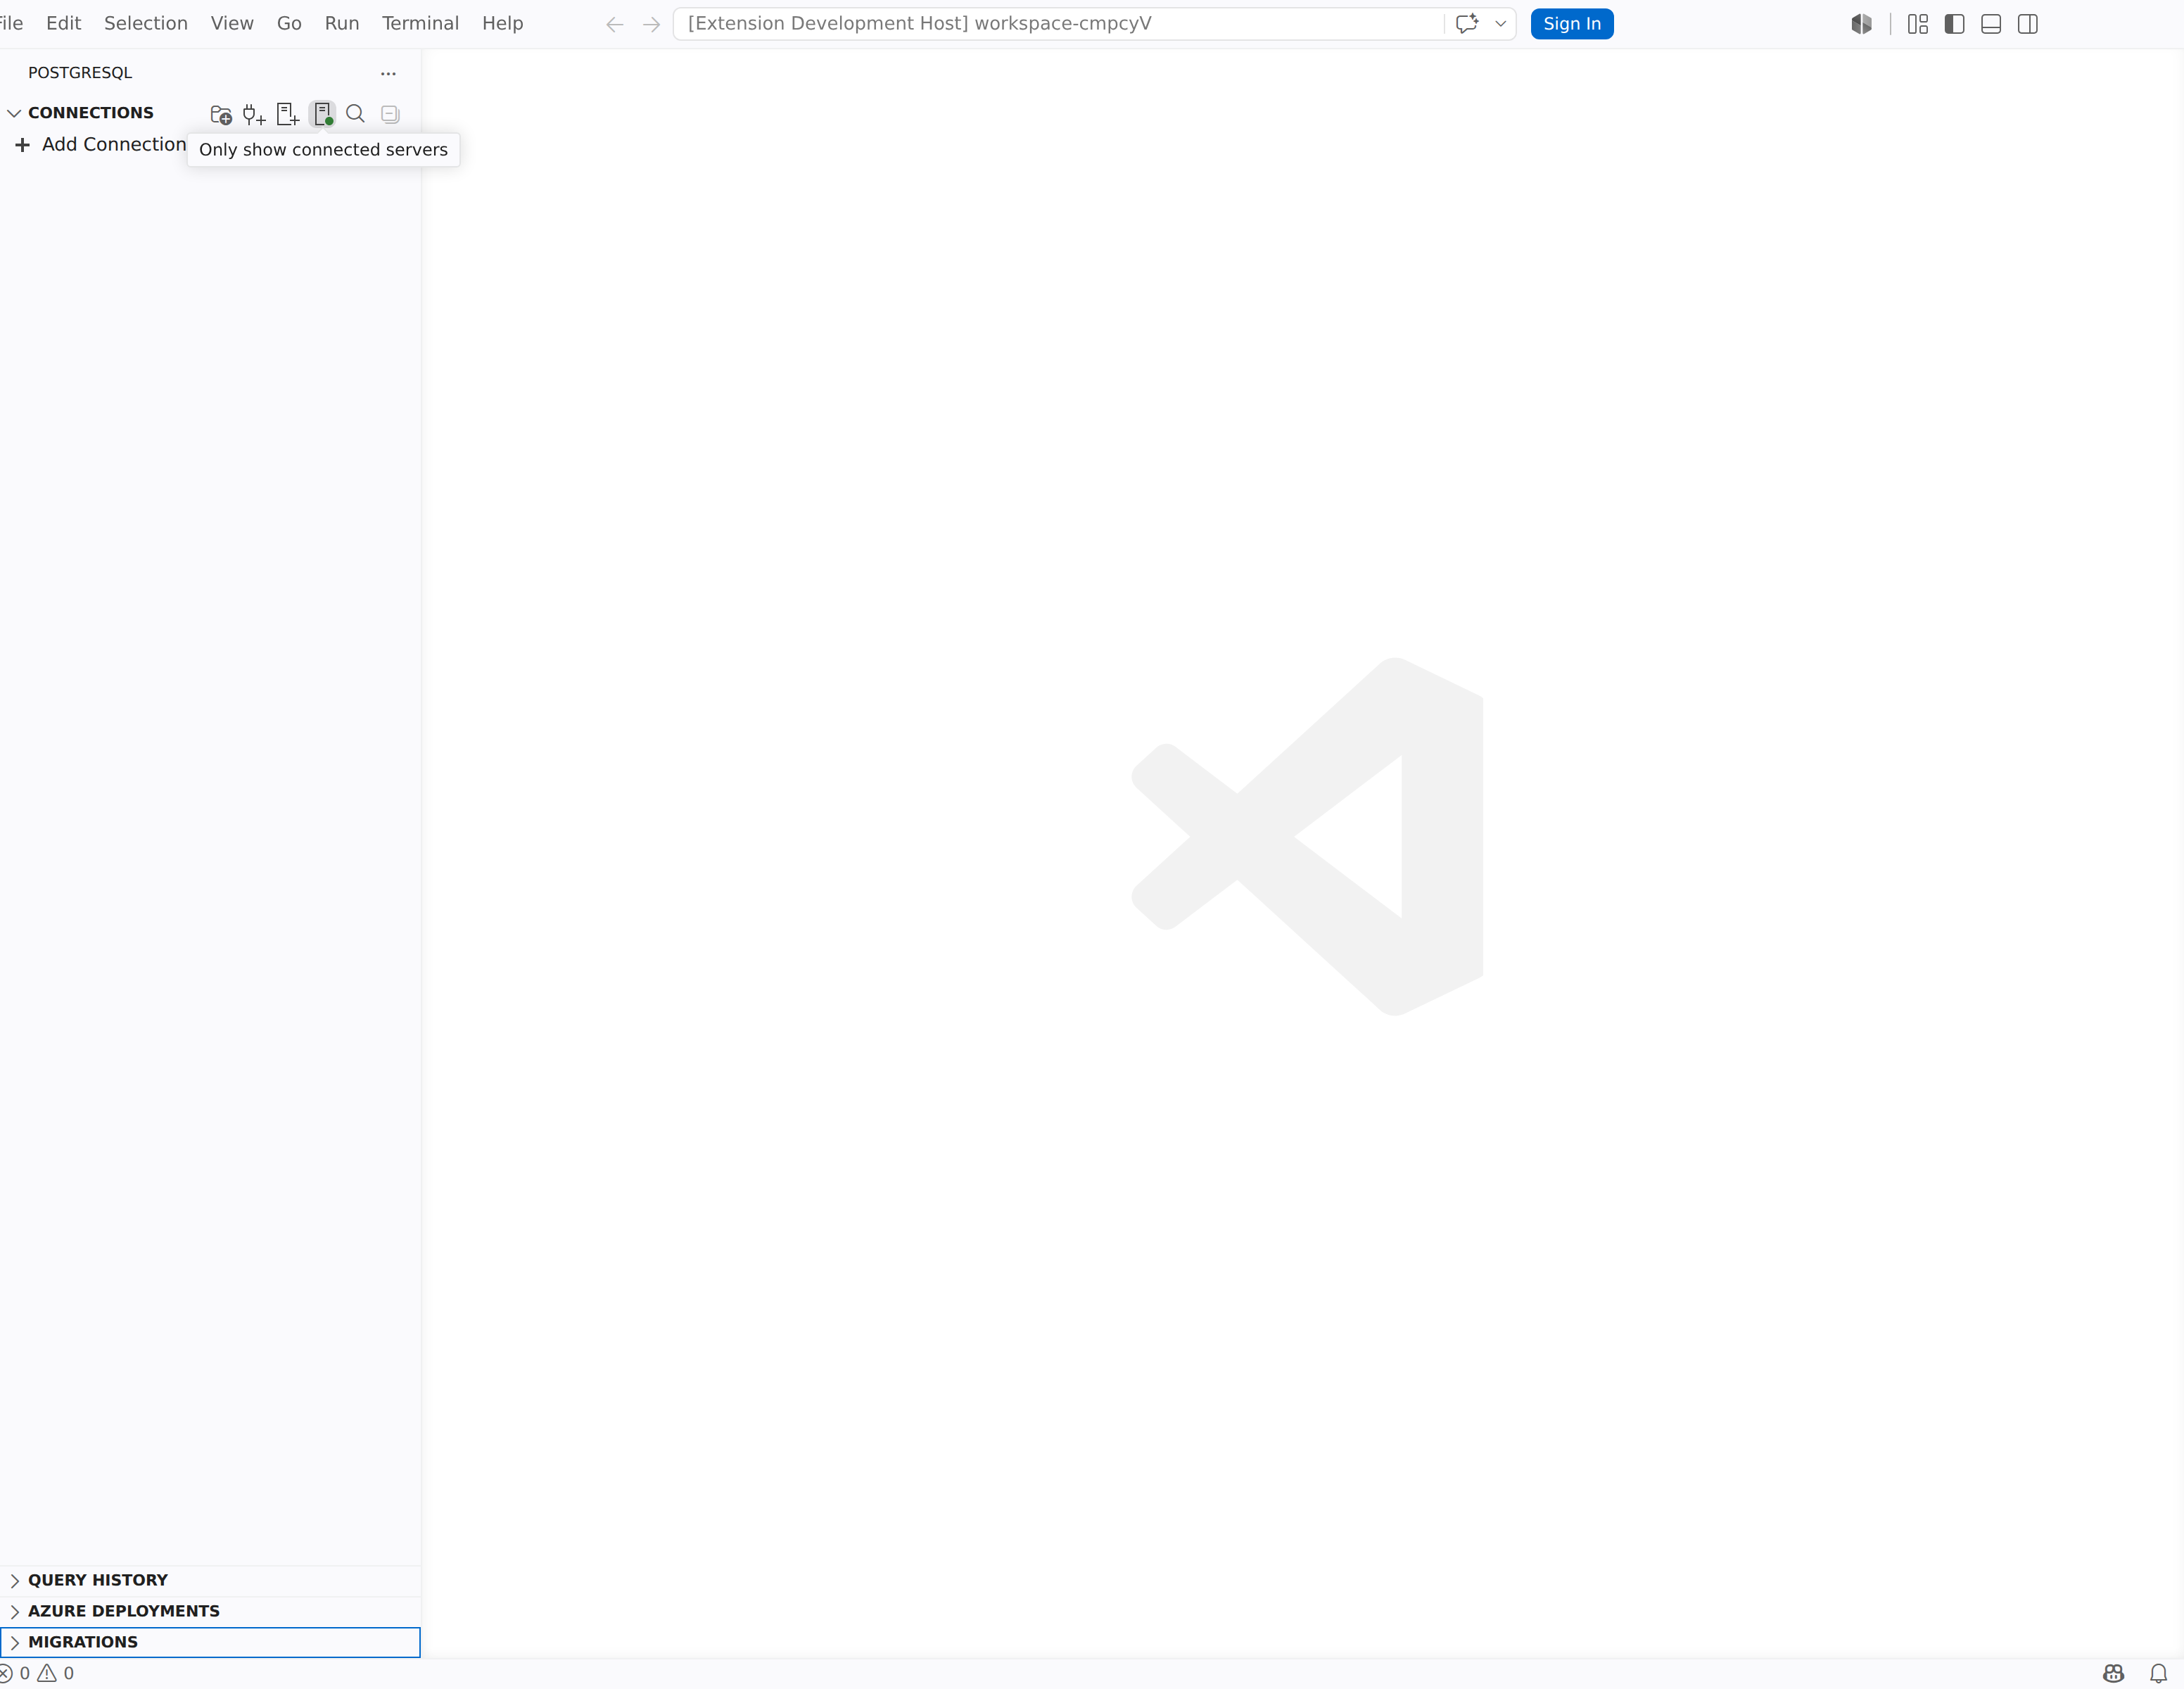
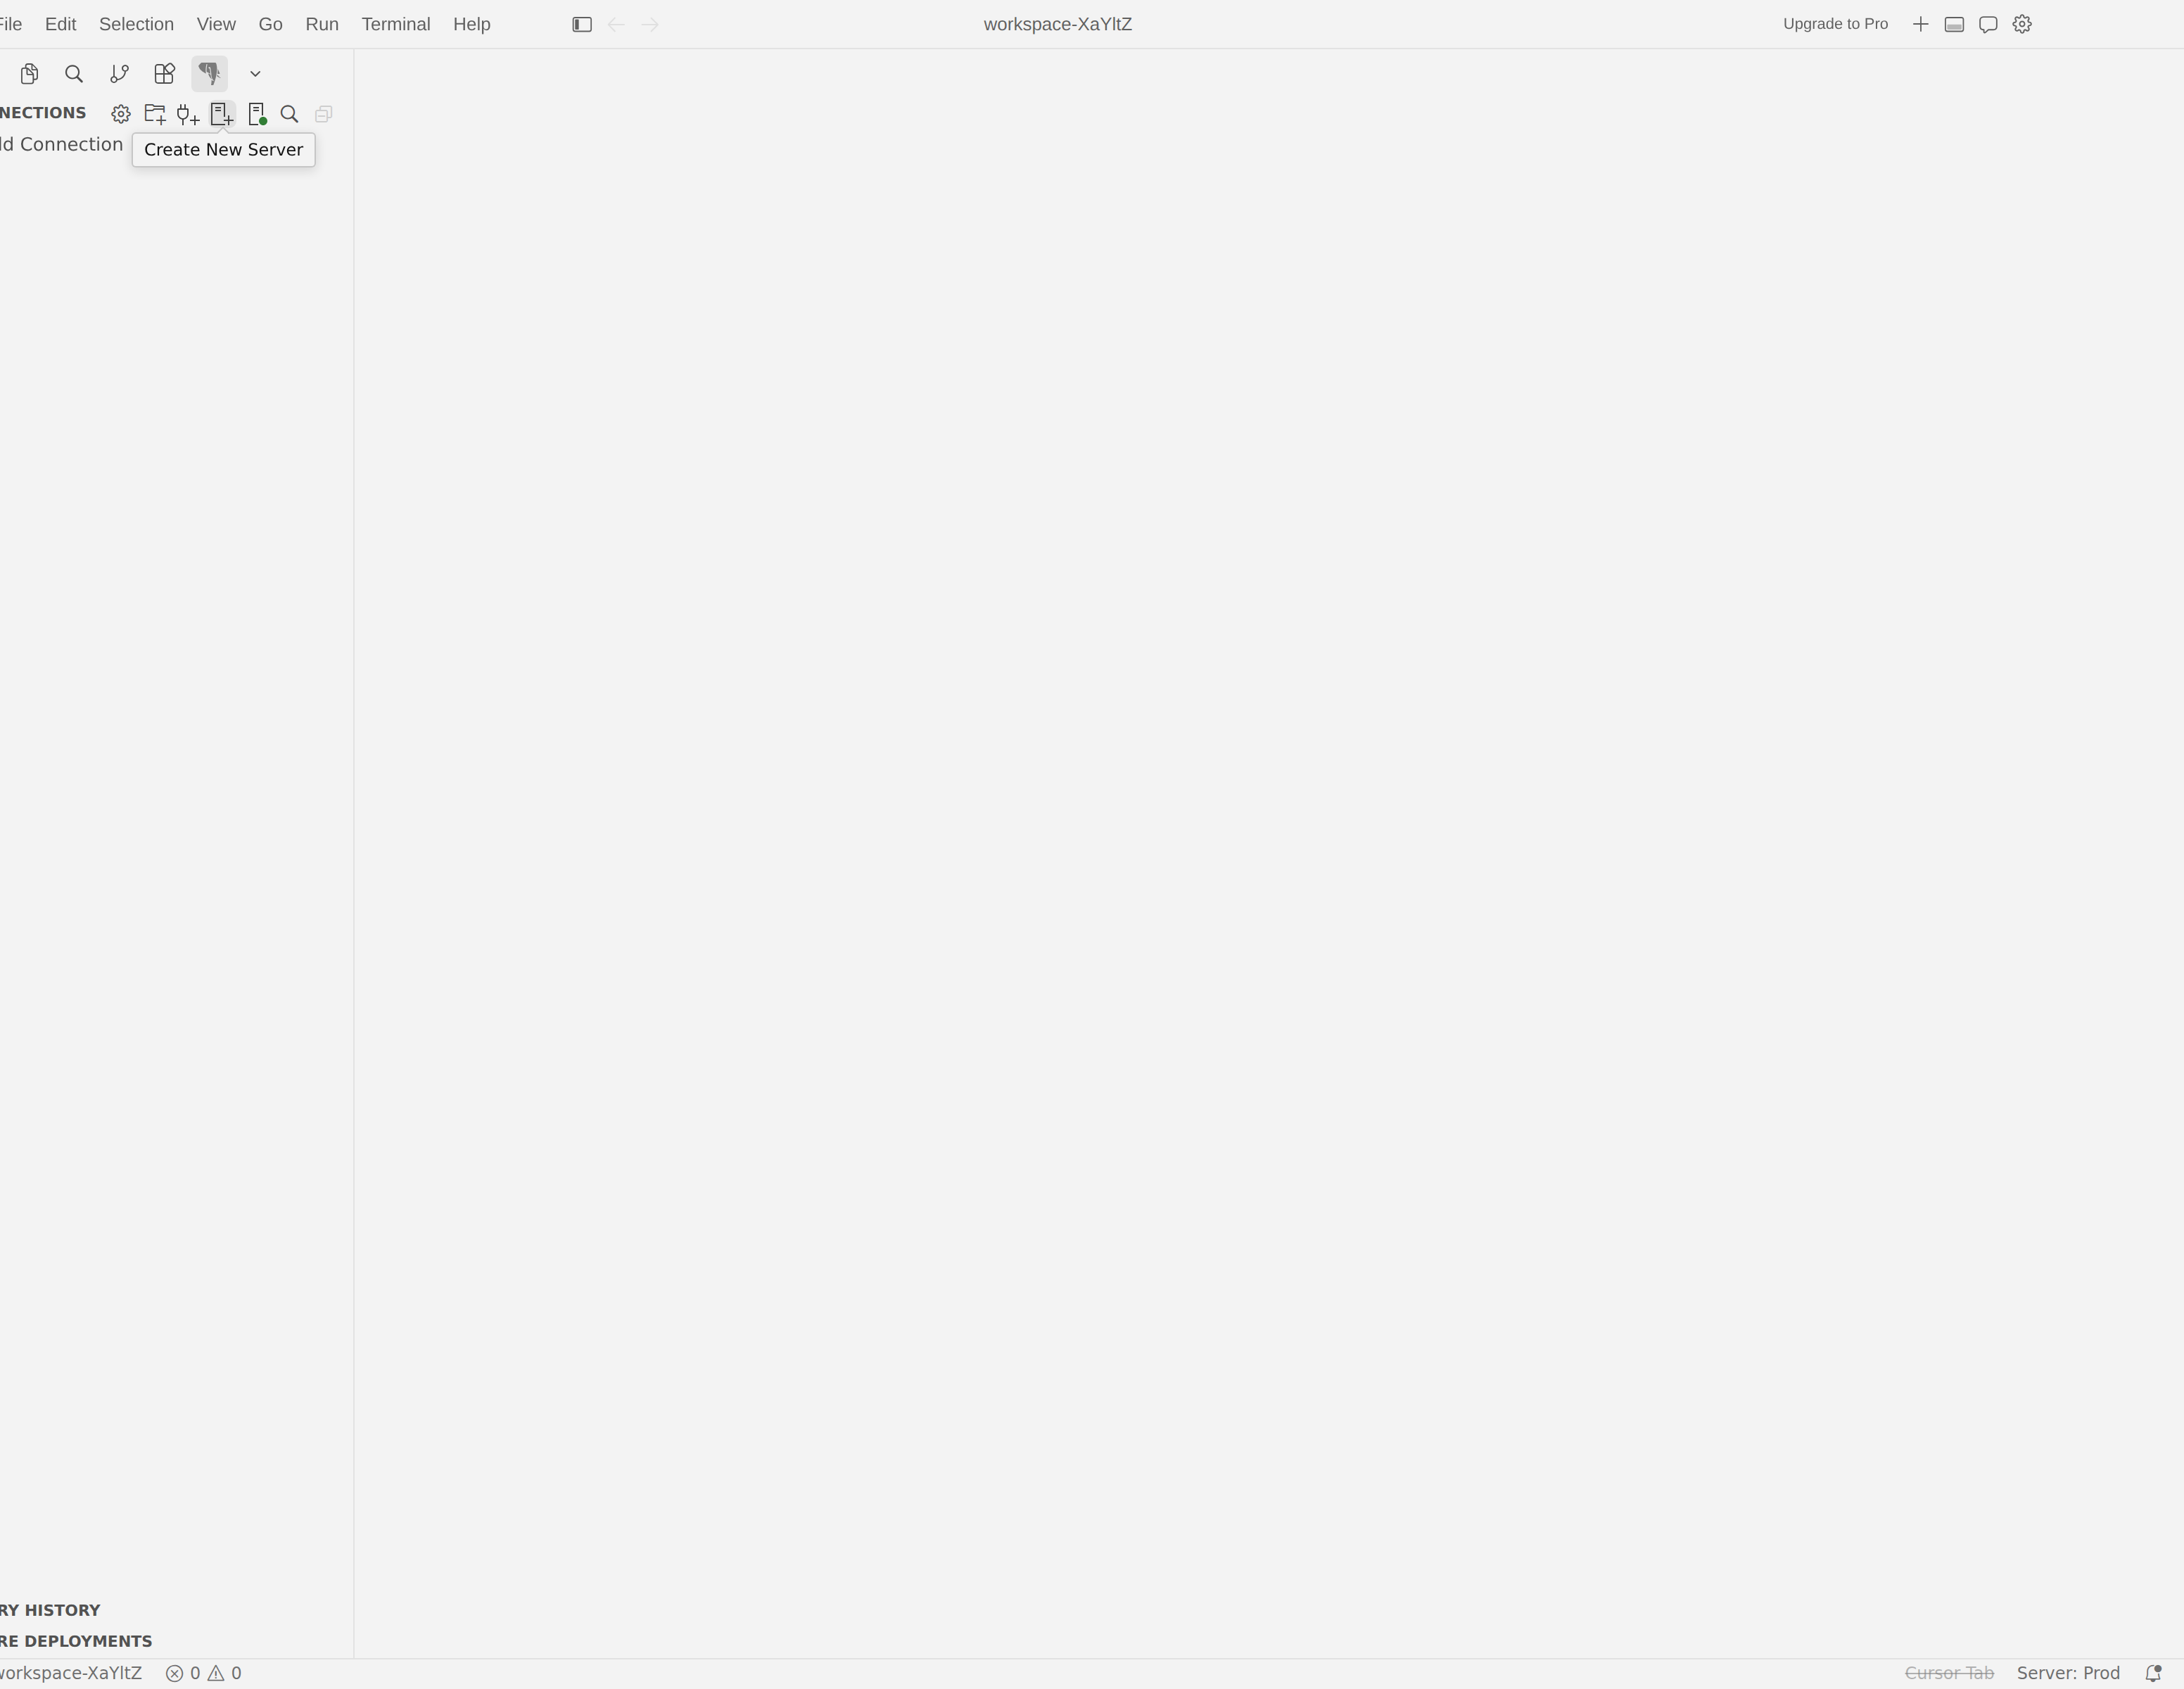
In the PostgreSQL Activity Bar container, locate the Connections tree.
Select the Create New Server button at the top of the Connections tree, or run
pgsql.createNewServerfrom the Command Palette.You can also right-click a server group in the Connections tree and select Create New Server.
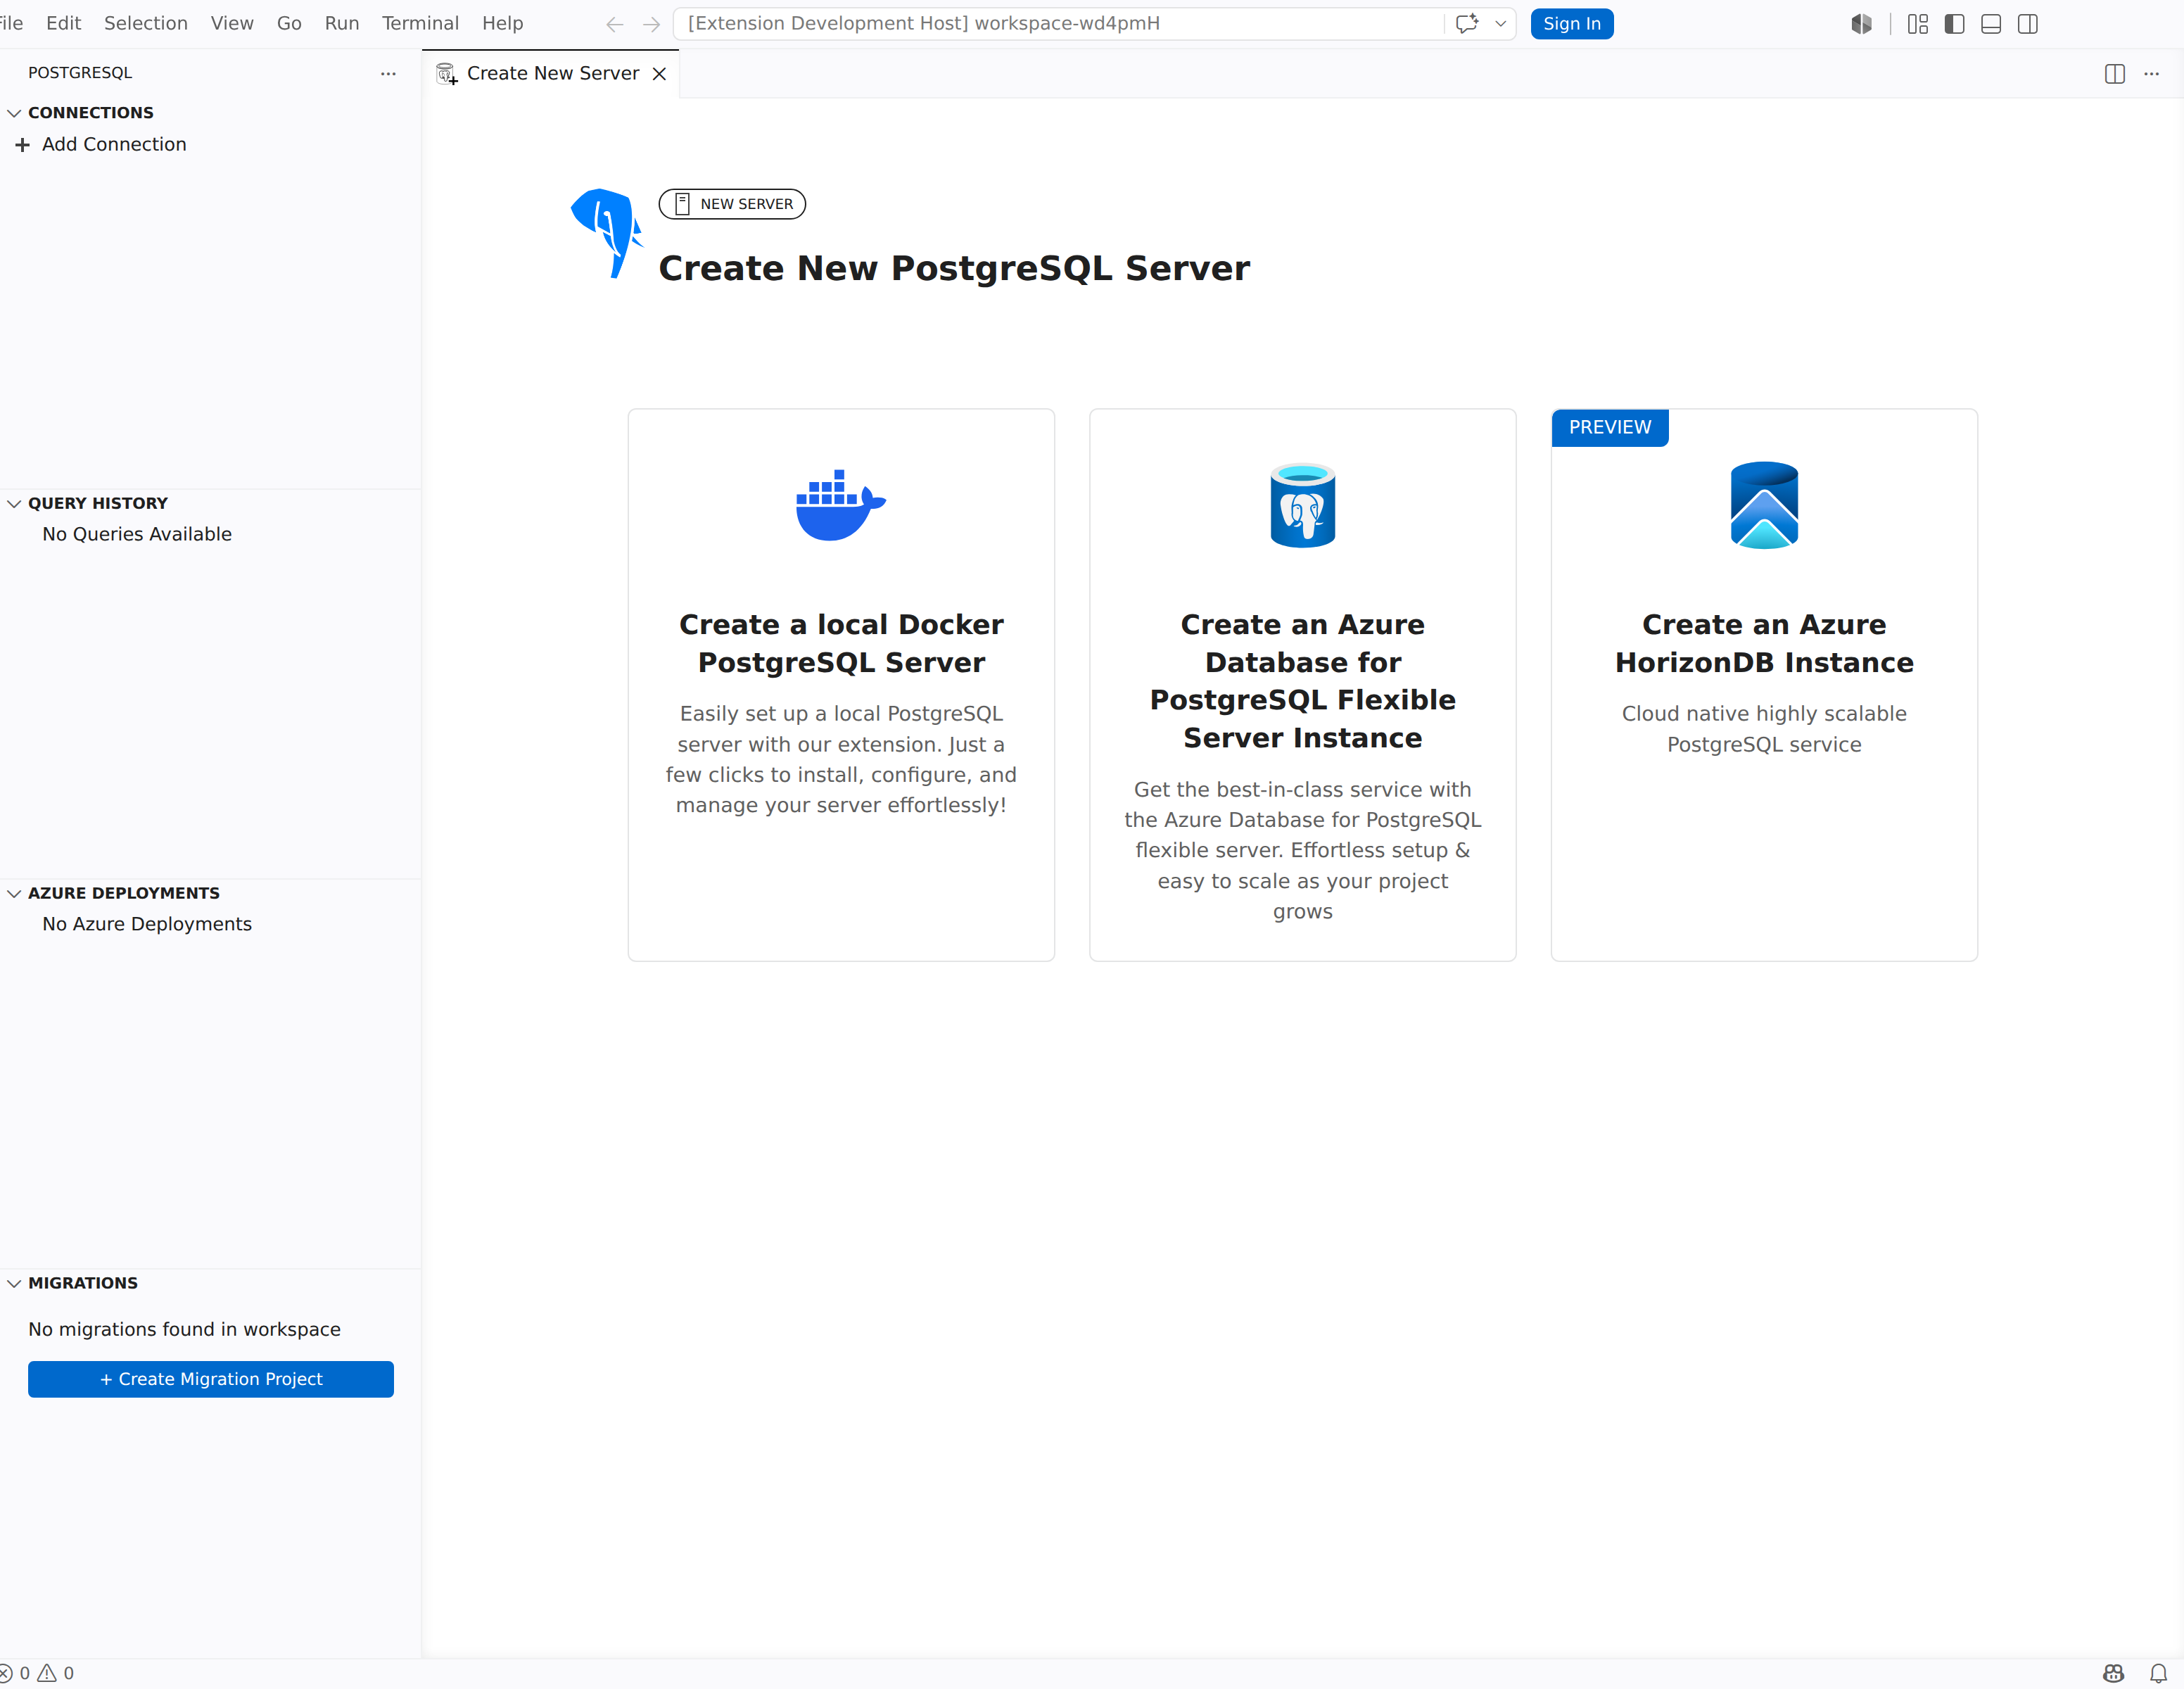
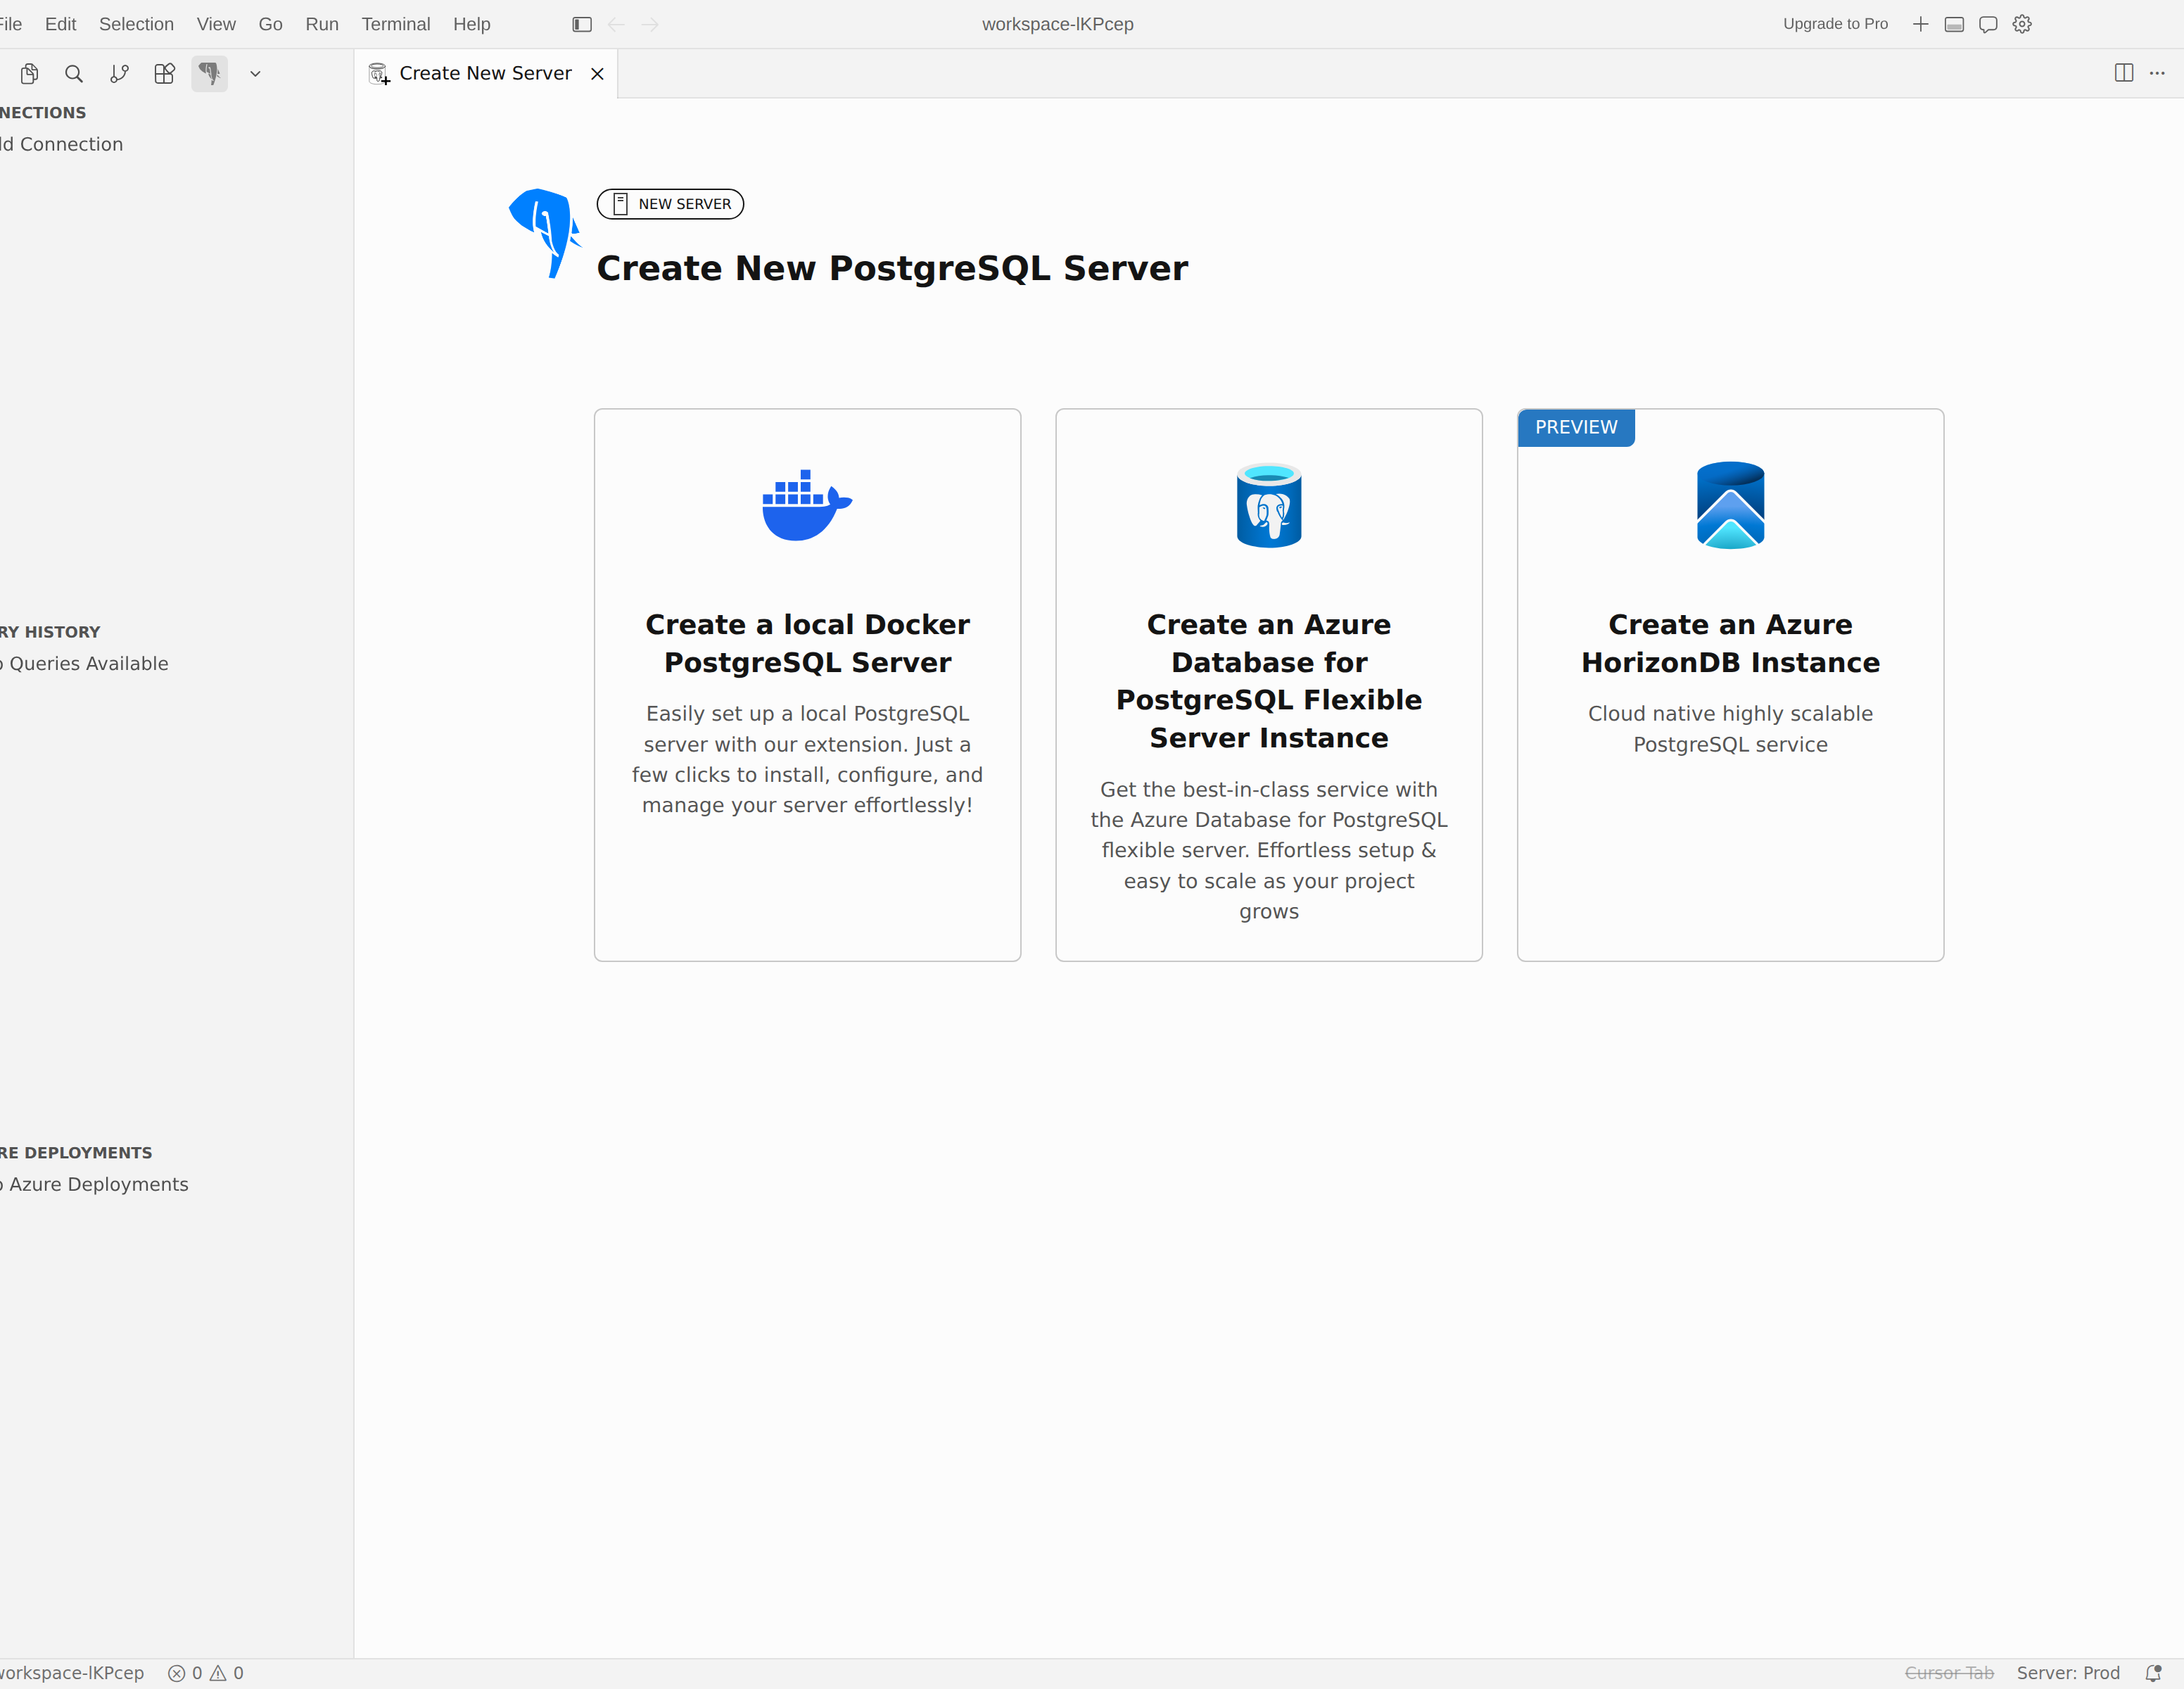
The Create New PostgreSQL Server hub opens in a new editor tab. It presents three options:
| Option | Description |
|---|---|
| Create a local Docker PostgreSQL Server | Creates a PostgreSQL server in a local container. Ideal for development, testing, and learning. |
| Create an Azure Database for PostgreSQL Flexible Server Instance | Provisions a fully managed PostgreSQL server in Azure. Suited for production workloads and team environments. |
| Create an Azure HorizonDB Instance (Preview) | Provisions a cloud-native, highly scalable PostgreSQL cluster in Azure. |
Select the card that matches your scenario.
Create a local server with Docker or Podman
Docker and Podman give you a lightweight, isolated PostgreSQL container that runs on your machine. Use this option for local development, prototyping, or when you need a disposable database environment. The card and landing-page labels mention Docker, but the prerequisites check can also select Podman.
Step 1: Review the introduction
After you select the Create a local Docker PostgreSQL Server card, the extension shows a landing page titled Seamless PostgreSQL Server on Docker, Right in VS Code!. The page highlights key capabilities:
- One-Click Server Creation: Spin up a PostgreSQL server in seconds with no manual setup.
- Fully Automated Setup: The extension pulls, configures, and runs PostgreSQL in an isolated environment.
- Easy Management: Start, stop, or remove your PostgreSQL container anytime.
Select Get Started to continue.
Step 2: Pass the prerequisites check
The extension opens Check your container environment and detects the runtime it can use on the extension host. If Container Tools settings already select a client or command, the page shows that runtime as selected from your settings. Otherwise, the extension checks installed runtimes and uses the first available option, trying Docker before Podman.
The prerequisite list always starts with runtime selection, then verifies that the chosen runtime CLI is available and that the engine can respond. On macOS or Windows with Podman, failed engine checks can include Podman machine startup guidance. If a check fails, use the on-screen help, fix the runtime, and select Retry to run the checks again.
Step 3: Configure the connection
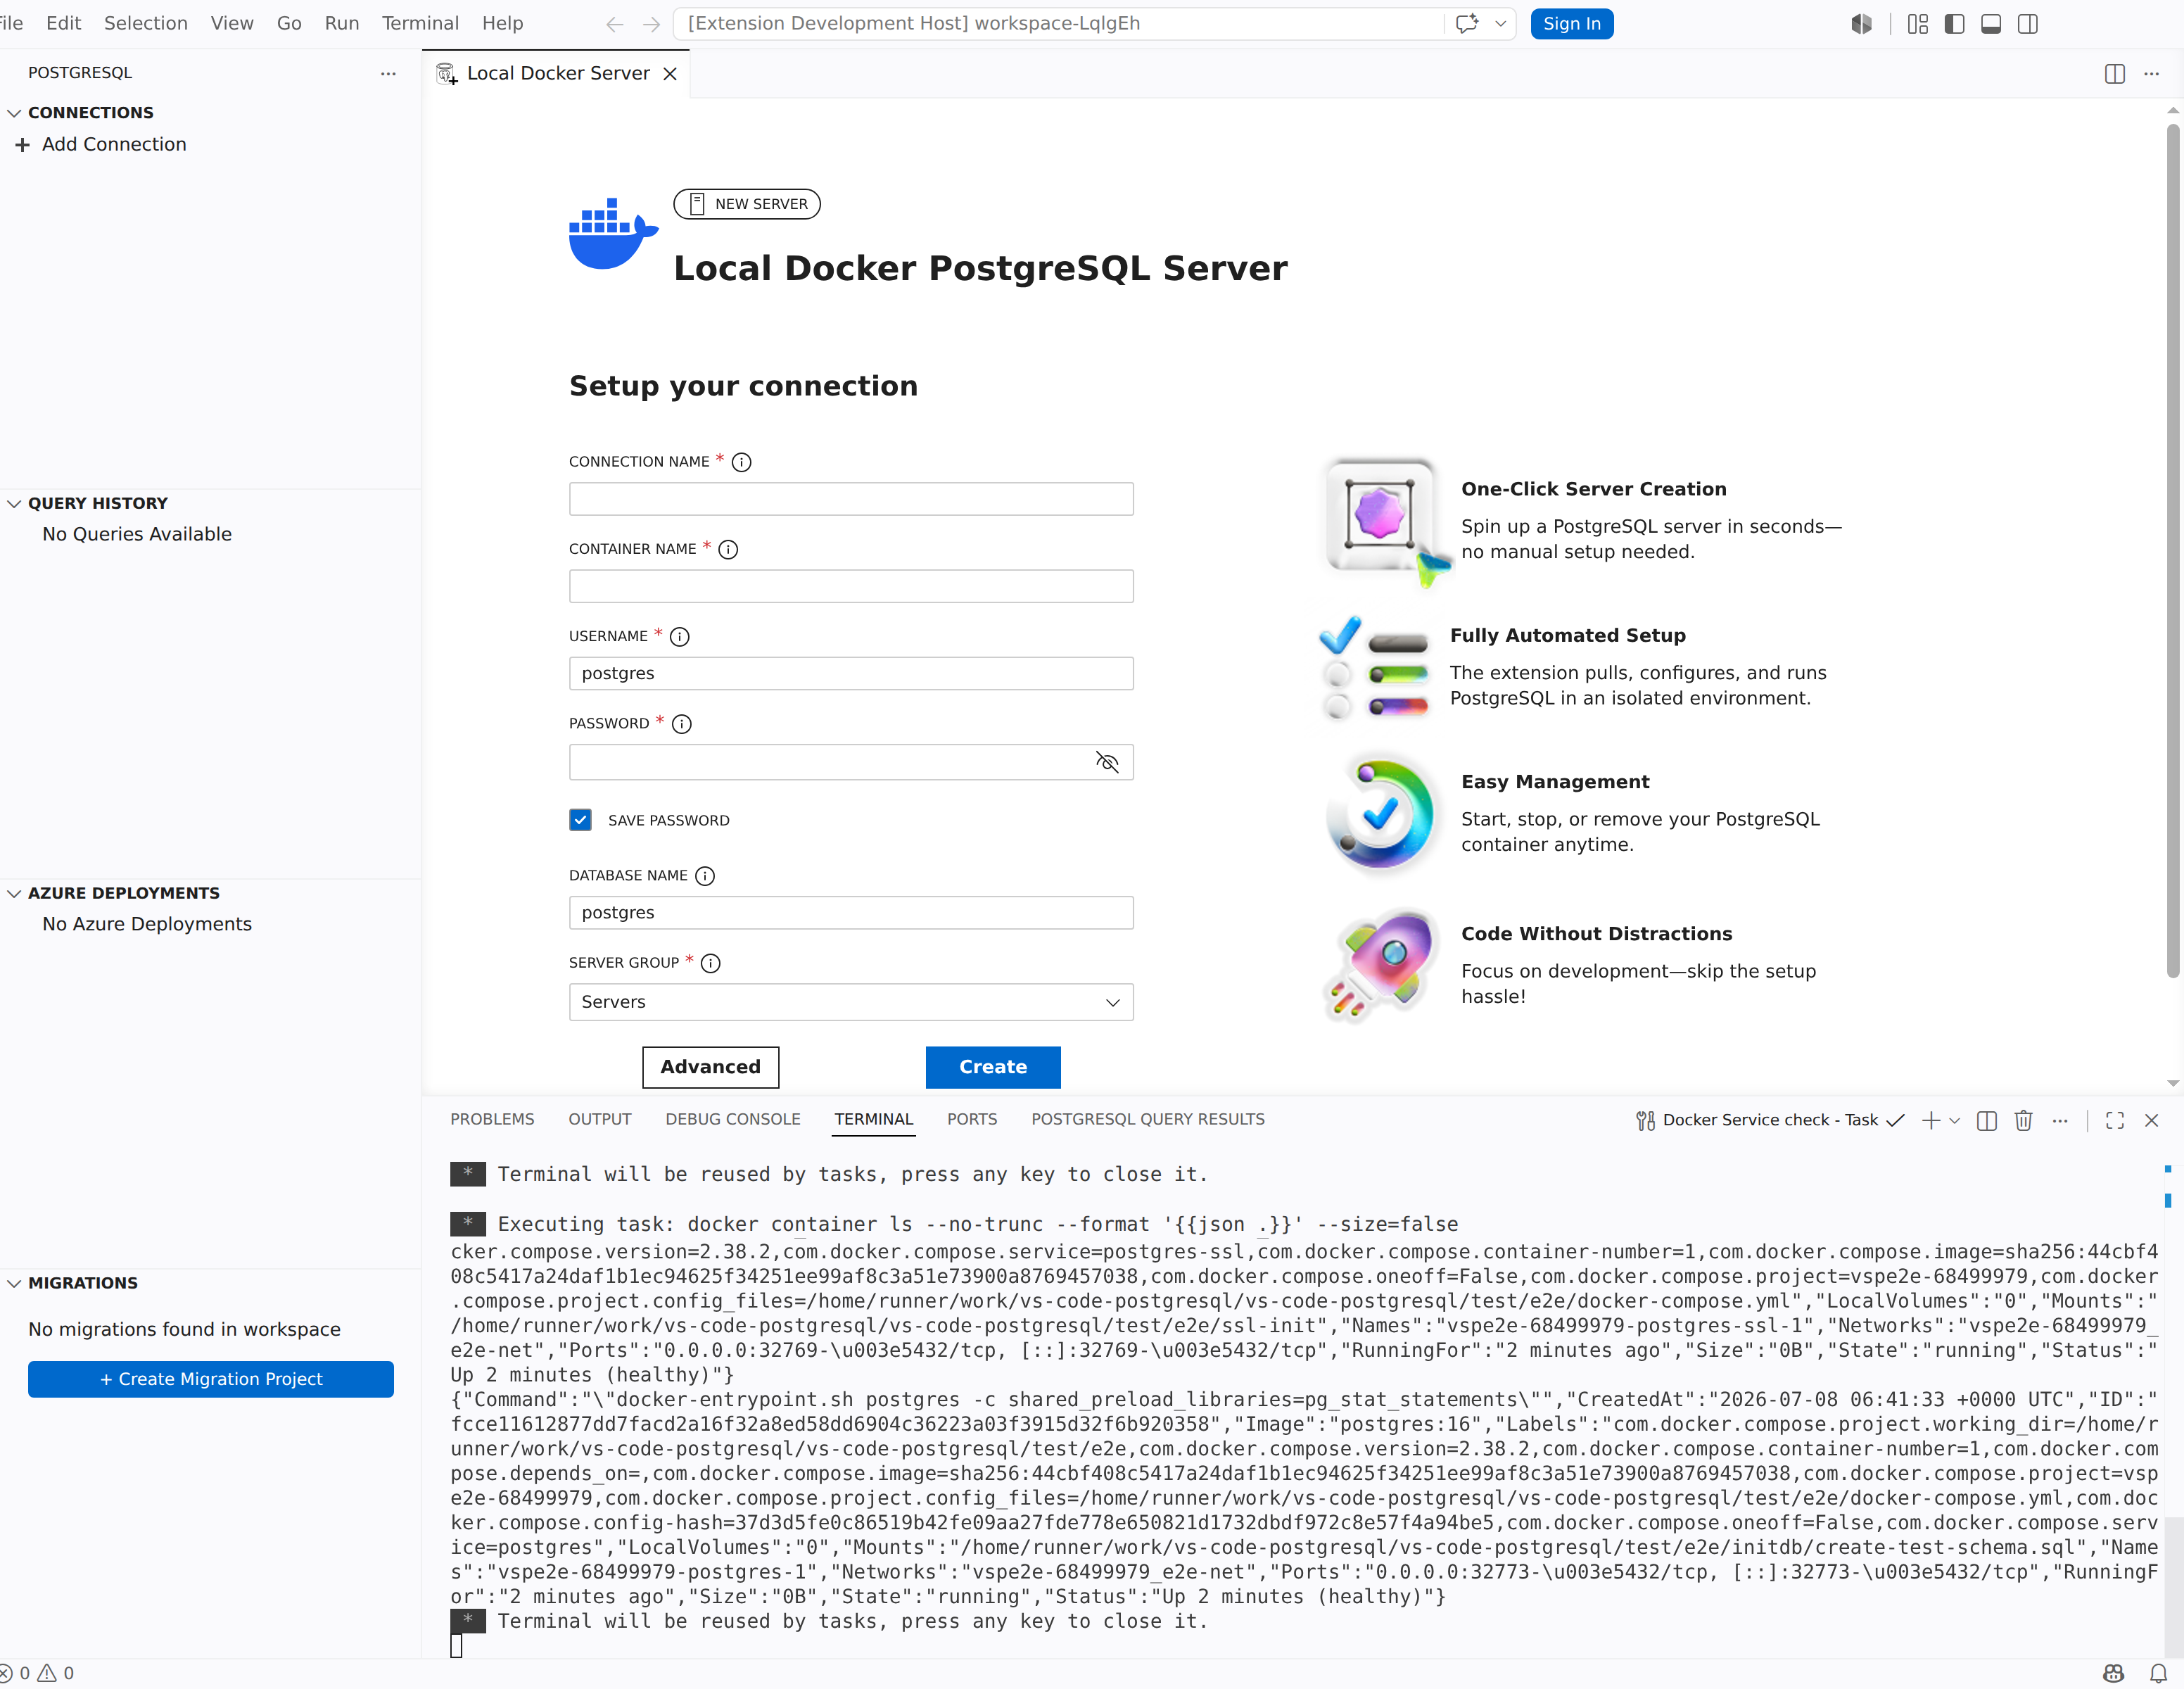
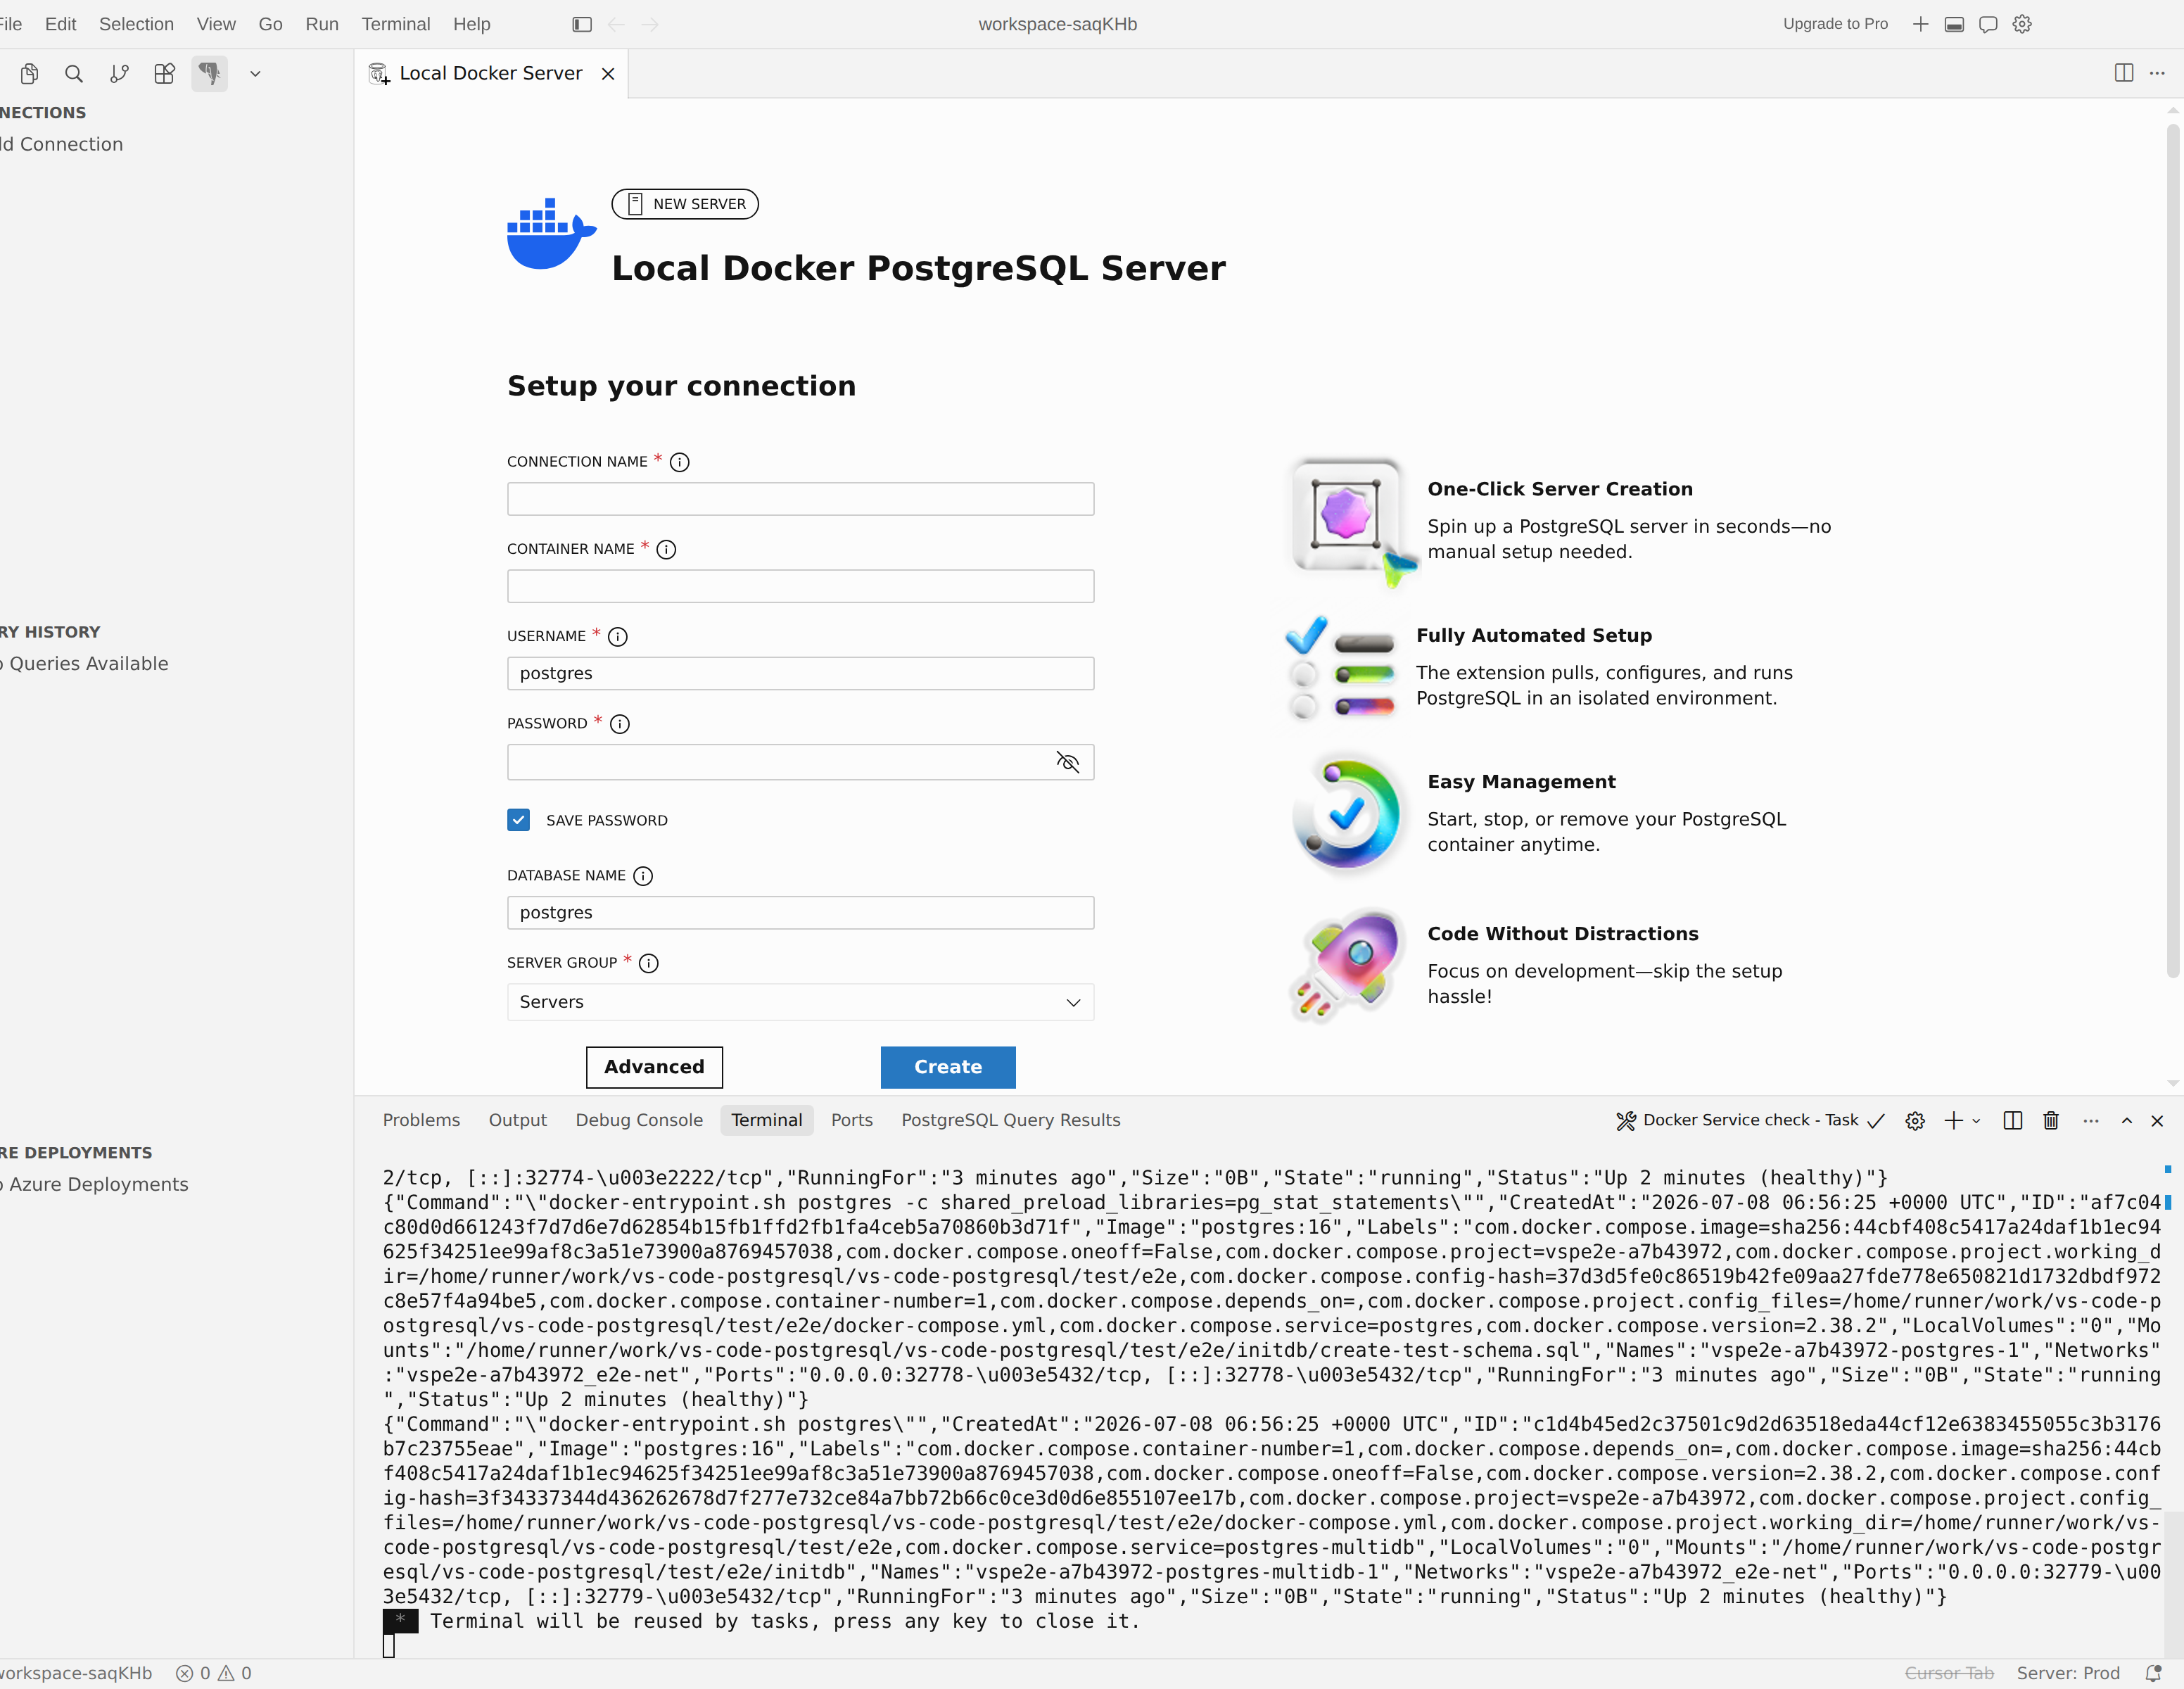
After the prerequisites pass, the Setup your connection form appears. The selected runtime appears directly under the page heading so you can confirm whether it was detected automatically or chosen from your settings. Fill in the following fields:
| Setting | Required | Description |
|---|---|---|
| Connection Name | No | A friendly display name for the connection profile. Also serves as the default container name (spaces are replaced with underscores). |
| Container name | Yes | Name of the container. Allowed characters: a-zA-Z0-9_.-. |
| Username | Yes | Superuser name for the PostgreSQL instance. Defaults to postgres. |
| Password | Yes | Password for the superuser account. |
| Save Password | No | When selected, stores the password so you don't have to enter it on each connection. |
| Database name | No | Name of the initial database. Defaults to postgres. |
Select Advanced Options to expand additional settings:
| Setting | Description |
|---|---|
| Bound port | Host port mapped to the container's PostgreSQL port (container port 5432). If left blank, the extension tries up to 10 free ports in the range 54500-55000. Valid range: 1-65535. New containers publish on 127.0.0.1 so the saved connection uses the same IPv4 loopback address. |
| Image version | Container image tag to pull. Defaults to latest. |
| Image registry | Container registry URL (for example, myregistry.azurecr.io). Defaults to Docker Hub. |
| Image name | Container image name. Defaults to postgres. |
| Image Platform | Platform target for multi-architecture environments (for example, linux/amd64). |
Step 4: Create and connect
Select Create to start provisioning. The extension shows inline progress for Preparing container settings, Creating and starting the container, Waiting for PostgreSQL to be ready, and Saving and connecting.
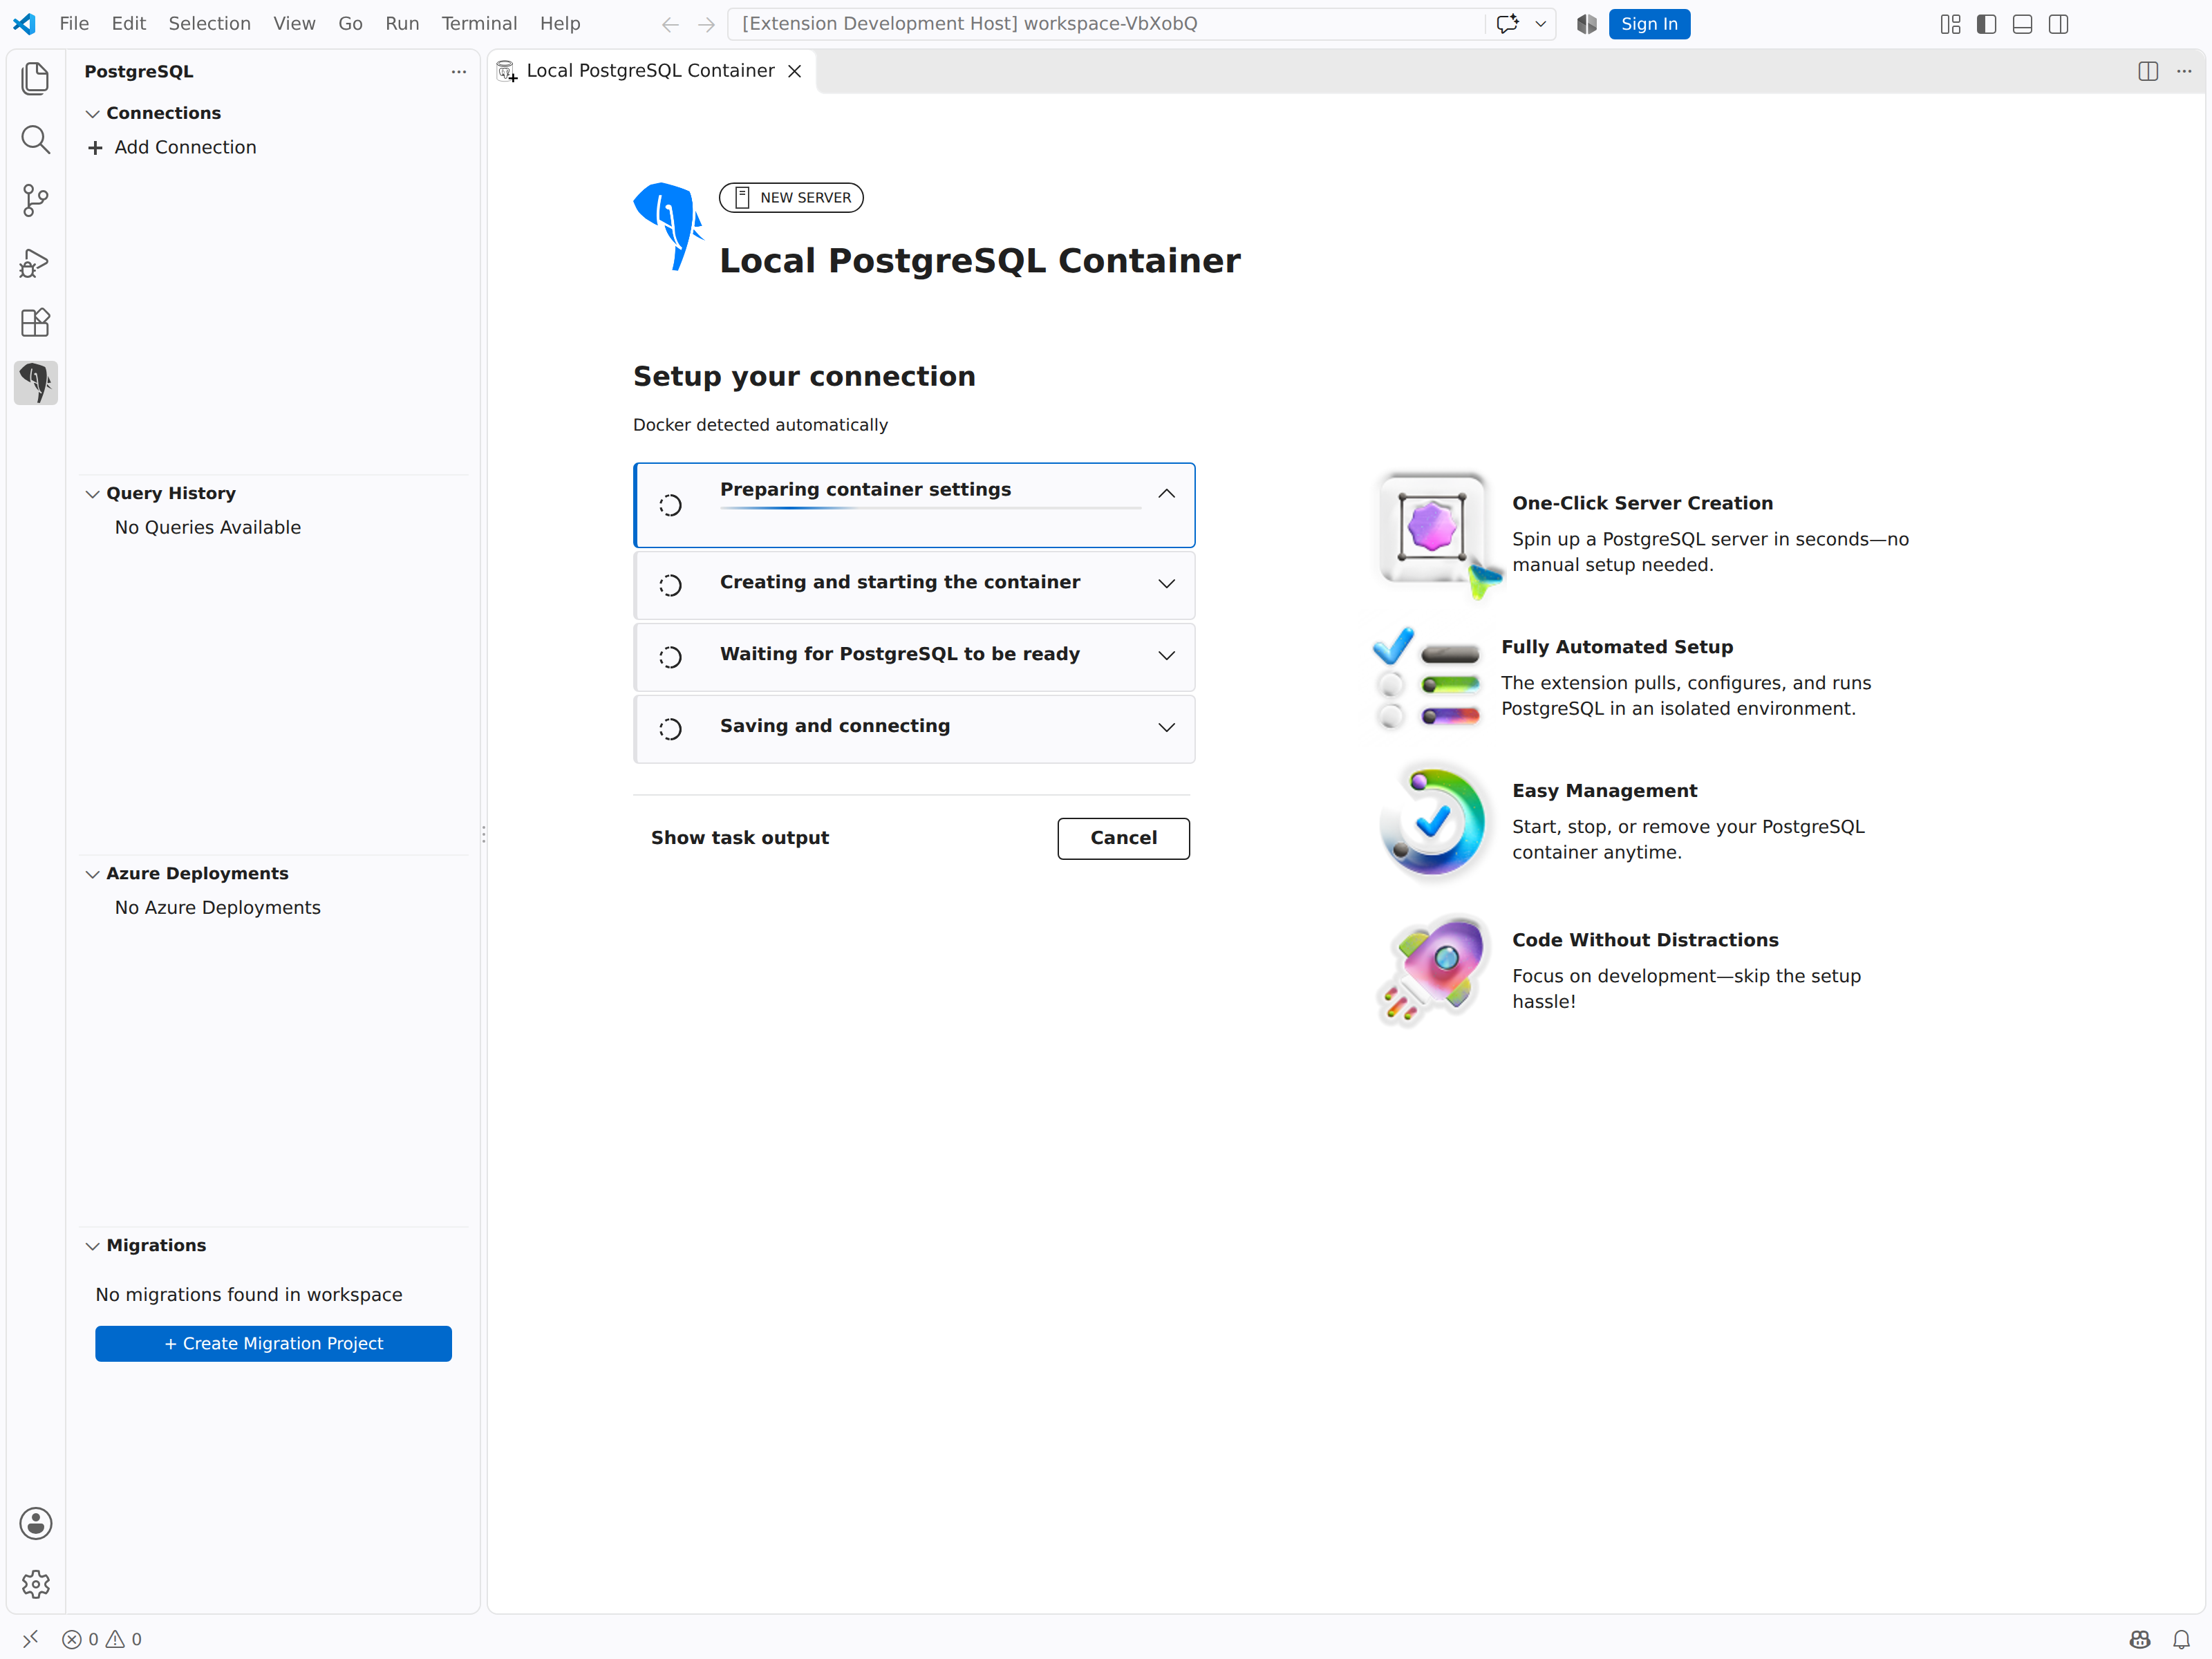
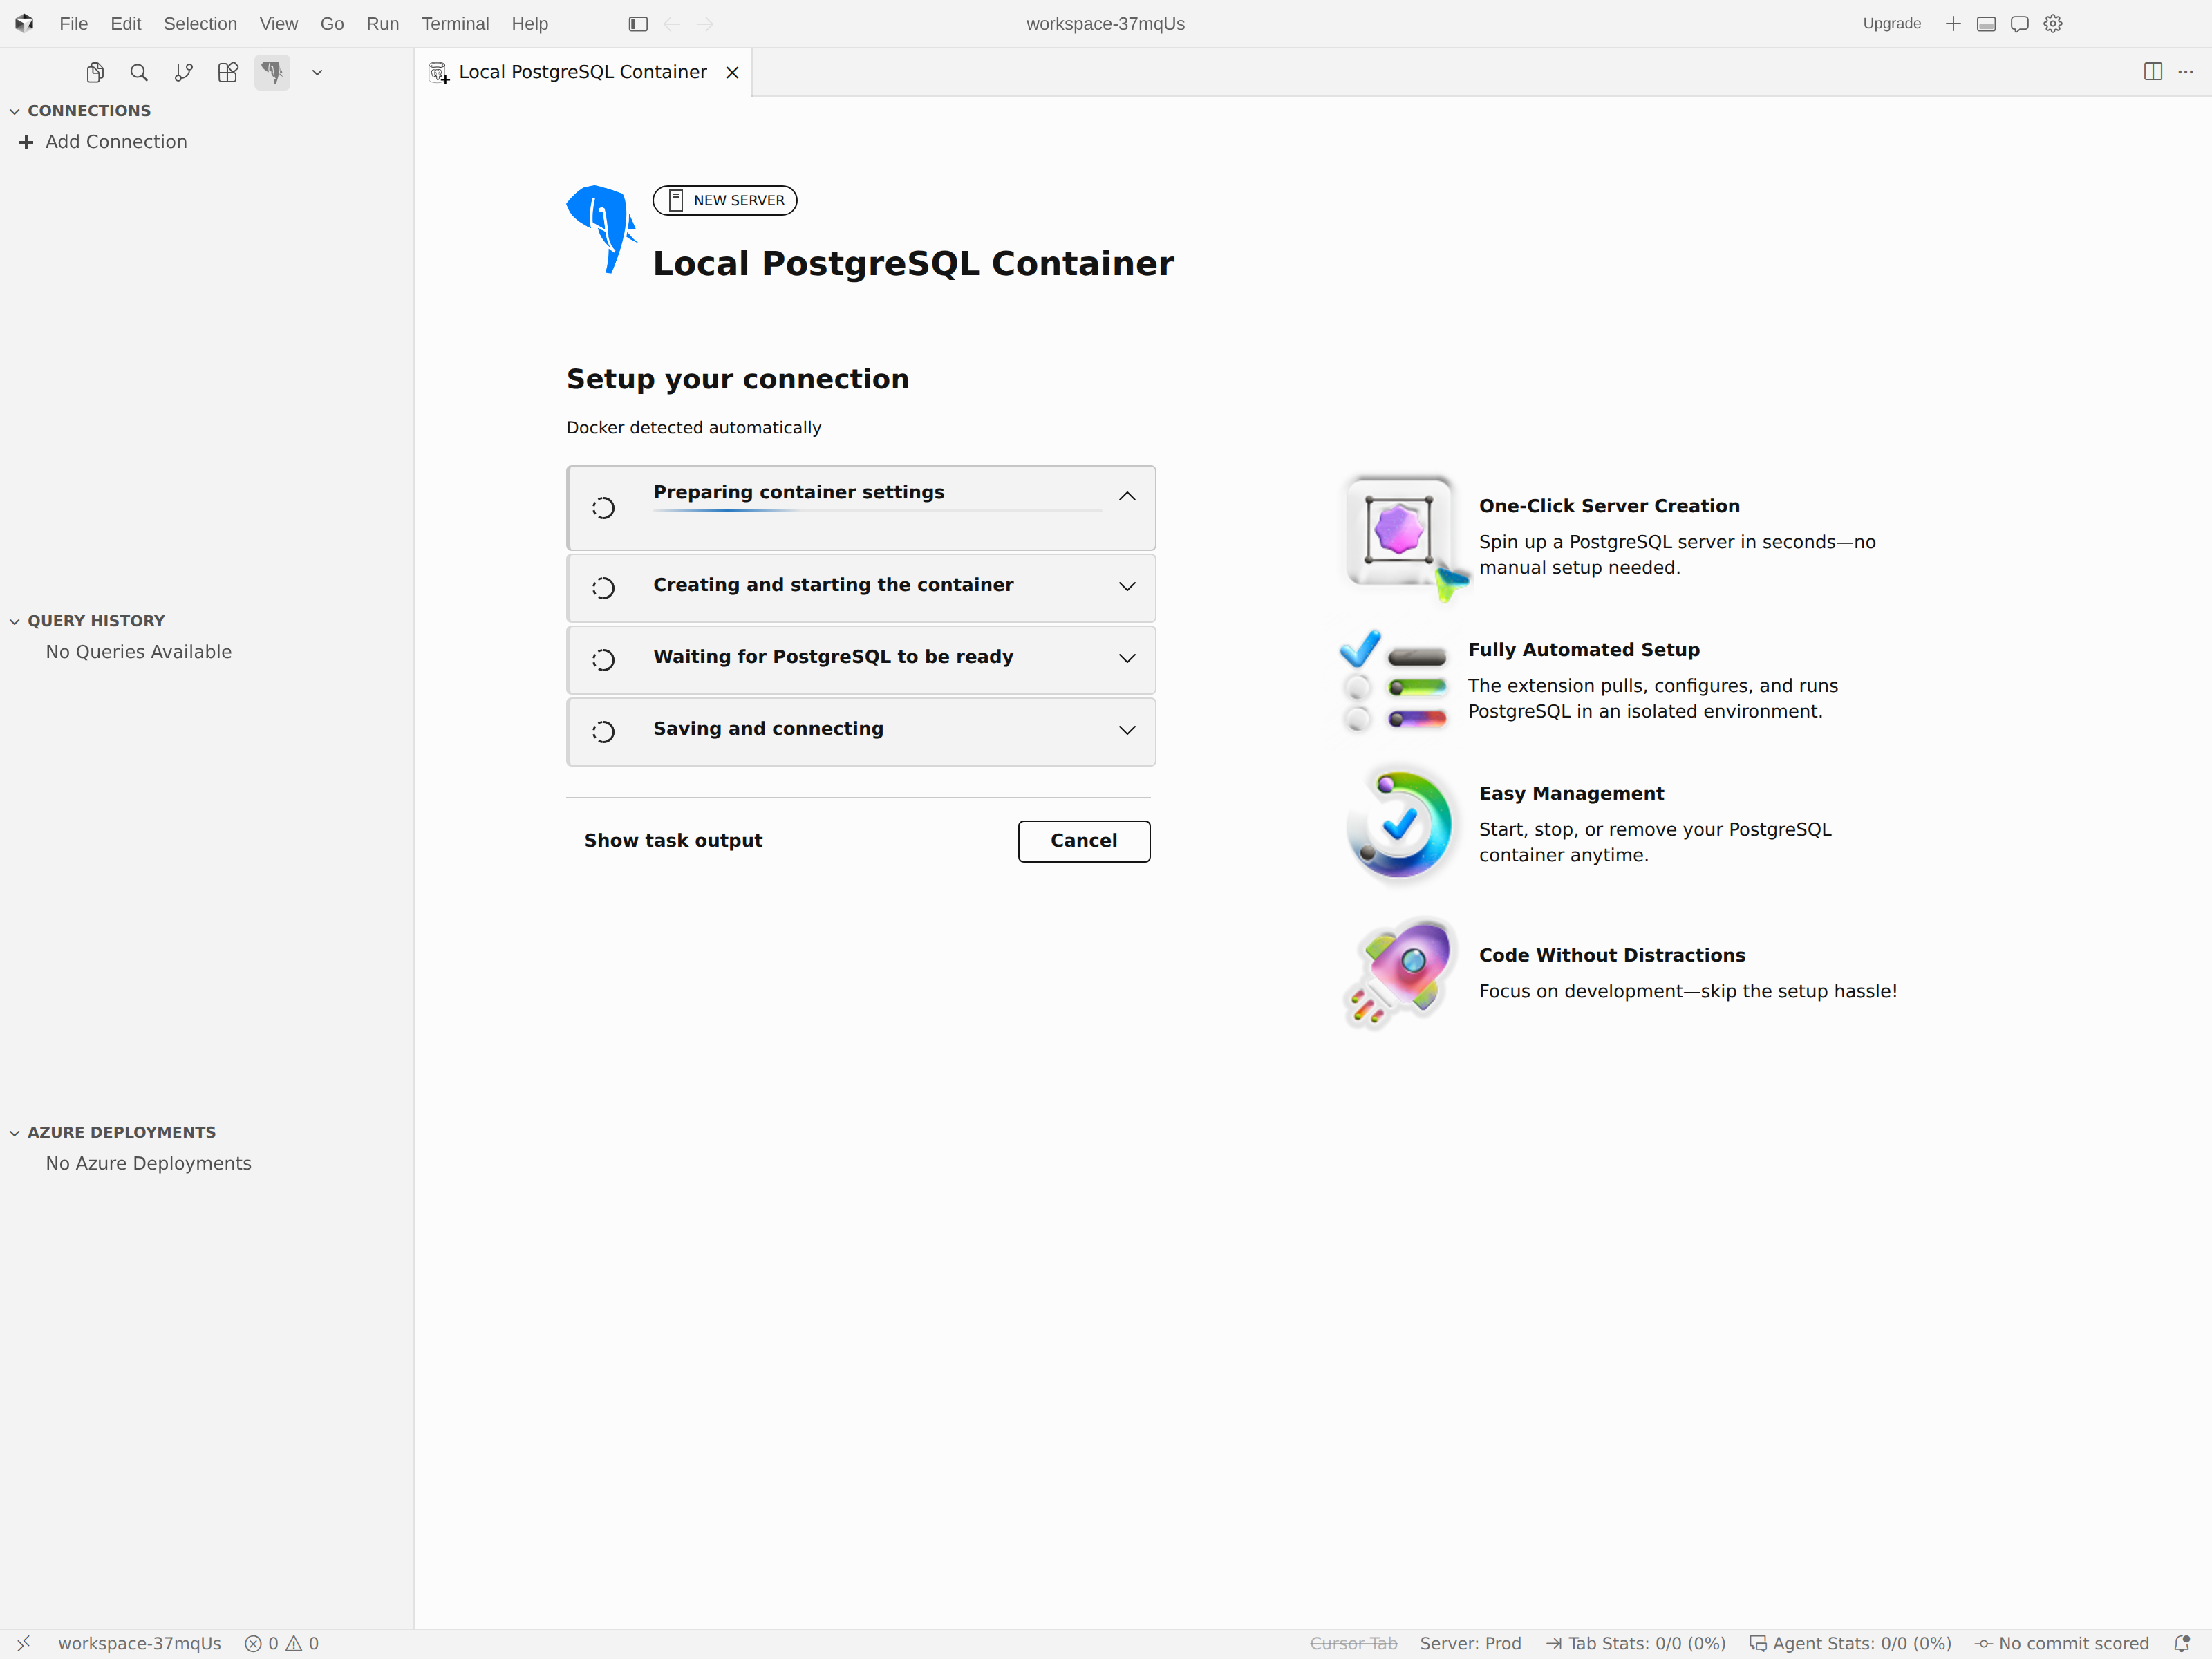
The footer keeps Show task output on the left and the page actions on the right. Container tasks don't automatically reveal or focus a terminal, so use Show task output only when you want to inspect the underlying runtime commands.
If automatic port selection can't find a free port after 10 attempts, the page tells you to specify a port manually. If provisioning or readiness fails, the page keeps the attempt details and offers Retry or Close. Retry reuses the accepted settings from the failed attempt.
If you select Cancel while the extension is still waiting locally, it stops the remaining wait and disconnects any connection opened by that canceled attempt. Canceling or closing doesn't remove an already created container, and it doesn't roll back a profile that was already saved.
When the final Saving and connecting step succeeds, the server appears in the Connections tree and you can start querying immediately.
Tip
The local container persists across Visual Studio Code restarts. To stop, start, remove, or inspect it outside the extension, use the Docker or Podman tools you normally manage containers with.
Create an Azure Database for PostgreSQL flexible server
Azure Database for PostgreSQL flexible server is a fully managed database service that provides high availability, automated backups, and intelligent performance tuning. The extension walks you through a multi-step wizard to provision a new server directly from Visual Studio Code.
Step 1: Review the introduction
After you select the Create an Azure Database for PostgreSQL Flexible Server Instance card, a landing page describes the service capabilities:
- Seamless Azure Integration: Provision servers directly in Visual Studio Code with Entra ID authentication support.
- Flexible Compute & Storage: Choose from preconfigured compute tiers and storage options.
- Easy Server Management: Manage lifecycle, performance, and configuration without leaving the editor.
- Built for Developers: Focus on your application while Azure handles infrastructure.
Select Get Started to continue. Optionally select Don't show this again to skip this page in the future.
Step 2: Sign in to Azure
The extension opens a login page with the message: "Login to your Azure account with Entra ID to create an Azure Database for PostgreSQL flexible server instance."
- If you already have an Azure account signed in to Visual Studio Code, the extension uses those credentials automatically.
- If you have multiple Azure accounts or tenants, use the account switcher and tenant selector to choose the correct identity.
Step 3: Configure server settings
After authentication, the extension displays a configuration form organized into sections. A cost estimation panel on the right updates as you make selections.
Project details
| Setting | Description |
|---|---|
| Subscription | Select the Azure subscription that manages billing and access. All subscriptions for your signed-in account and tenant are listed. |
| Resource Group | Select an existing resource group, or select Create new to create one. The new resource group is deployed in the same region as the server. |
Basics
| Setting | Description |
|---|---|
| Server Name | A globally unique name for the server. The extension checks availability asynchronously and displays an error if the name is taken. The server name becomes part of your connection hostname (<server-name>.postgres.database.azure.com). |
| Region | The Azure region where the server is deployed. The extension validates that your subscription can provision in the selected region. |
| Cluster options | Choose Flexible Server - single node for a single-node server, or Elastic Cluster - shard data across multiple nodes for a multinode distributed (Citus) database. Choosing Elastic Cluster reveals additional settings. |
| Node count | (Elastic Cluster only) Use the Node count slider to choose the number of nodes in the cluster, from 1 to 20. |
| Compute + storage | Select a preconfigured compute and storage tier. The available bundles are: |
| Bundle | vCores | Storage | SKU |
|---|---|---|---|
| Dev/Test (default) | 2 | 128 GB | Standard_D2ds_v4 |
| Standard | 4 | 256 GB | Standard_D4ds_v4 |
| Performance | 8 | 512 GB | Standard_D8ds_v4 |
Tip
You can further customize compute and storage by using the Create in Azure Portal button at the bottom of the form, which opens the full Azure portal creation experience.
| Setting | Description |
|---|---|
| PostgreSQL Version | The major PostgreSQL version to deploy. Available versions: 18, 17, 16, 15, and 14. Defaults to 18. Available versions might vary by region. With Elastic Cluster selected, only 17 and 18 pass validation. Switching to Elastic Cluster preserves 17 or 18; an unsupported selection changes to 17. |
Authentication
The form shows an ADMINISTRATOR ACCESS section. You must enable at least one authentication method.
| Setting | Description |
|---|---|
| Use my Entra ID: <email> | Checkbox that provisions your signed-in Entra ID identity as a server administrator. The email is auto-populated from your Azure login. |
| Create PostgreSQL user and password | Checkbox that enables traditional PostgreSQL authentication. When selected, three additional fields appear. |
When you select Create PostgreSQL user and password, provide the following:
| Setting | Description |
|---|---|
| Administrator username | Login name for the PostgreSQL admin account (for example, pgadmin). Must start with a letter and contain only letters, numbers, and underscores. Can't use reserved names such as admin, root, guest, or names starting with pg_. |
| Administrator password | Password for the admin account. Must be 8-128 characters and include at least three of: uppercase letters, lowercase letters, numbers, and symbols. |
| Confirm administrator password | Re-enter the administrator password. |
Note
You can enable both authentication methods simultaneously. For example, Entra ID for team members and PostgreSQL authentication for application connection strings.
Cost estimation
The Estimated costs panel on the right side of the form breaks down monthly pricing:
- Compute: Based on the selected SKU and vCore count.
- Storage: Based on the selected storage tier.
- Backup: Included backup cost.
- Bandwidth: Outbound data transfer across regions incurs additional charges; inbound transfer is free.
The panel shows an Estimated total and links to the Azure Pricing Calculator for detailed pricing.
Step 4: Accept terms and deploy
At the bottom of the form:
- Select the I acknowledge that creating this server may incur charges checkbox.
- Review the linked Terms of use and Privacy policy.
- Select Create to begin provisioning.
The extension navigates to a progress page that tracks each stage of the deployment:
| Stage | Status values |
|---|---|
| Server provisioning | Pending, In progress, Completed, Failed |
| Firewall rule assignment | Pending, In progress, Completed, Skipped |
| Entra admin assignment | Pending, In progress, Completed, Skipped |
A deployment summary shows the Server name, Subscription, Resource group, Region, and Configuration you selected.
During deployment, you can continue working in Visual Studio Code. The deployment also runs in the background if you close the progress page.
When all stages complete, the header updates to Server created successfully! and displays the message: "Your PostgreSQL Flexible Server is ready." The extension automatically creates a connection profile for the new server. Select Done to close the progress page.
Note
If a stage completes with warnings, the status shows Completed with warnings. Review the details before connecting.
Track Azure deployments
The Azure Deployments view in the PostgreSQL activity bar shows all in-progress and completed Azure server deployments. Each entry displays the server name, deployment status, and timestamp.
Right-click a deployment to access these actions:
| Action | Description |
|---|---|
| Open in Azure Portal | Opens the server's resource page in the Azure portal. |
| Remove Deployment | Removes the deployment entry from the tracker. This action doesn't delete the Azure resource. |
Use the Remove Completed button in the view toolbar to clear all finished deployments from the list.
Tip
If an Azure deployment fails, select Try again on the progress page to restart provisioning, or select Back to Form to adjust your settings.
Create an Azure HorizonDB (Preview) cluster
Azure HorizonDB (Preview) is a cloud-native, highly scalable PostgreSQL cluster in Azure. The extension walks you through a multi-step wizard to provision a new cluster.
Note
Azure HorizonDB (Preview) availability depends on your Azure subscription and region.
Step 1: Review the introduction
After you select the Create an Azure HorizonDB Instance card, a landing page describes the service capabilities:
- Cloud-Native Architecture: A cloud-native PostgreSQL cluster optimized for high throughput.
- Elastic Scale: Scale compute from 2 to 128 vCores.
- Built-in Management: Manage lifecycle and configuration from Visual Studio Code.
- Developer Ready: Focus on your application while Azure handles infrastructure.
Select Get Started to continue. Optionally select Don't show this again to skip this page in the future.
Step 2: Sign in to Azure
The extension opens a login page. If you already have an Azure account signed in to Visual Studio Code, the extension uses those credentials automatically. If you have multiple Azure accounts or tenants, use the account switcher and tenant selector to choose the correct identity.
Step 3: Configure cluster settings
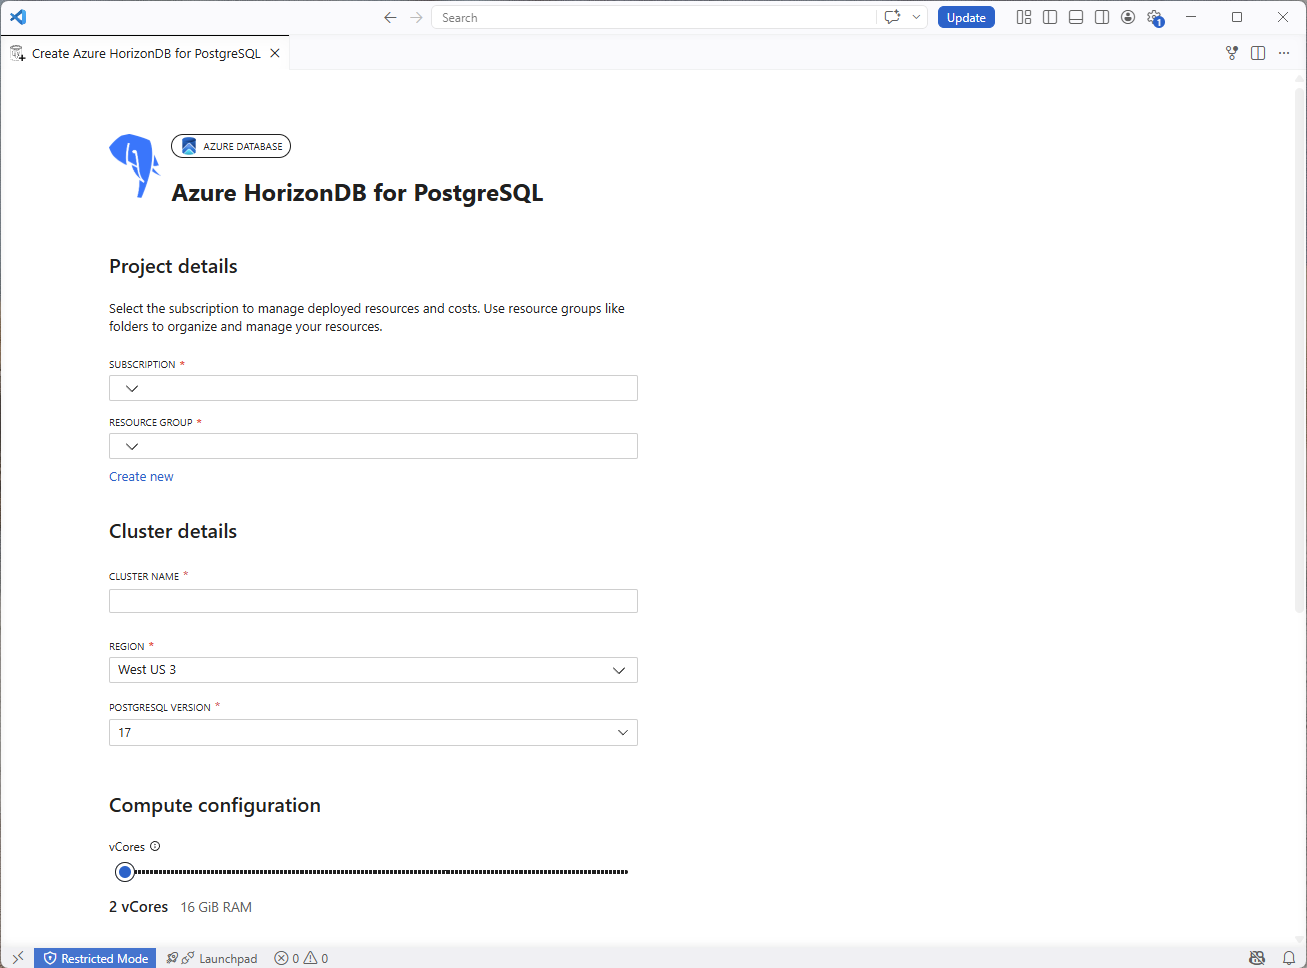
After authentication, the extension displays a configuration form organized into sections.
Project details
| Setting | Description |
|---|---|
| Subscription | Select the Azure subscription that manages billing and access. |
| Resource Group | Select an existing resource group, or select Create new to create one. |
Cluster details
| Setting | Description |
|---|---|
| Cluster Name | A globally unique name for the cluster. The extension checks availability and displays an error if the name is taken. |
| Region | The Azure region where the cluster is deployed. |
| PostgreSQL Version | The major PostgreSQL version to deploy. |
Compute configuration
Use the vCores slider to choose the compute capacity for your cluster. Available options range from 2 to 128 vCores. Memory scales automatically at 8 GiB per vCore.
Authentication
| Setting | Description |
|---|---|
| Administrator username | Login name for the PostgreSQL admin account. |
| Administrator password | Password for the admin account. |
| Confirm administrator password | Re-enter the administrator password. |
AI capabilities
The AI capabilities section lets you enable built-in AI model management features. Select the Enable AI features checkbox to opt in. When AI features are enabled, the cluster provisions with model management support, pgvector, and pg_diskann extensions.
Note
The AI capabilities section is a preview experience and might not appear for every environment or cluster configuration. If the section isn't visible, continue with the standard Azure HorizonDB (Preview) cluster settings and deployment steps.
Step 4: Accept terms and deploy
At the bottom of the form:
- Select the cluster supplemental terms checkbox.
- If you enabled AI features and the AI supplemental terms checkbox is visible, select it.
- Review the linked Terms of use and Privacy policy.
- Select Create to begin provisioning. If the form is incomplete, hover over the disabled Create button to see which fields still need values.
The extension navigates to a progress page that tracks each stage of the deployment. A deployment summary shows the Cluster name, Subscription, Resource group, and Configuration (vCores and memory) you selected.
When all stages complete, the extension creates a connection profile for the new cluster. Select Done to close the progress page.
Note
If you enabled AI features and the AI model management step fails, the cluster is still created and a connection profile is added. The progress page shows a warning and a link to open the cluster in the Azure portal so you can enable AI model management manually.
Tip
Select Configure on Azure Portal at the bottom of the form if you need options beyond what the extension wizard provides.
Verify the server
After the server is created (Docker or Azure):
- Expand the server node in the Connections tree.
- Confirm that the default databases (
postgresand, for Docker, any database you specified) are listed. - Right-click a database and select New Query to open the query editor.
- Run a test query such as
SELECT version();to verify connectivity.