Note
Access to this page requires authorization. You can try signing in or changing directories.
Access to this page requires authorization. You can try changing directories.
The Copy job in Data Factory makes it easy to move data from your source to your destination without creating a pipeline. You can set up data transfers using built-in patterns for both batch and incremental copy, and copy once or on a schedule. Follow the steps in this article to start copying your data either from a database or from storage.
Create a Copy job to ingest data from a database
Follow these steps to set up a Copy job that moves data from a database:
Create a new workspace or use an existing workspace.
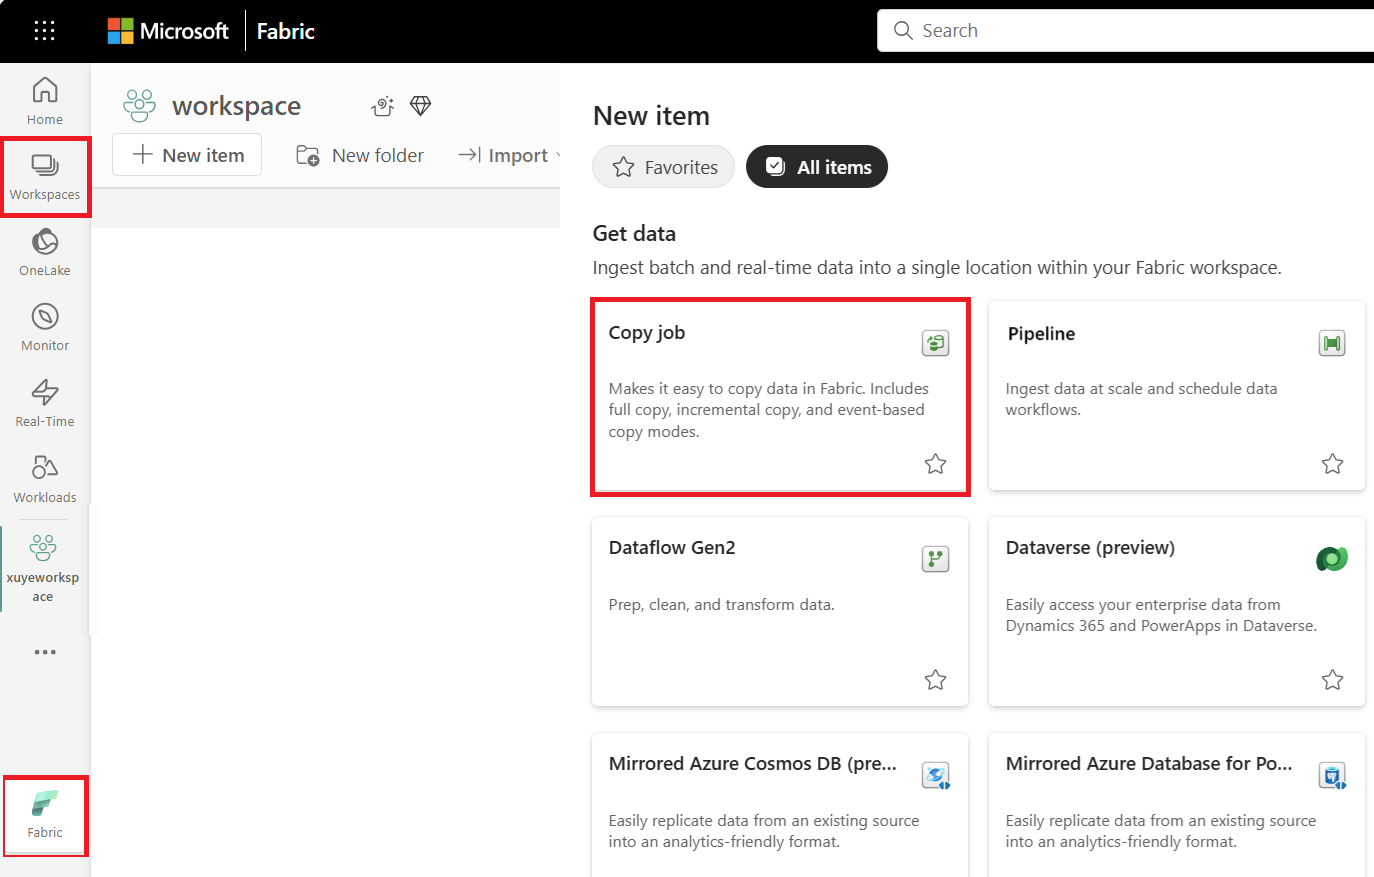
Select + New Item, choose the Copy job icon, name your Copy job, and select Create.
Choose the database to copy data from. In this example, we're using Azure SQL Database, but there are several options to choose your data source at the top of the choose data source window.

For Azure SQL Database, enter your server path and credentials. You can copy data securely within a virtual network environment using on-premises or virtual network gateway. For other databases, the connection details vary.

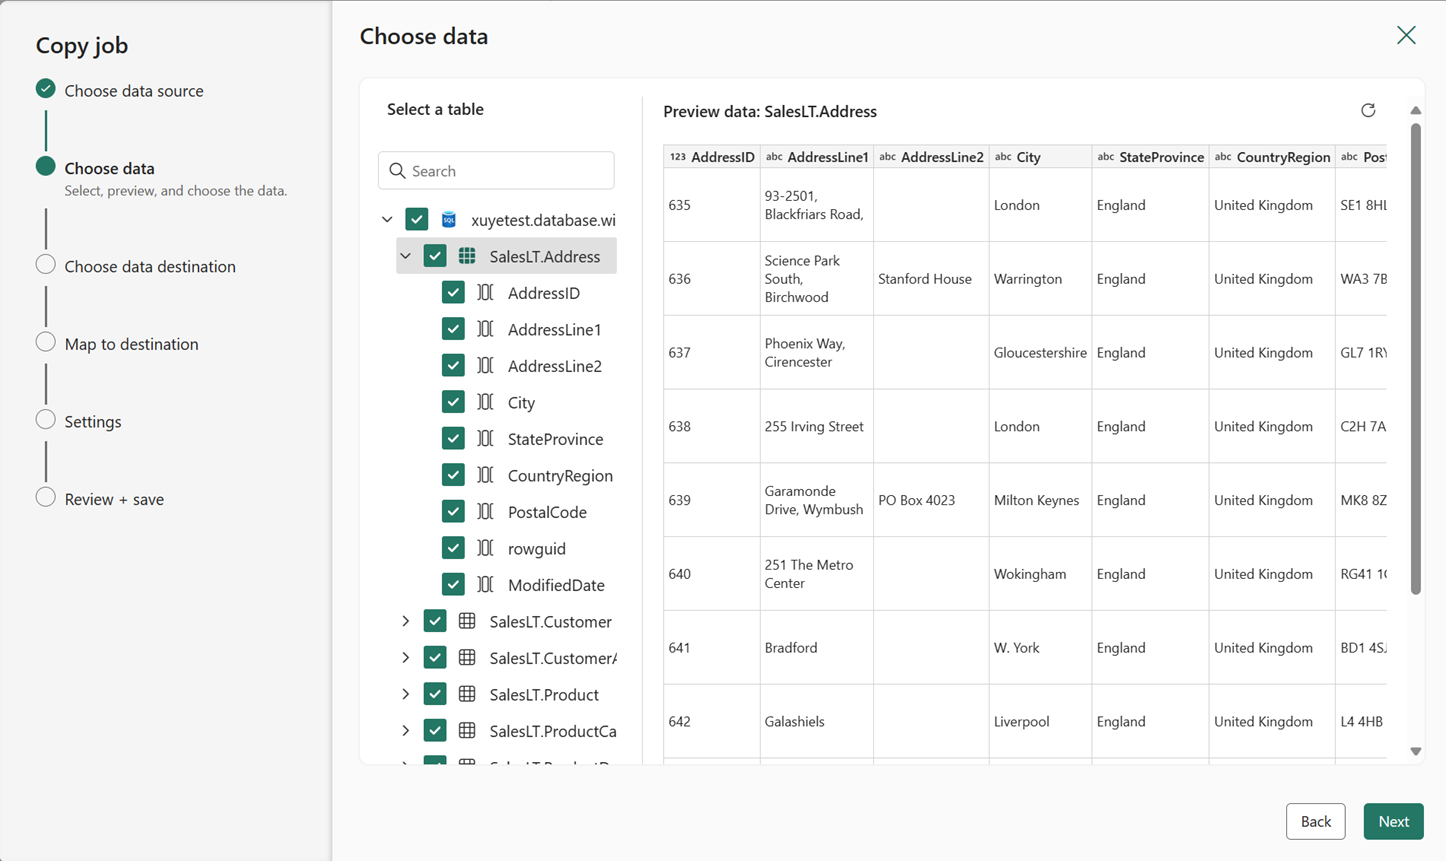
Select the tables and columns to copy, or use a database query to copy subsets of your data. Use the search box to identify full tables and columns you want to copy, or select + New query under Queries to write a custom query.
Select your destination store. In this example, we're using another Azure SQL Database.

(Optional) Choose Update method to decide how data gets written to your destination. If you pick Merge, select the Key columns that identify each row.


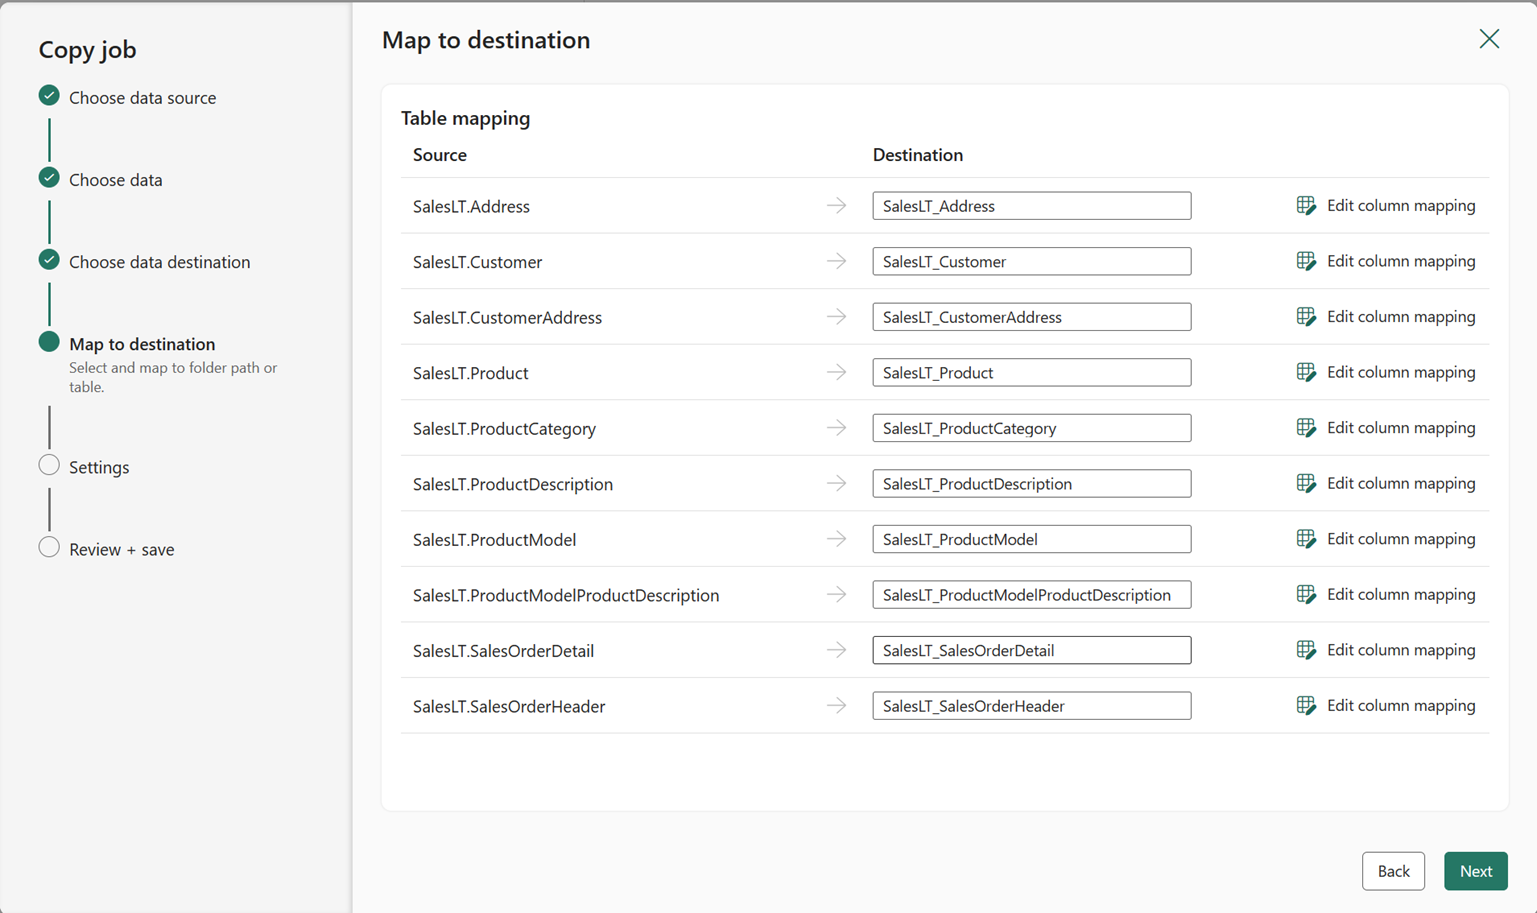
(Optional) Configure table or column mapping to rename tables or columns in the destination, or apply data type conversions. By default, data is copied with the same table name, column name, and data type as the source.

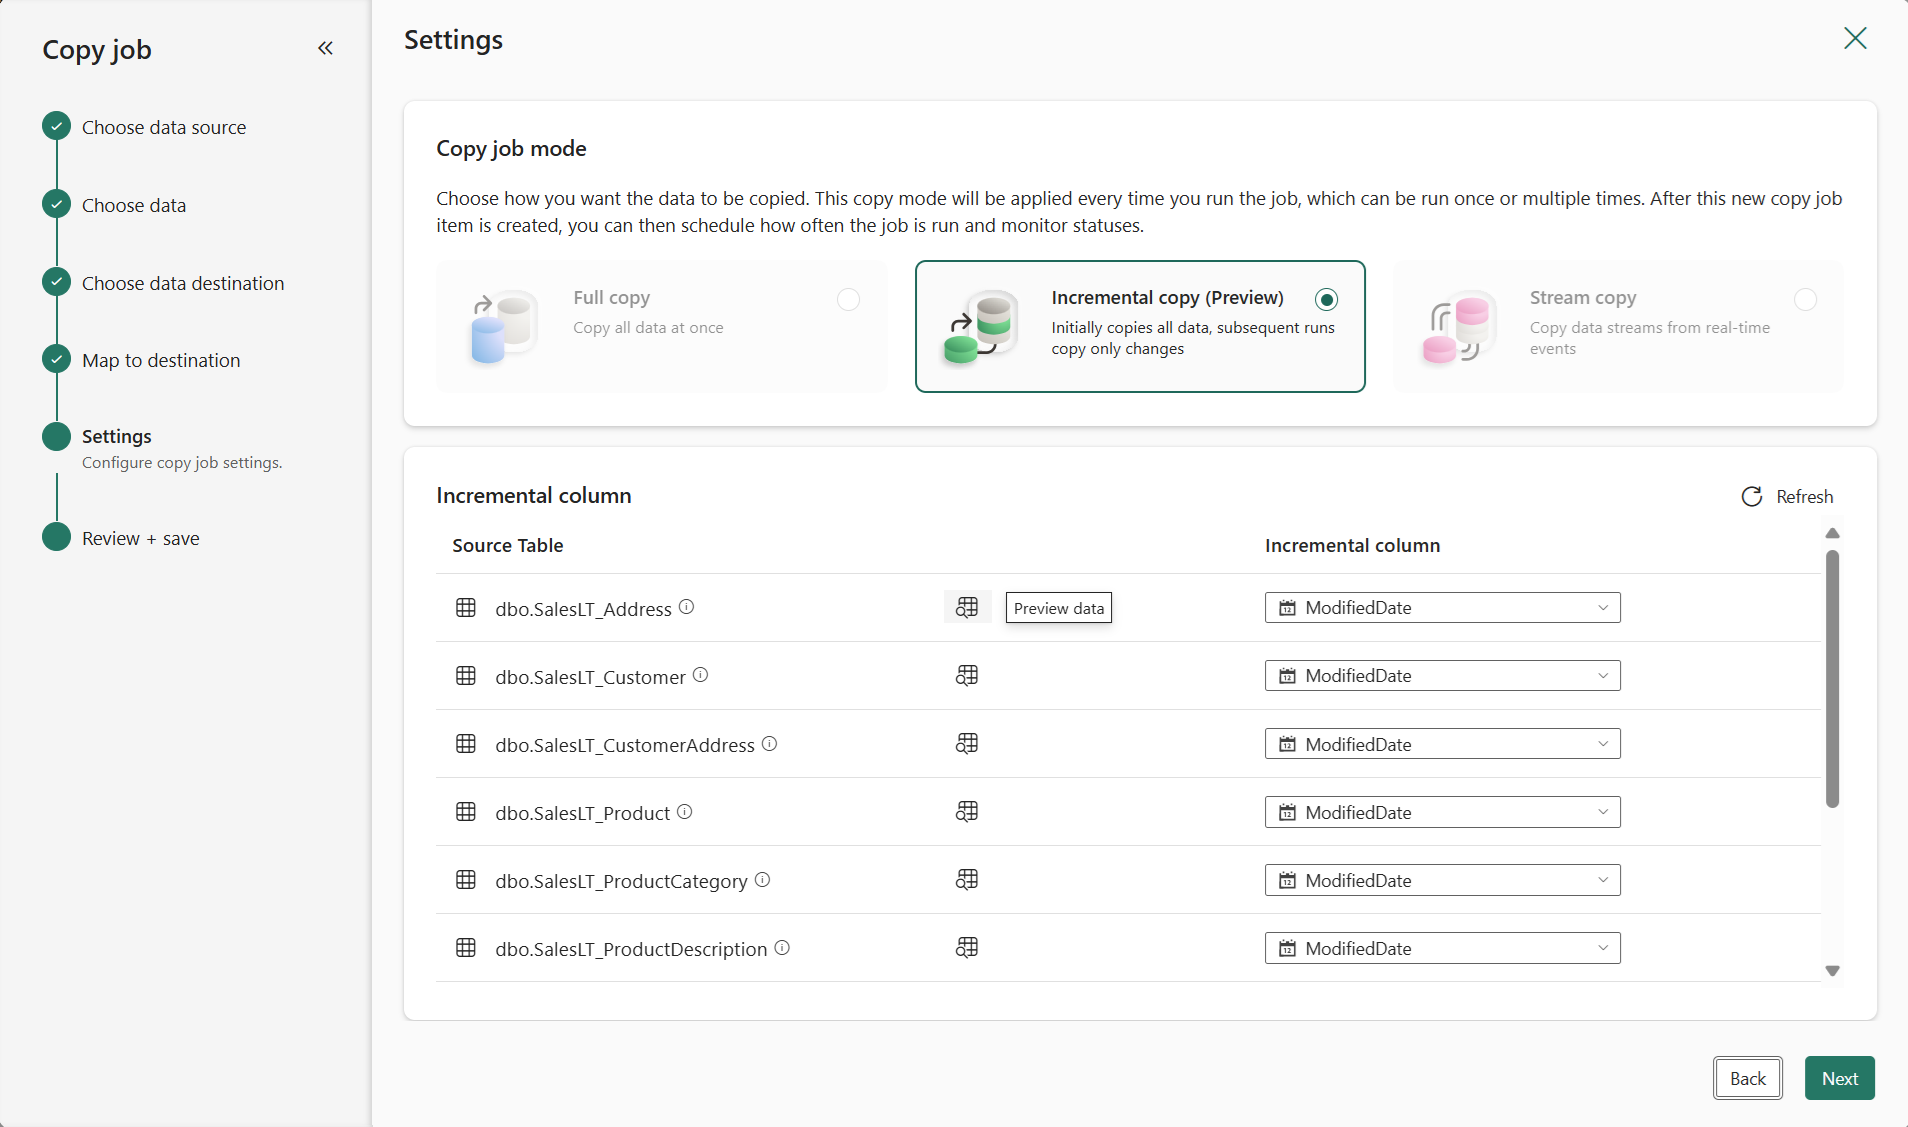
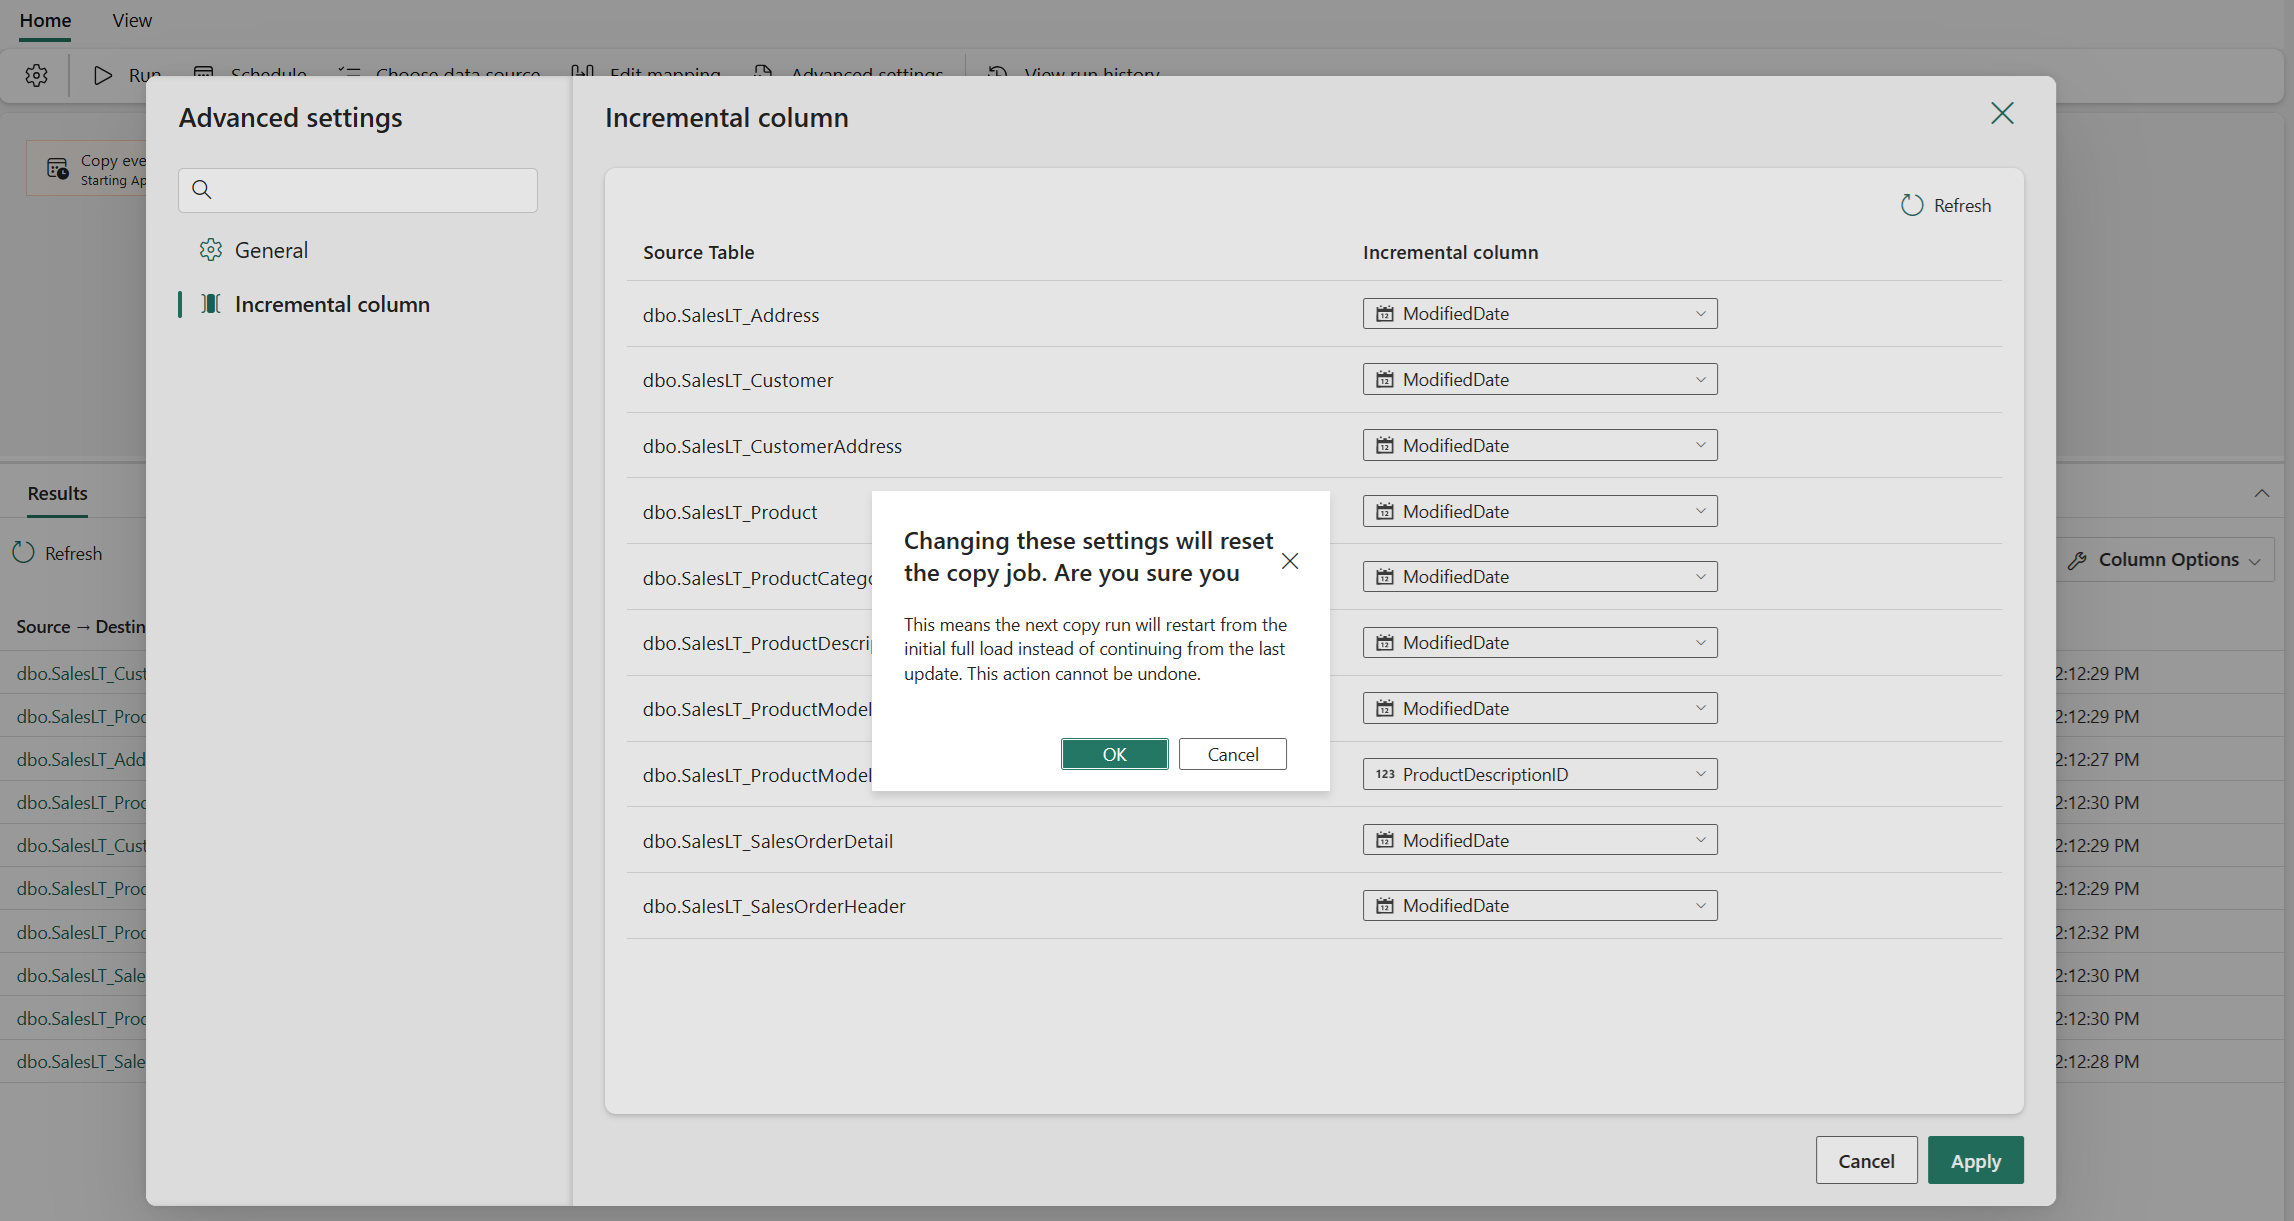
Choose a copy mode: Full data copy or Incremental copy. In this example, we use Incremental copy. Choose an Incremental column for each table, to track which rows have changed. You can use the preview button to find the right column.
Note
When you choose incremental copy mode, Copy job initially performs a full load and performs incremental copies in the next runs.
Review the job summary, select your run option to run once or on a schedule, and select Save + Run.

Your Copy job will start immediately, and you can track the job's status from the inline monitoring panel that has information including row counts and copy duration for each table. Learn more in How to monitor a Copy job

You can run your Copy job whenever you want, even if it's set to run on a schedule. Just select the Run button at any time, and Copy job copies only the data that's changed since the last run.
You can also edit your Copy job at any time, including adding or removing tables and columns to be copied, configuring the schedule, or adjusting advanced settings. Some changes, such as updating the incremental column, will reset the incremental copy to start from an initial full load in the next run.


Create a Copy job to ingest files from storage
Follow these steps to set up a Copy job that moves data from file storage:
Create a new workspace or use an existing workspace.
Select + New Item, choose the Copy job icon, name your Copy job, and select Create.
Choose the data stores to copy data from. In this example, we used Azure Data Lake Storage Gen2.
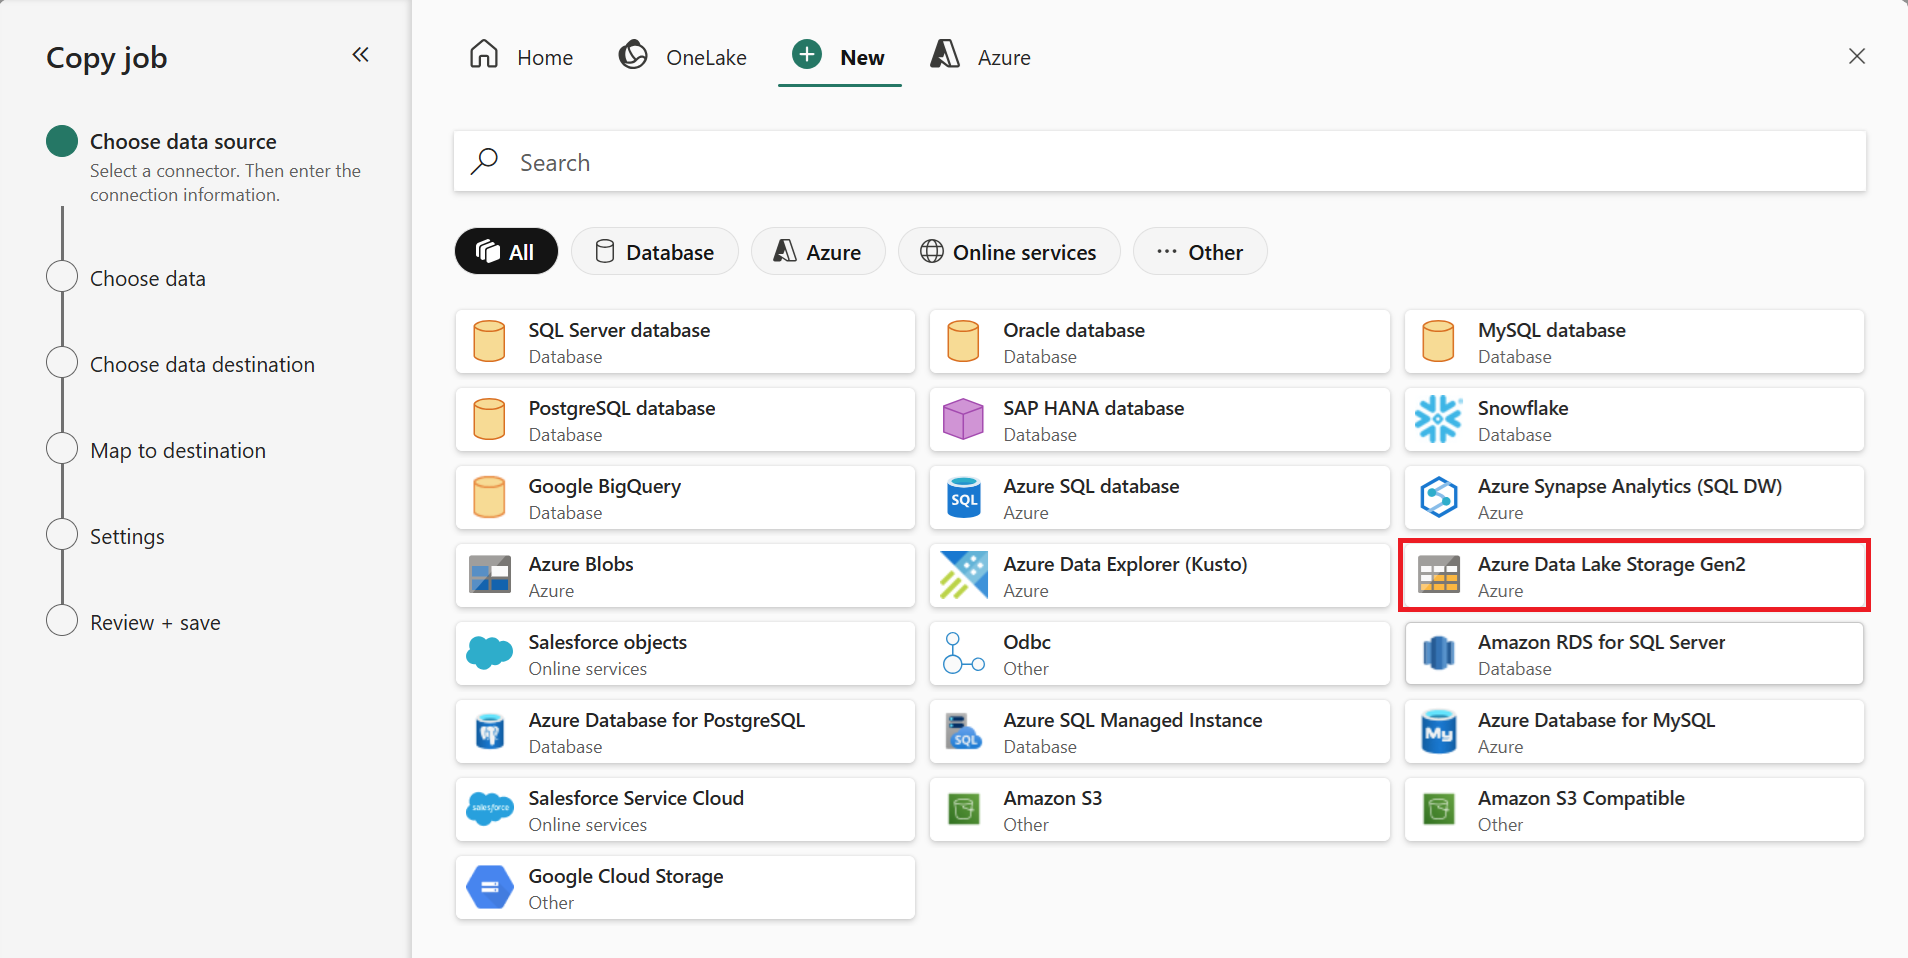
To connect to Azure Data Lake Storage Gen2, enter your Storage url and Credentials to connect to Azure Data Lake Storage Gen2. For other data stores, the connection details will vary. You can copy data securely within a virtual network environment using on-premises or virtual network gateway.

Select the folders or files to copy. You can use the search box to find specific files or folders.
Tip
Schema agnostic (binary copy) copies files to another data store without parsing the schema. This approach can significantly improve copy performance.
Select your destination store. In this example, we chose Lakehouse.
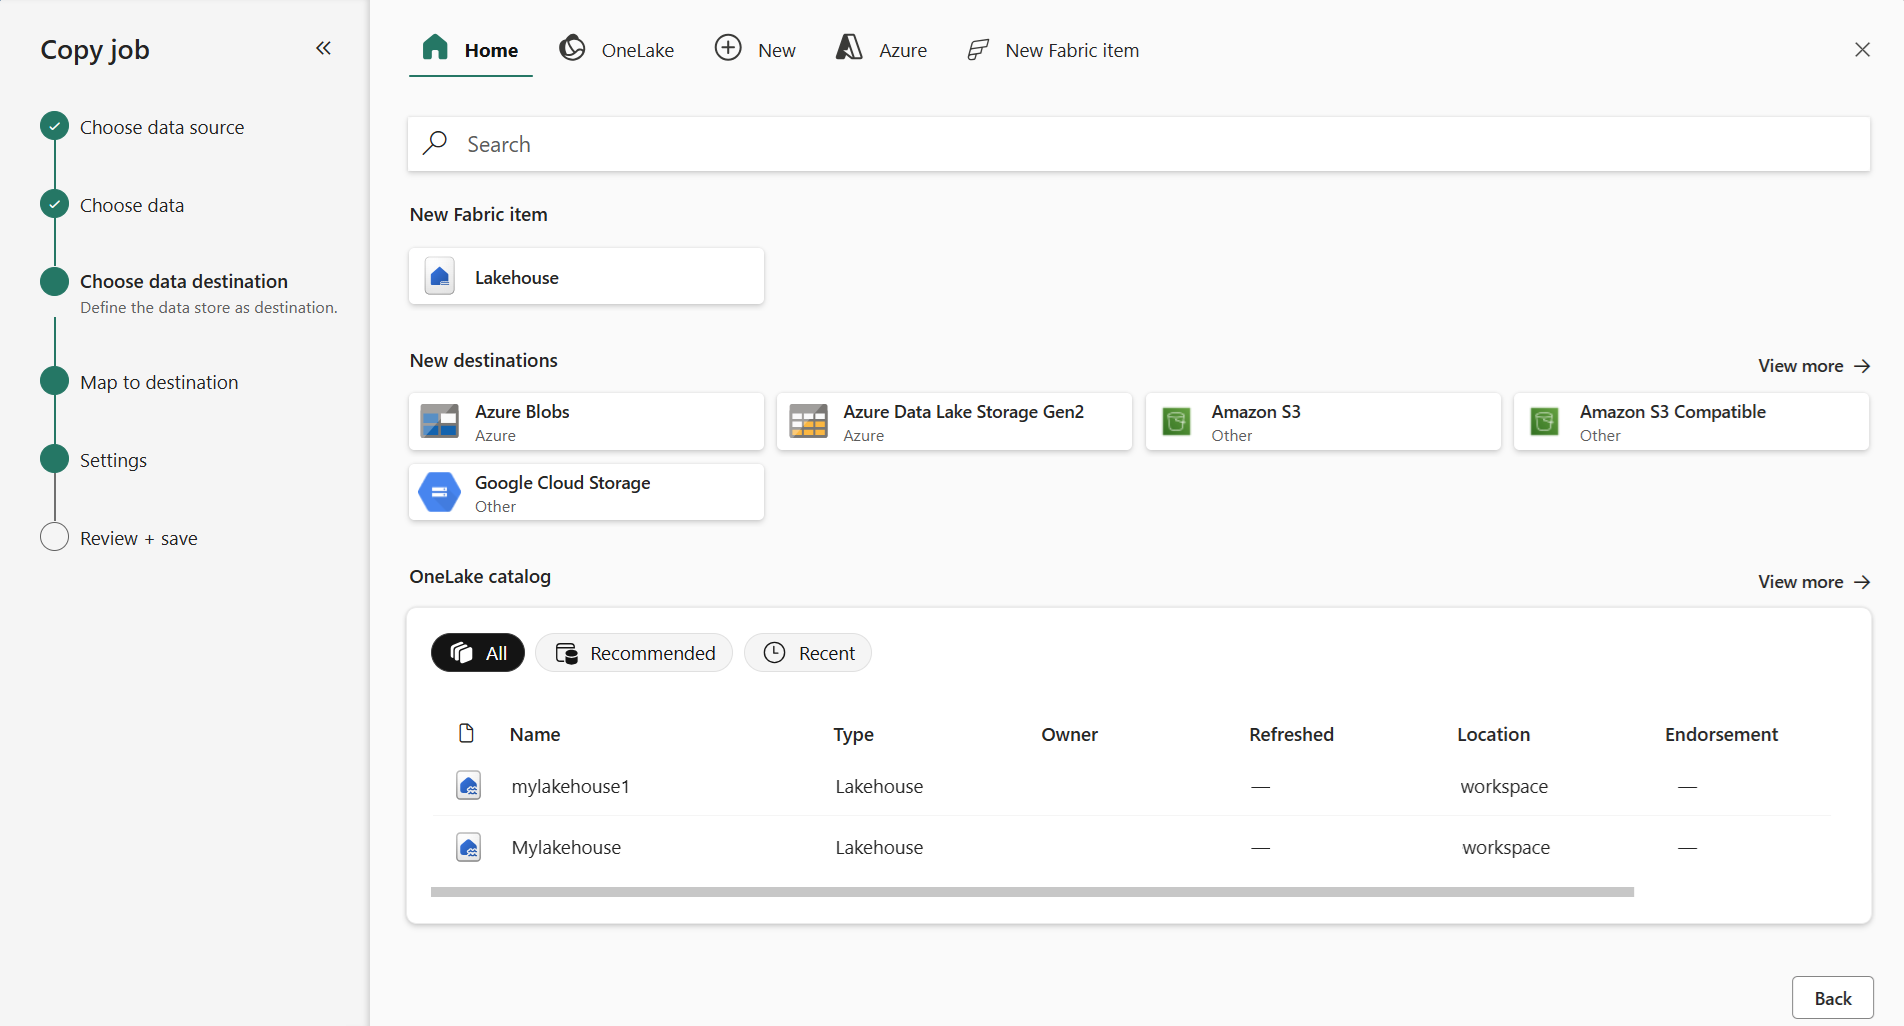
Select the Folder path in your destination storage. Choose Preserve Hierarchy to maintain the same folder structure as the source, or Flatten Hierarchy to place all files in a single folder.

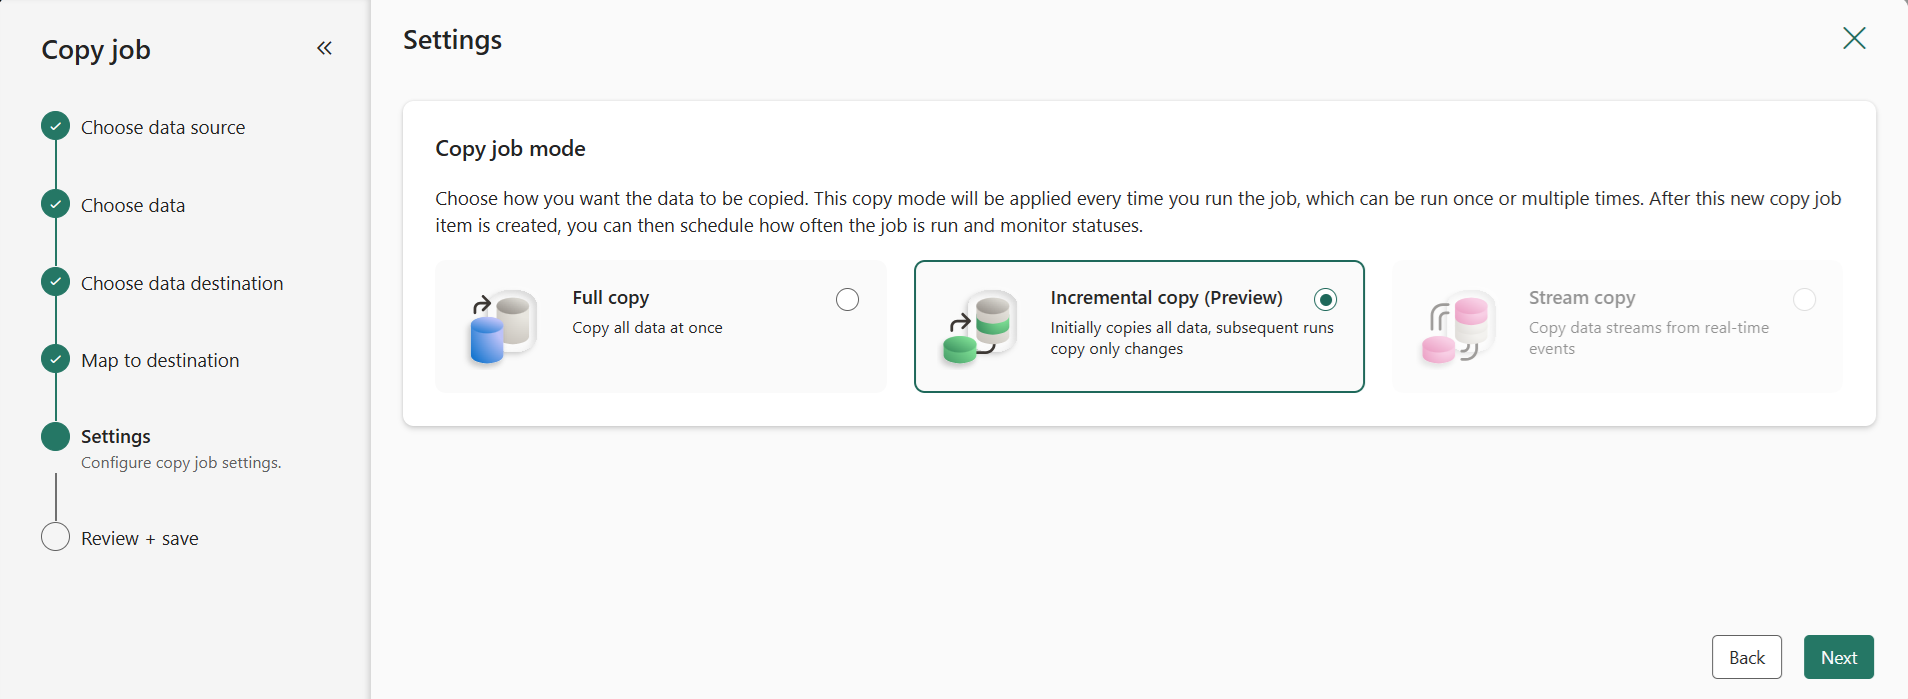
Choose a copy mode: Full data copy or Incremental copy. In this example, we use Incremental copy so that the Copy job will copy all files on the first run, and then copy only new or updated files in the next runs.
Review the job summary, select your run option to run once or on a schedule, and select Save + Run.
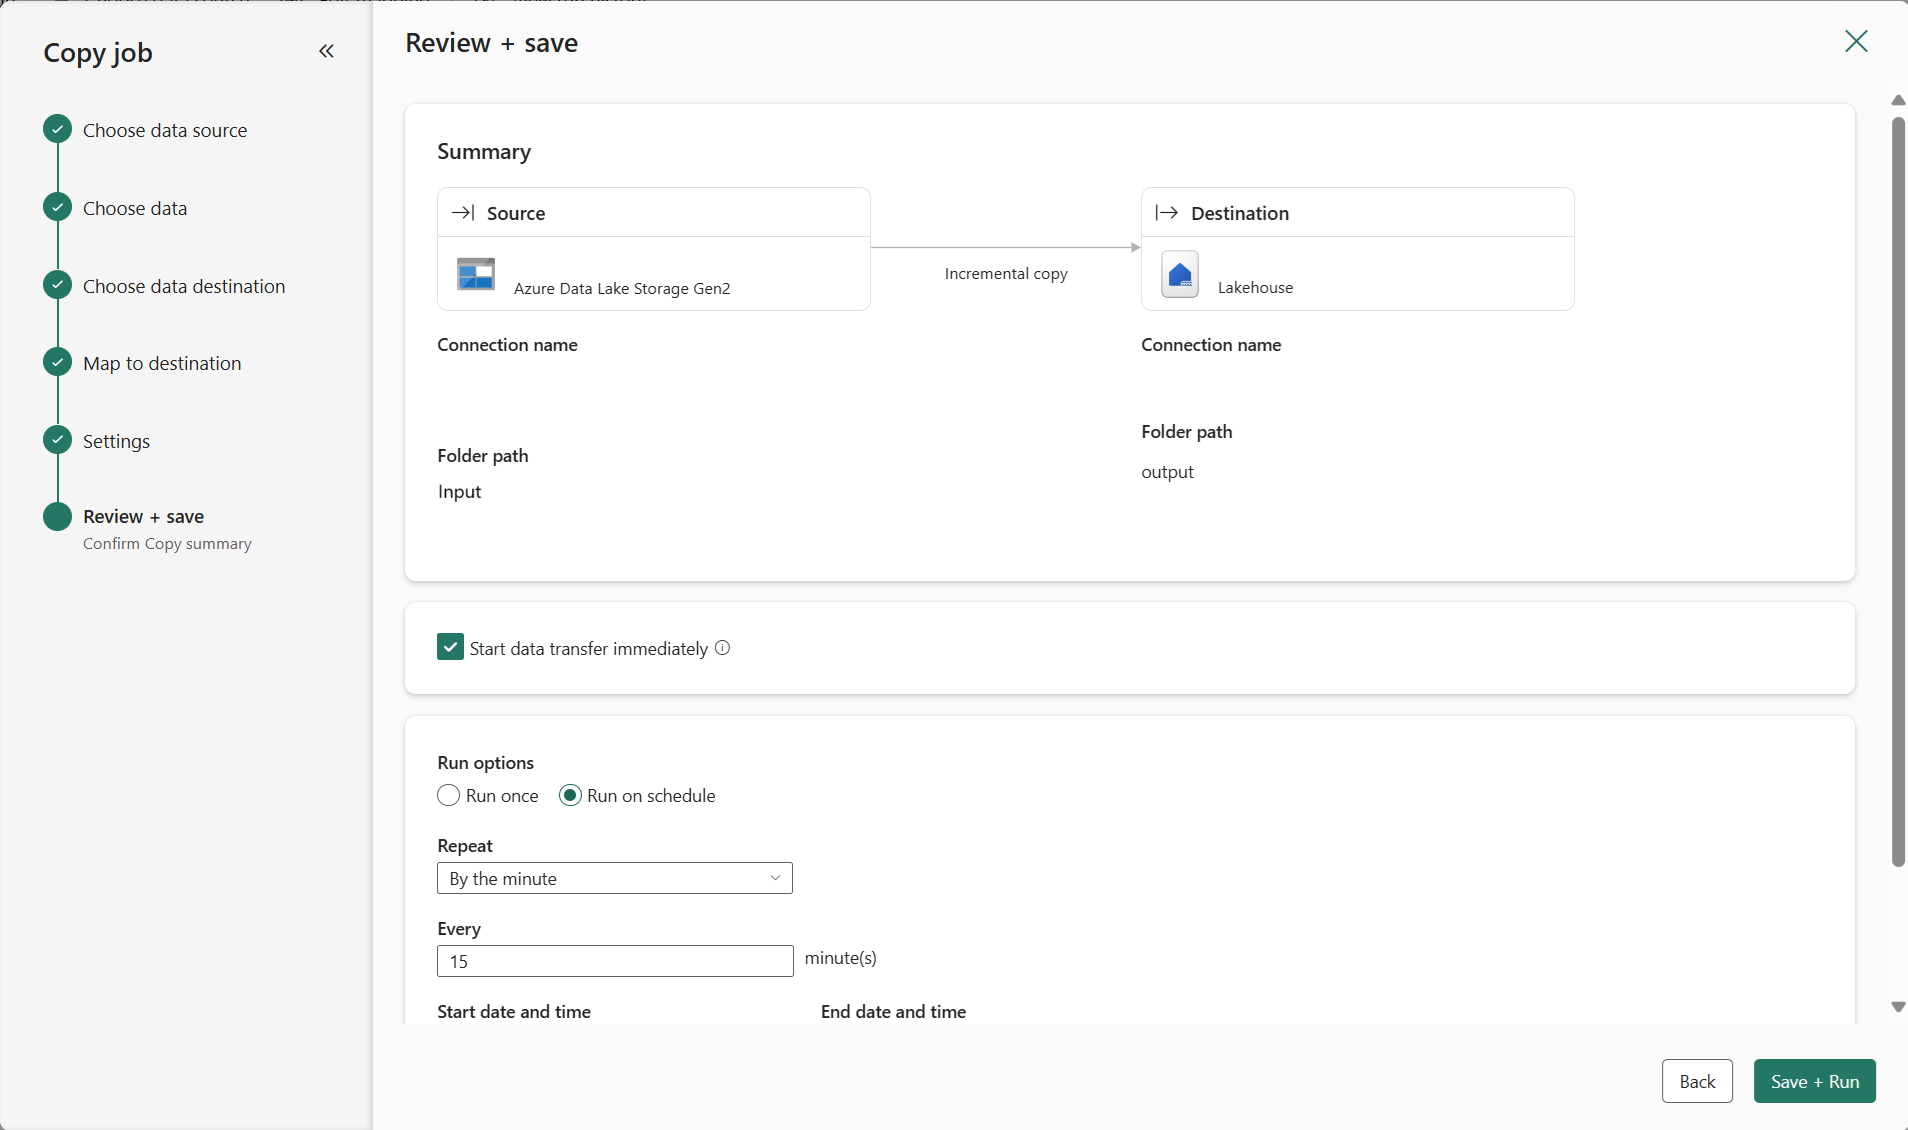
Your Copy job starts immediately, and you can track the job's status from the inline monitoring panel that has information including row counts and copy duration for each file. Learn more in How to monitor a Copy job.

You can re-run your Copy job whenever you want, even if it's set to run on a schedule. Just select the Run button at any time, and Copy job copies only the data that's changed since the last run.
You can also edit your Copy job at any time, including configuring the schedule, or adjusting advanced settings.
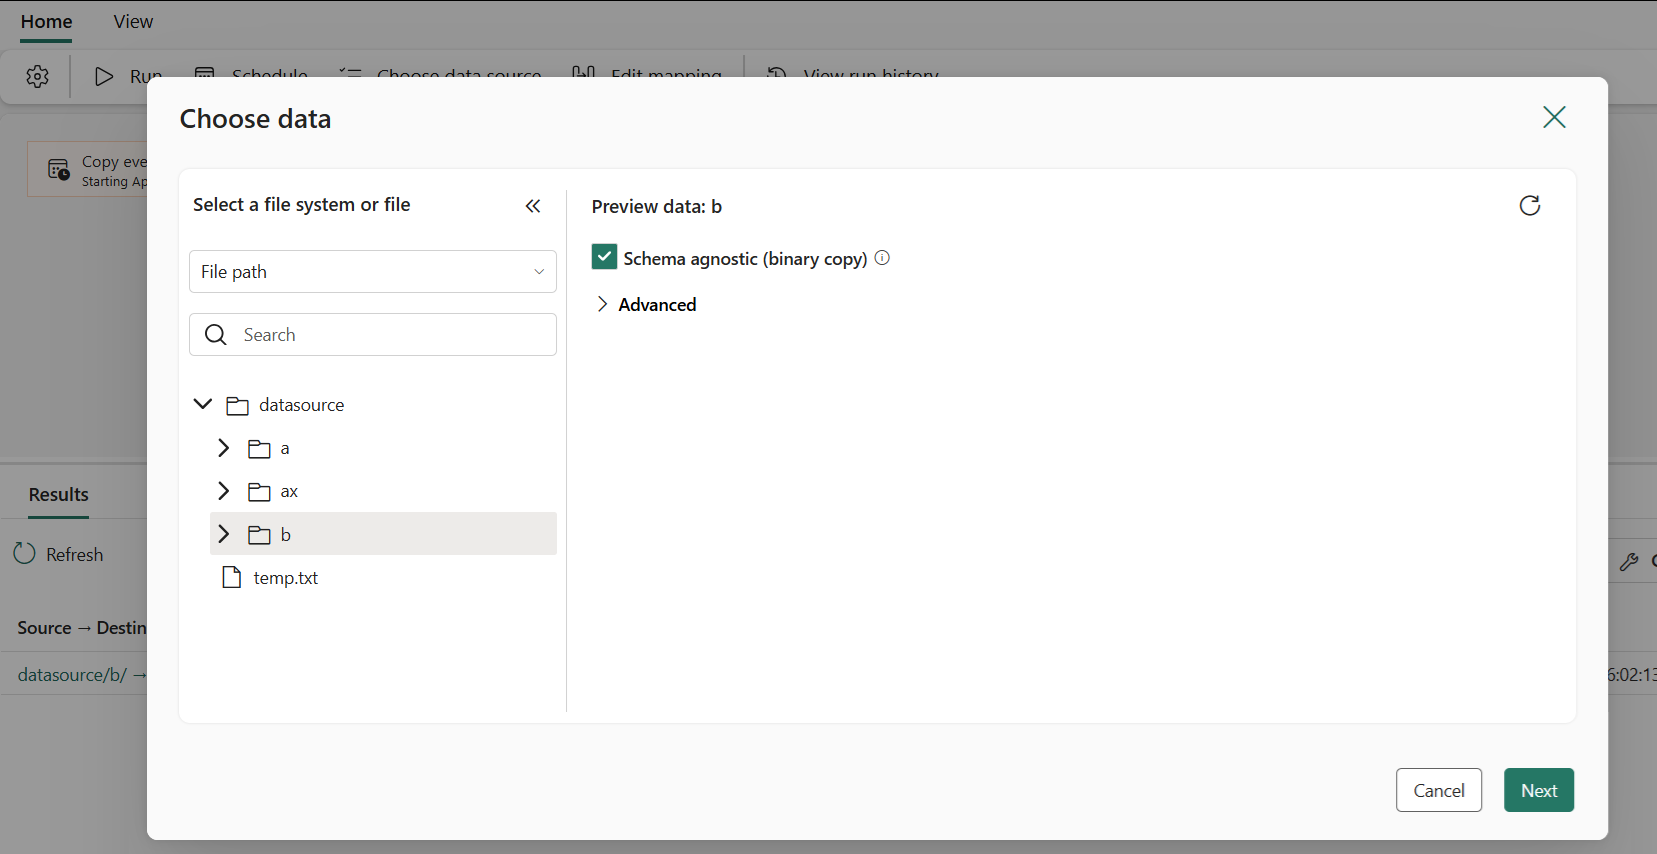


Choose data source for Copy job
To get data for a Copy job, the experience offers several source and destination selection options. Depending on what you're looking for, select the option from the top of the get data experience:
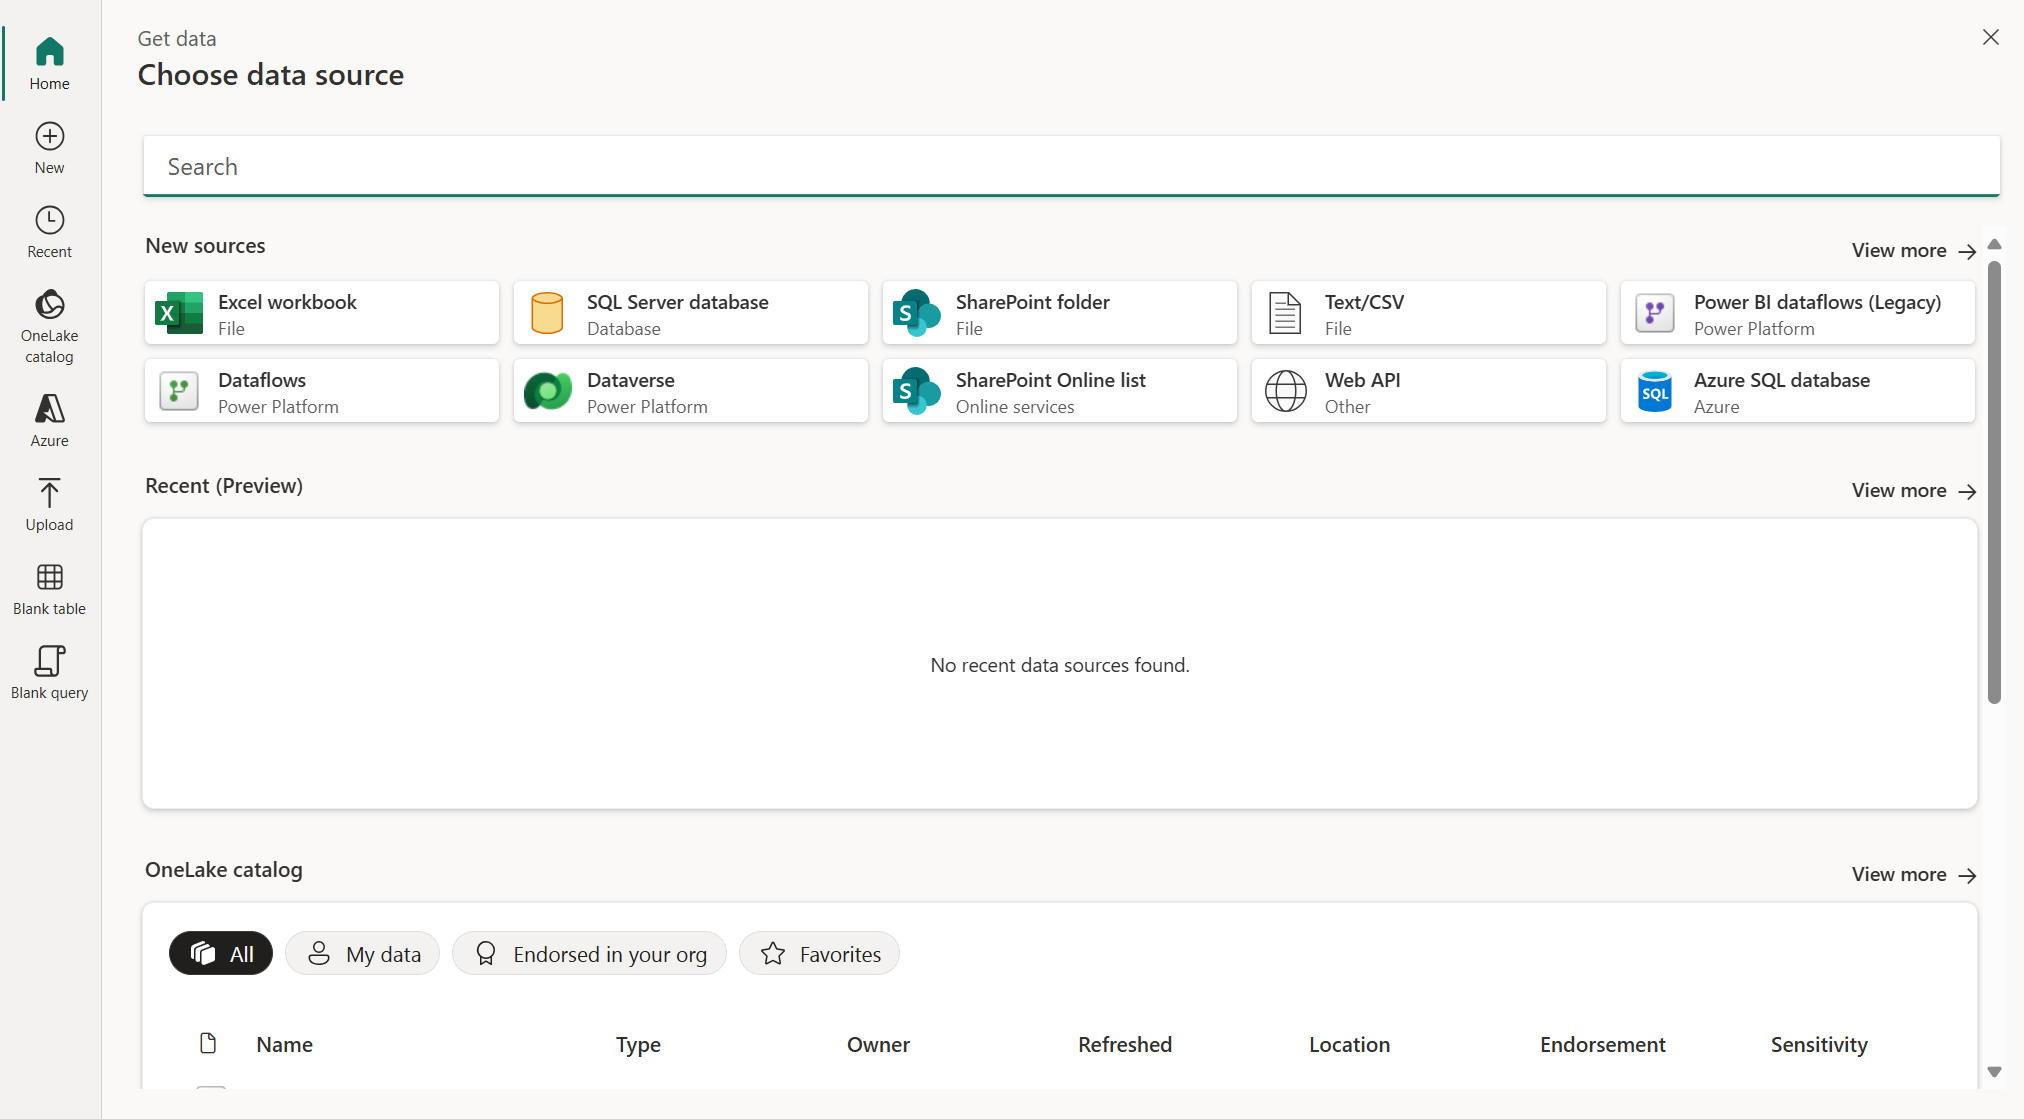
Home:
The home page acts as a summary of all the modules and presents you with different options to expedite the process and get you closer to your data. Typically, this module contains any existing data sources and gives you the option to use a new data source, table, and upload files. From the home page, you can select View more on the right side of the New sources, Recent (Preview), and OneLake catalog sections to visit those modules.
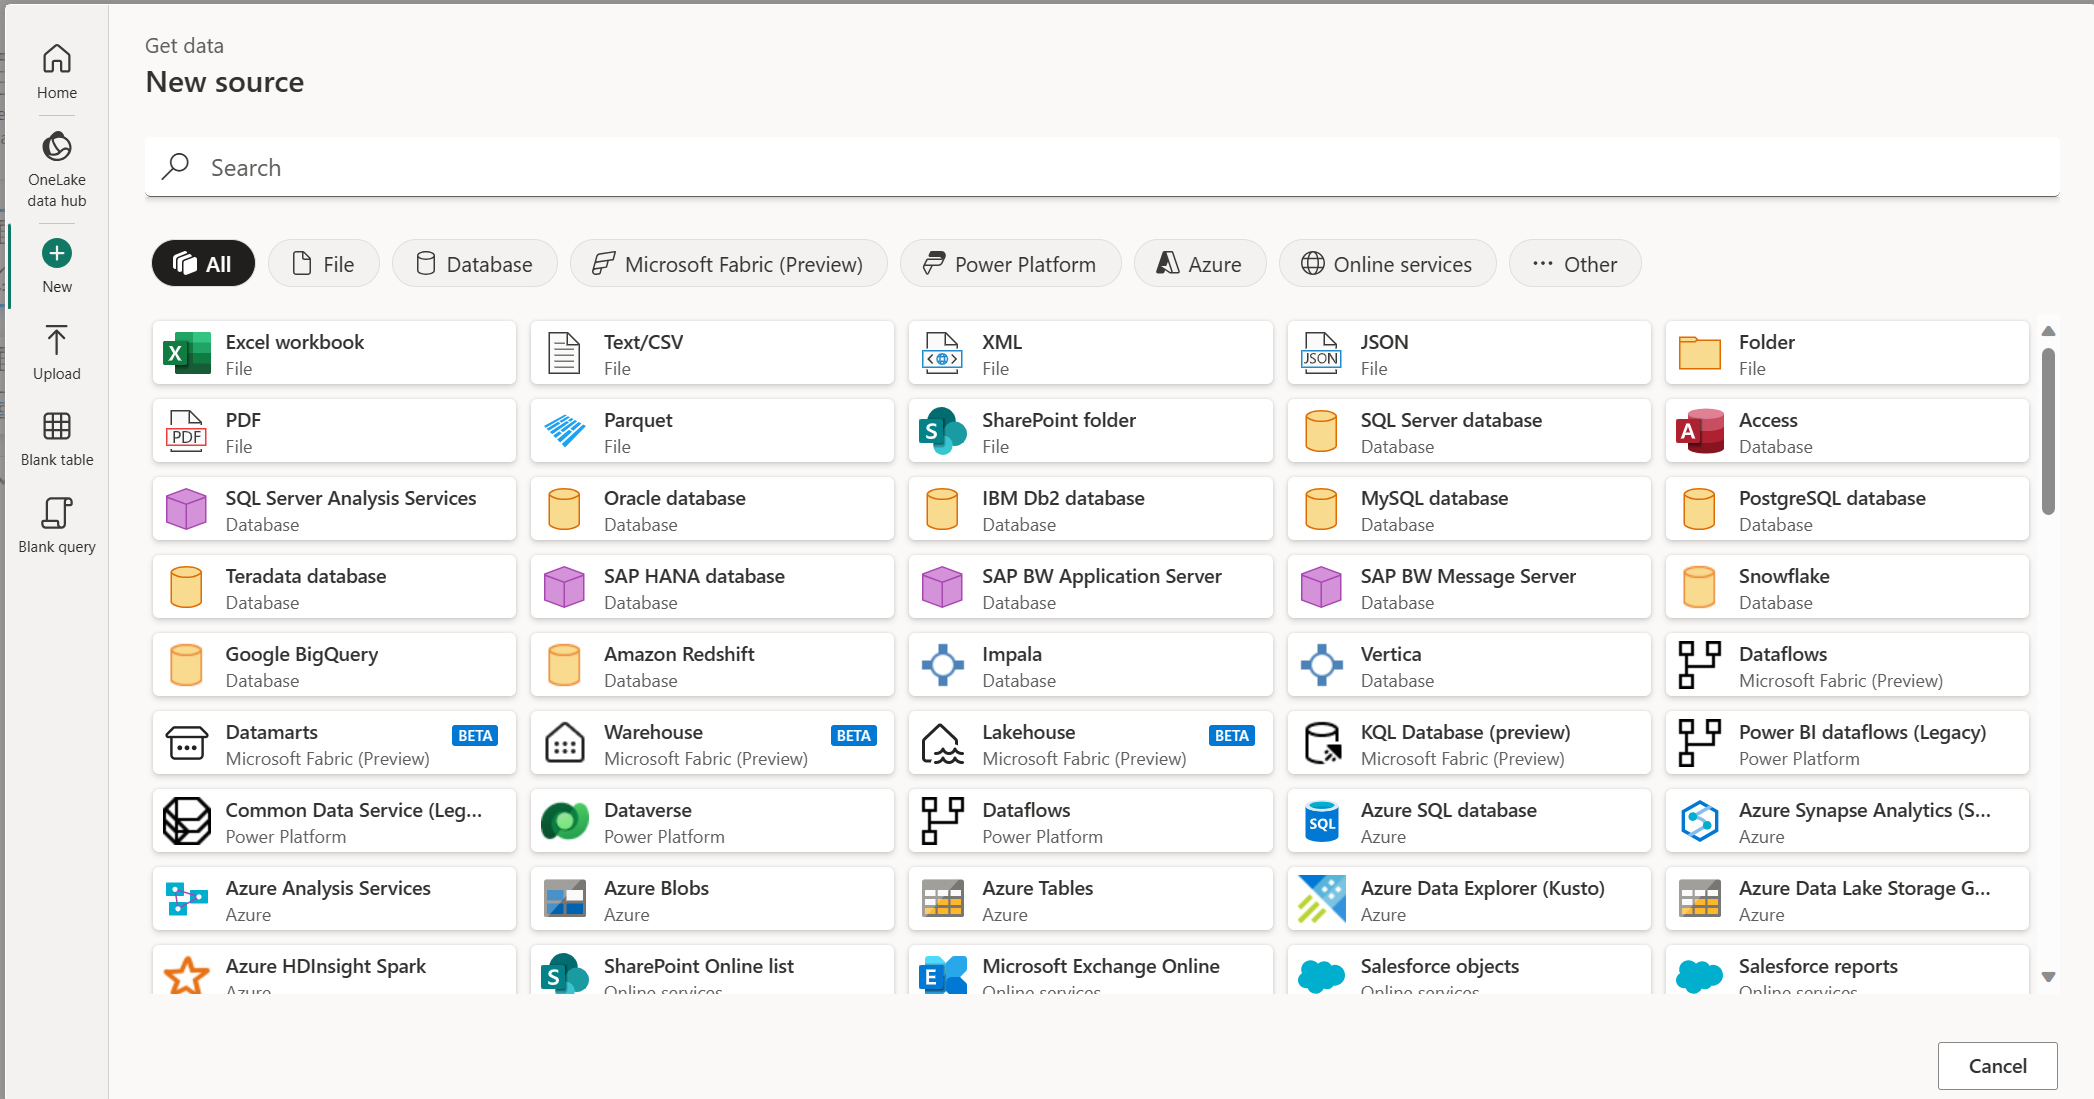
New:
The New module is the new data source module, where you can select from the full list of connectors. On this page, you can search for a connector across all categories by using the search bar at the top of the page. You can also navigate across the categories to find a specific connector to integrate with. When you select a connector, you open the connection settings window, which starts the process of connecting.
OneLake catalog:
In Microsoft Fabric, the OneLake catalog module makes it easy to find, explore, and use the Fabric data items in your organization that you have access to. It provides information about the items and entry points for working with them. For more information about the OneLake catalog, see OneLake catalog.
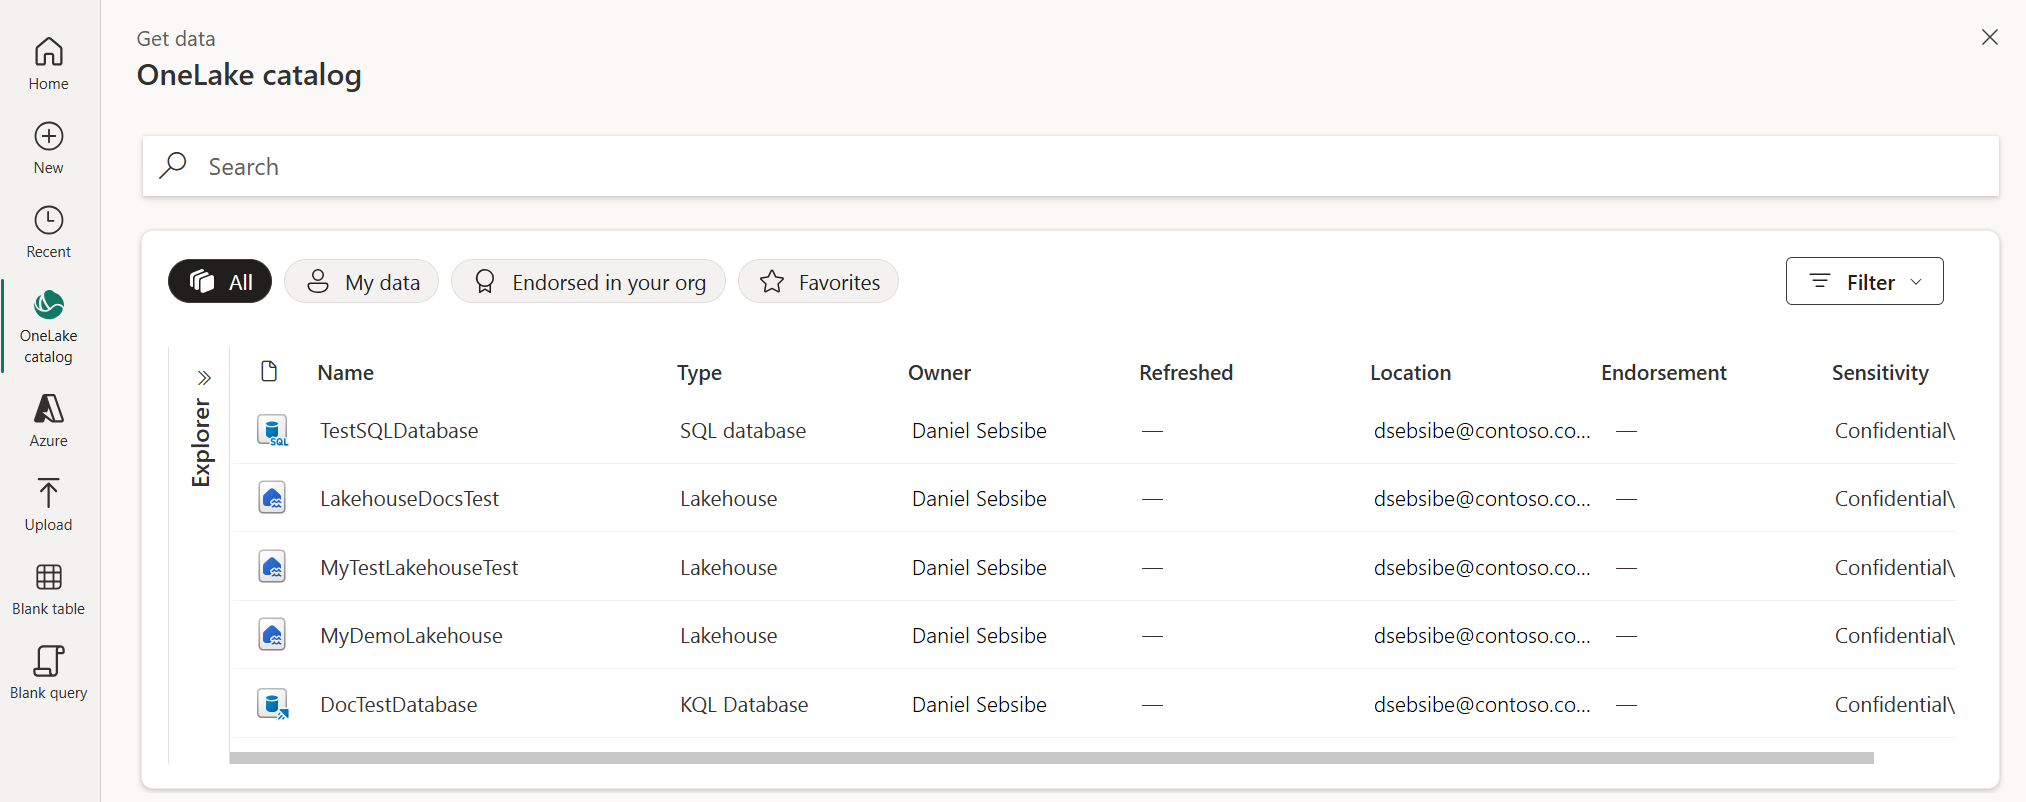
Azure:
The Azure module enables you to connect to Azure-hosted data sources such as Azure SQL Database, Azure Blob Storage, and Azure Data Lake Storage.

Sample data:
Sample data provides prepared datasets that you can use to explore Fabric tools or test a scenario without connecting to your own data source. You can choose from several sample datasets of varying size and type.
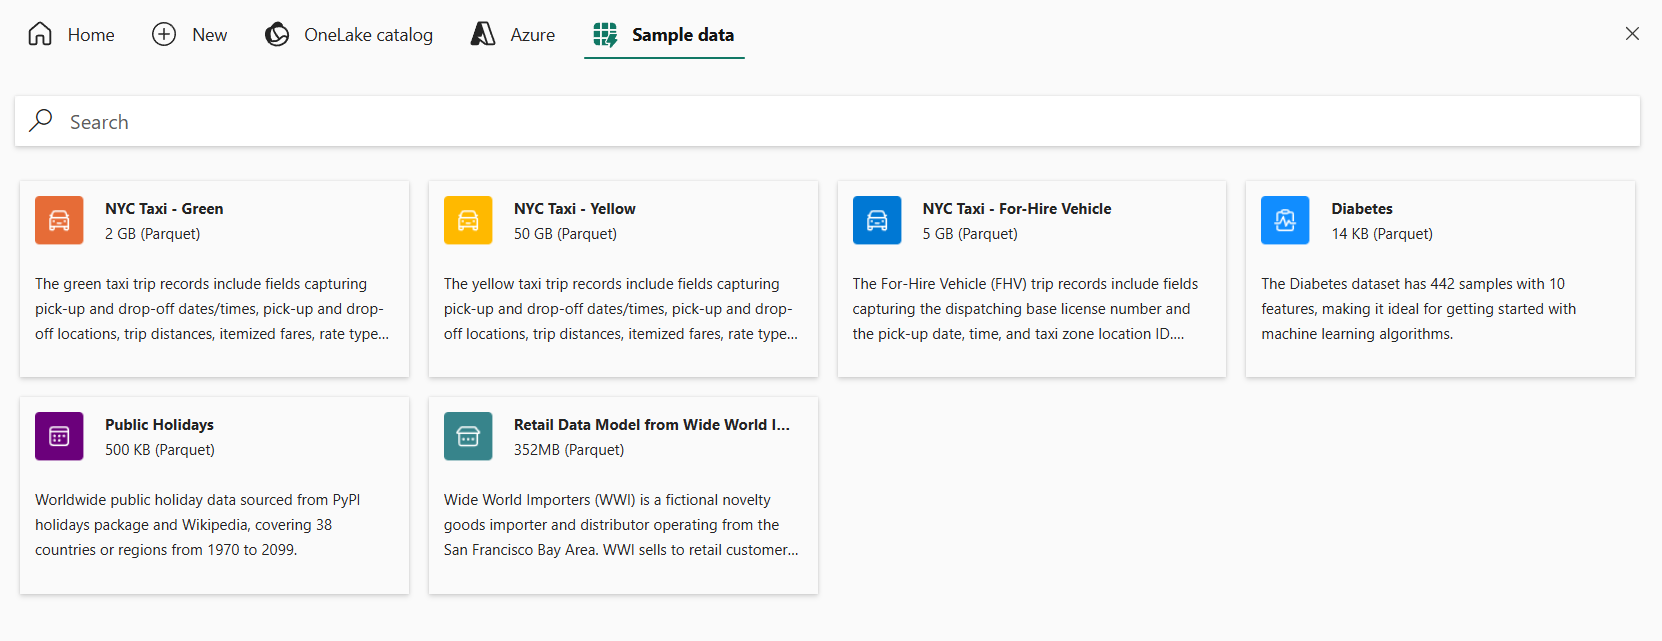
New Fabric item:
The New Fabric item module enables you to create a Microsoft Fabric item to use as a destination. This module appears when you choose a destination in supported Microsoft Fabric experiences.


Known limitations
- Currently, incremental copy mode only works with some sources. For details, see supported connectors for Copy job.
- Row deletion can't be captured from a source store.
- When copying files to storage locations, empty files will be created at the destination if no data is loaded from the source.