Note
Access to this page requires authorization. You can try signing in or changing directories.
Access to this page requires authorization. You can try changing directories.
Power Query can connect to many different data sources so you can work with the data you need. This article provides a high-level overview of the stages for bringing in data to Power Query either in Power Query Desktop or Power Query Online. For product-specific instructions on how to start the get data experience, go to Where to get data.
Connecting to a data source with Power Query follows a standard set of stages before landing the data at a destination. This article summarizes each of these stages.
The stages differ between Power Query Desktop and Power Query Online. In Power Query Desktop, connection settings and authentication are separate stages, and after previewing data, you choose a query destination. In Power Query Online, connection settings and credentials are combined in a reusable connection, and selected data always opens in the Power Query editor before you save it.
Important
In some cases, a connector might have all stages of the get data experience, and in other cases a connector might have just a few of them. For more information about the experience of a specific connector, go to the documentation available for the specific connector by searching on the Connectors in Power Query article.
Power Query Desktop experience
The stages for getting data in the Power Query Desktop experiences are:

1. Connection settings
Most connectors initially require at least one parameter to initialize a connection to the data source. For example, the SQL Server connector requires at least the host name to establish a connection to the SQL Server database.

In comparison, when trying to connect to an Excel file, Power Query requires that you use the file path to find the file you want to connect to.
The connector parameters are commonly used to establish a connection to a data source, and they—in conjunction with the connector used—define a data source path.
Note
Some connectors don't require any parameters. These connectors are called singleton connectors and have only one data source path available per environment. Some examples are Adobe Analytics, Mailchimp, and Google Analytics.
For a full list of available connectors and the products they support, go to Connectors in Power Query.
2. Authentication
Power Query authenticates every connection. The authentication methods vary by connector, and some connectors offer multiple authentication methods.
The currently available methods of authentication for Power Query are:
- Anonymous: Commonly used when connecting to a data source that doesn't require user authentication, such as a webpage or a file available over public HTTP.
- API Key: Power Query accepts a single API key for authentication.
- Basic: Power Query accepts a username and password sent in base64 encoding.
- Database: This method is only available in some database connectors.
- Organizational account or Microsoft account: This method is also known as OAuth 2.0.
- Service Principal: Uses Microsoft Entra ID for authentication.
- Windows: Can be implicit or explicit.
For example, the available authentication methods for the SQL Server database connector are Windows, Database, and Microsoft account.

For more information about how authentication works, how to change credentials, and how to troubleshoot authentication issues, go to Connector authentication.
3. Data preview
The goal of the data preview stage is to provide you with a user-friendly way to preview and select your data.
Depending on the connector that you use, you can preview data by using either:
- Navigator window
- Table preview dialog box
Navigator window (navigation table)
The Navigator window consists of two main sections:
The object selection pane appears on the left side of the window. You can interact with and select these objects.
Note
For Power Query in Excel, select the Select multiple items option from the upper-left corner of the Navigator window to select more than one object at a time in the object selection pane. The list of objects in Power Query Desktop is limited to 10,000 items. This limit doesn't exist in Power Query Online. For a workaround in Power Query Desktop, go to Object limitation workaround.
The data preview pane on the right side of the window shows a preview of the data from the object you selected.


Object limitation workaround
There's a fixed limit of 10,000 objects in the Navigator in Power Query Desktop. This limit doesn't occur in Power Query Online.
In the interim, you can use the following workaround:
Right-click the root node of the Navigator, and then select Transform Data.

The Power Query editor then opens with the full navigation table in the table preview area. This view doesn't have a limit on the number of objects, and you can use filters or any other Power Query transforms to explore the list and find the rows you want (for example, based on the Name column).
When you find the item you want, you can access the contents by selecting the data link (such as the Table link in the following image).

Table preview dialog box
The table preview dialog box consists of only one section for the data preview. An example of a connector that provides this experience and window is the Folder connector.

4. Query destination
At this stage, specify where to load the query. The available destinations depend on the Power Query Desktop product, but Transform data is always available and loads the data into the Power Query editor for further transformation.

Power Query Online experience
The stages for getting data in Power Query Online are:

1. Connection settings and authentication
In the Power Query Online experience, you begin with the Connect to data source page where you enter values in two distinct sections:
Connection settings
Connection credentials

Connection settings
In the connection settings section, you define the information needed to establish a connection to your data source. Depending on your connector, that information could be the name of the server, the name of a database, a folder path, a file path, or other information required by the connector to establish a connection to your data source. Some connectors also enable specific subsections or advanced options to give you more control and options when connecting to your data source.

Connection credentials
The first time you use Power Query to connect to a specific data source, you're required to create a new connection associated with that data source. A connection is the full definition of the gateway, credentials, privacy levels, and other connector-specific fields that make up the connection credentials required to establish a connection to your data source. For a detailed walkthrough of connection settings and credentials in Power Query Online, go to Connections and authentication in Power Query Online.
Note
Some connectors offer specific fields inside the connection credentials section to enable or define any sort of security related to the connection that needs to be established. For example, the Amazon Redshift connector offers the Use Encrypted Connection field.

The primary information required by all connectors to define a connection is:
- Connection name: The name that you can define to uniquely identify your connections. You can't duplicate the name of a connection in your environment.
- Data gateway: If your data source requires a data gateway, select the gateway by using the dropdown list in this field. To learn more about data gateways, go to On-premises data gateways documentation.
- Authentication kind and credentials: Depending on the connector, multiple authentication kind options and credential fields are available. For example, when you select the Windows authentication kind, the Username and Password fields appear.
- Privacy level: You can define the privacy level for your data source to be either None, Private, Organizational, or Public. For more information, go to Privacy levels.
Important
Some Power Query integrations don't currently enable a defined connection or a privacy level. But, all Power Query Online experiences do provide a way to define the data gateway, authentication kind, and the credentials needed to establish a connection with your data source.
After you define a connection in Power Query Online, you can reuse it later without reentering the connection information. The Connection field offers a dropdown menu where you select a defined connection. After you select it, you don't need to enter any other details before selecting Next.

After you select a connection from this menu, you can also make changes to the credentials, privacy level, the data gateway, and other connector-specific fields for your data source in your project. Select Edit connection, then under Connection, select Create new connection. Then change any of the provided fields.

For more information about managing, editing, and reusing connections, go to Manage connections.
2. Data preview
The goal of the data preview stage is to provide you with a user-friendly way to preview and select your data.
Depending on the connector that you're using, you can preview data by using either:
- Navigator window
- Table preview dialog box
Navigator window (navigation table) in Power Query Online
The Navigator window consists of two main sections:
The object selection pane appears on the left side of the window. You can interact with and select these objects.
The data preview pane on the right side of the window shows a preview of the data from the object you selected.


Table preview dialog box in Power Query Online
The table preview dialog box consists of only one section for the data preview. An example of a connector that provides this experience and window is the Folder connector.
3. Query editor
For Power Query Online, you must load the data into the Power Query editor. In the editor, you can further transform and enrich the query.

Get data modules in Power Query Online
The get data experience in Power Query Online uses a modular interface separated into modules on the left navigation bar. Depending on the product and connector, these modules include:
- Home
- New data source
- Recent data sources
- Dataflow templates (Power BI service only)
- OneLake catalog (Fabric only)
- New Fabric item (Fabric destinations only)
- Azure data sources
- Upload file
- Blank table
- Blank query
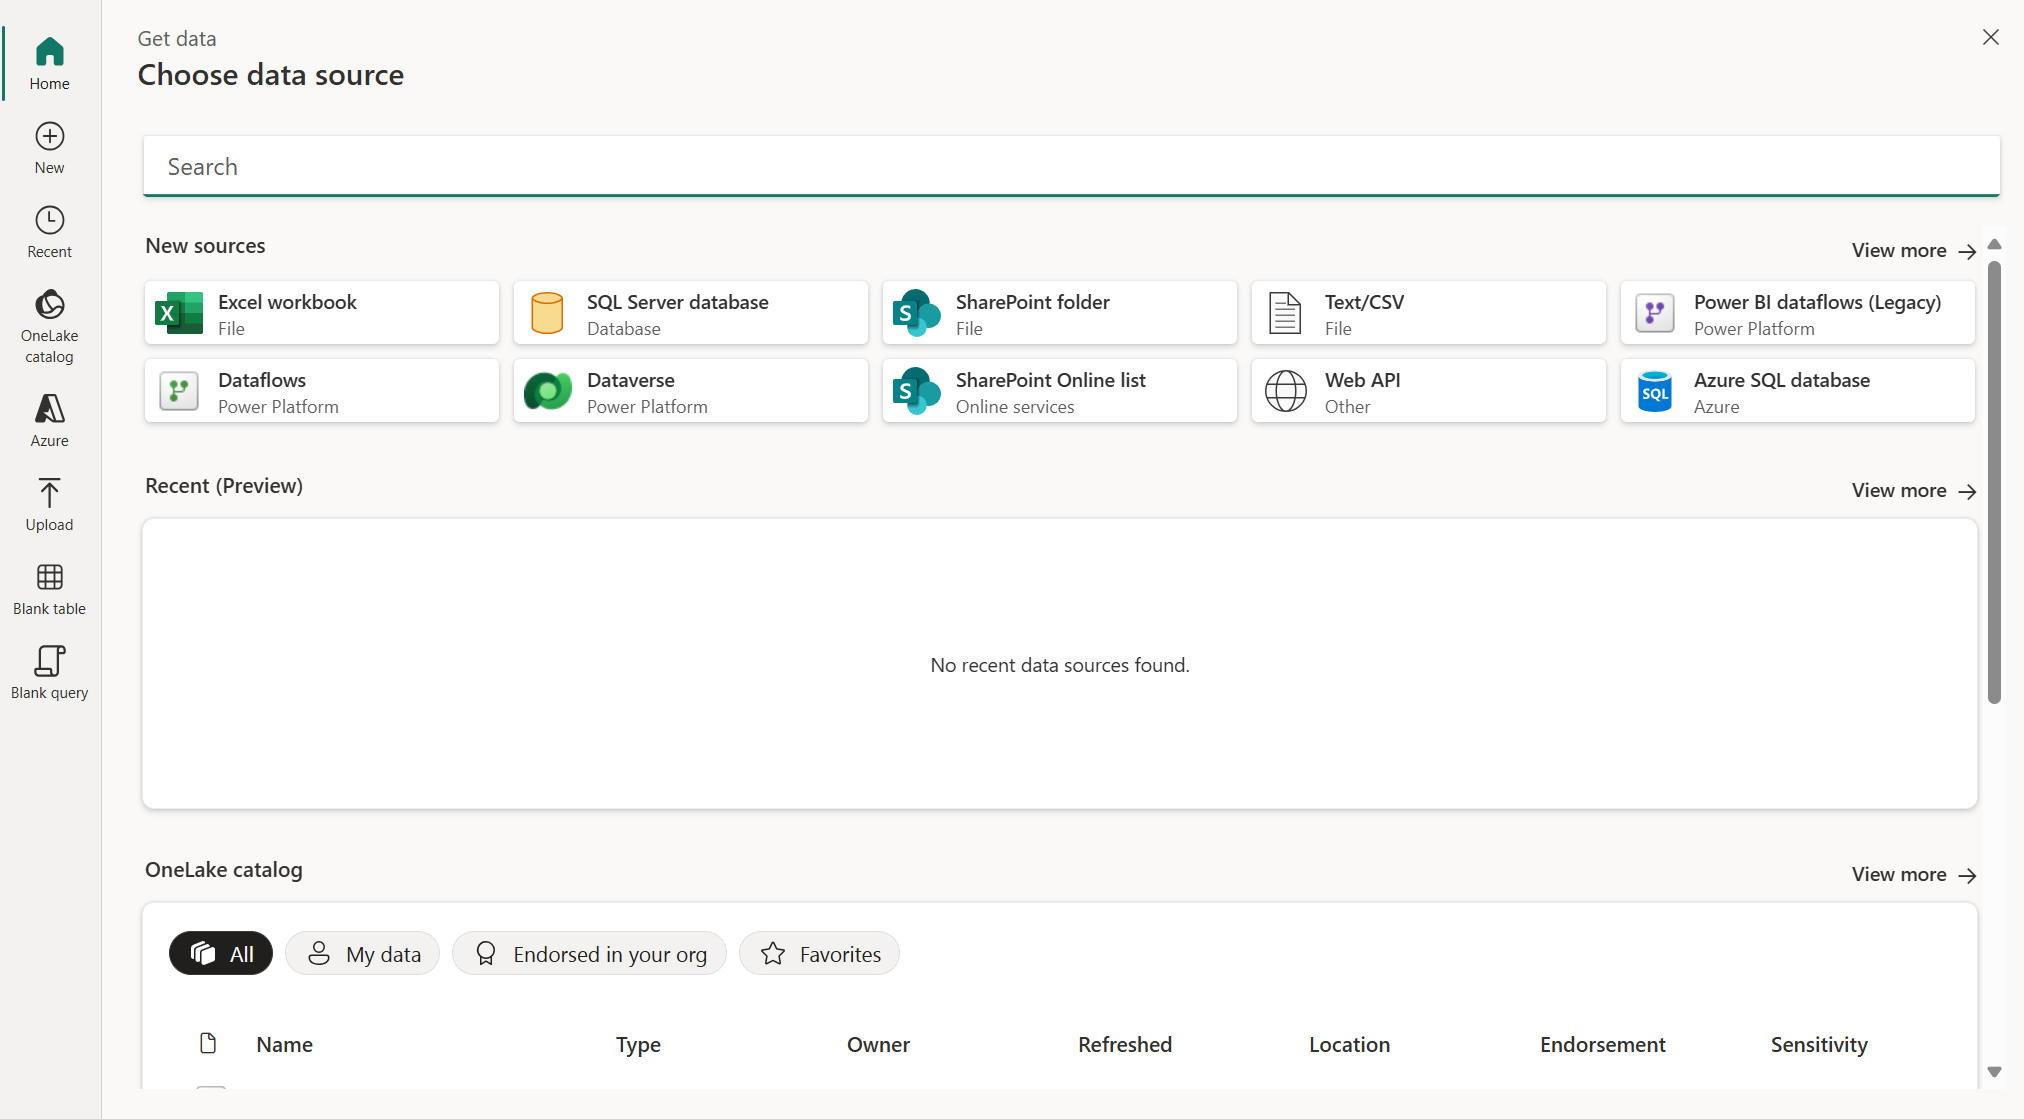
Home module
The home page acts as a summary of all the modules and presents you with different options to expedite the process and get you closer to your data. Typically, this module contains any existing data sources and gives you the option to use a new data source, table, and upload files. From the home page, you can select View more on the right side of the New sources, Recent (Preview), and OneLake catalog sections to visit those modules.
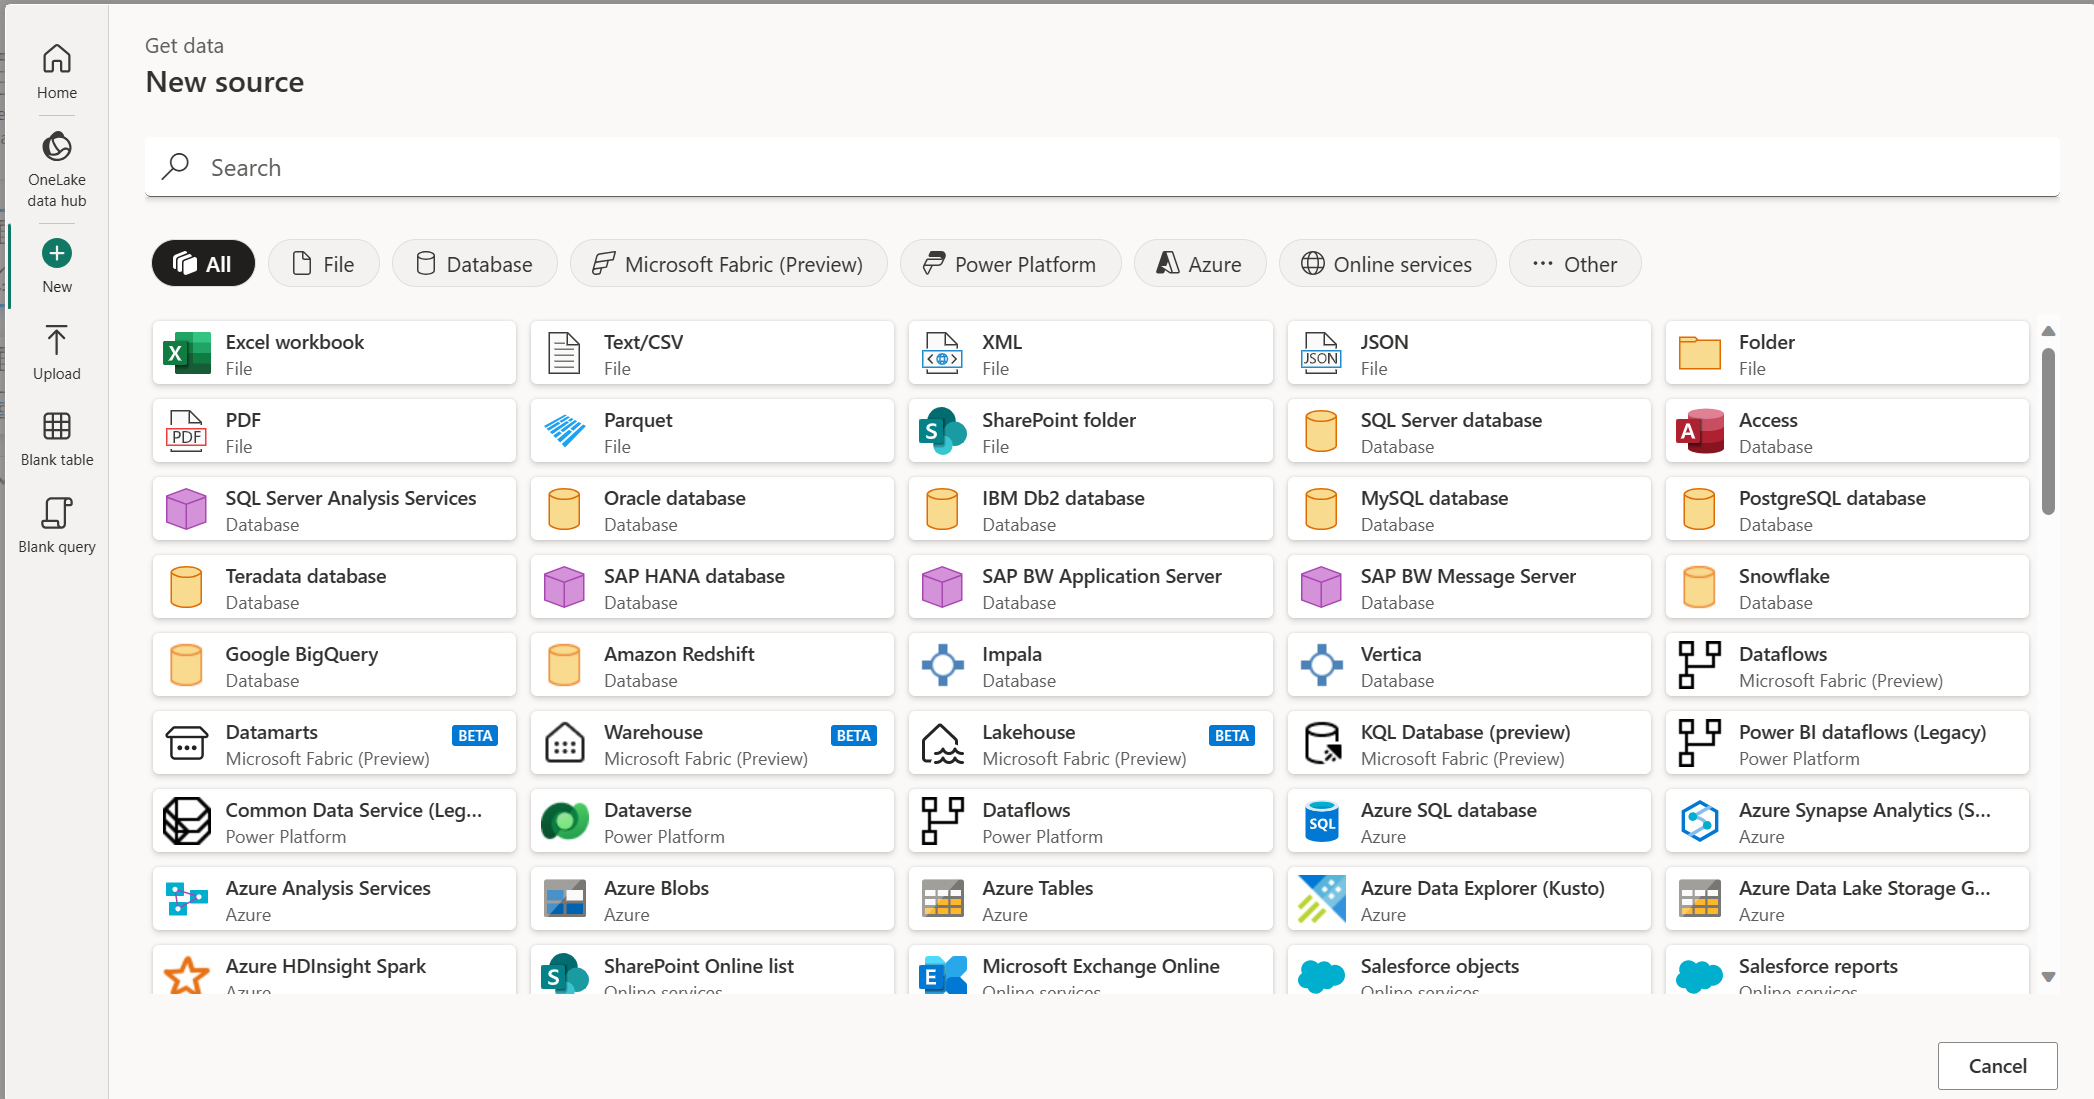
New data source module
The New module is the new data source module, where you can select from the full list of connectors. On this page, you can search for a connector across all categories by using the search bar at the top of the page. You can also navigate across the categories to find a specific connector to integrate with. When you select a connector, you open the connection settings window, which starts the process of connecting.
Recent data sources module
The Recent module displays recently used data sources, so you can quickly reconnect to sources you used before.

Dataflow templates module
In the Power BI service, the Dataflow templates module provides predefined entity and field mappings for moving data from source to destination in the Common Data Model, so you don't need to configure mappings manually. For more information about templates, see Introducing dataflow templates; A quick and efficient way to build your sales leaderboard and get visibility over your sales pipeline.

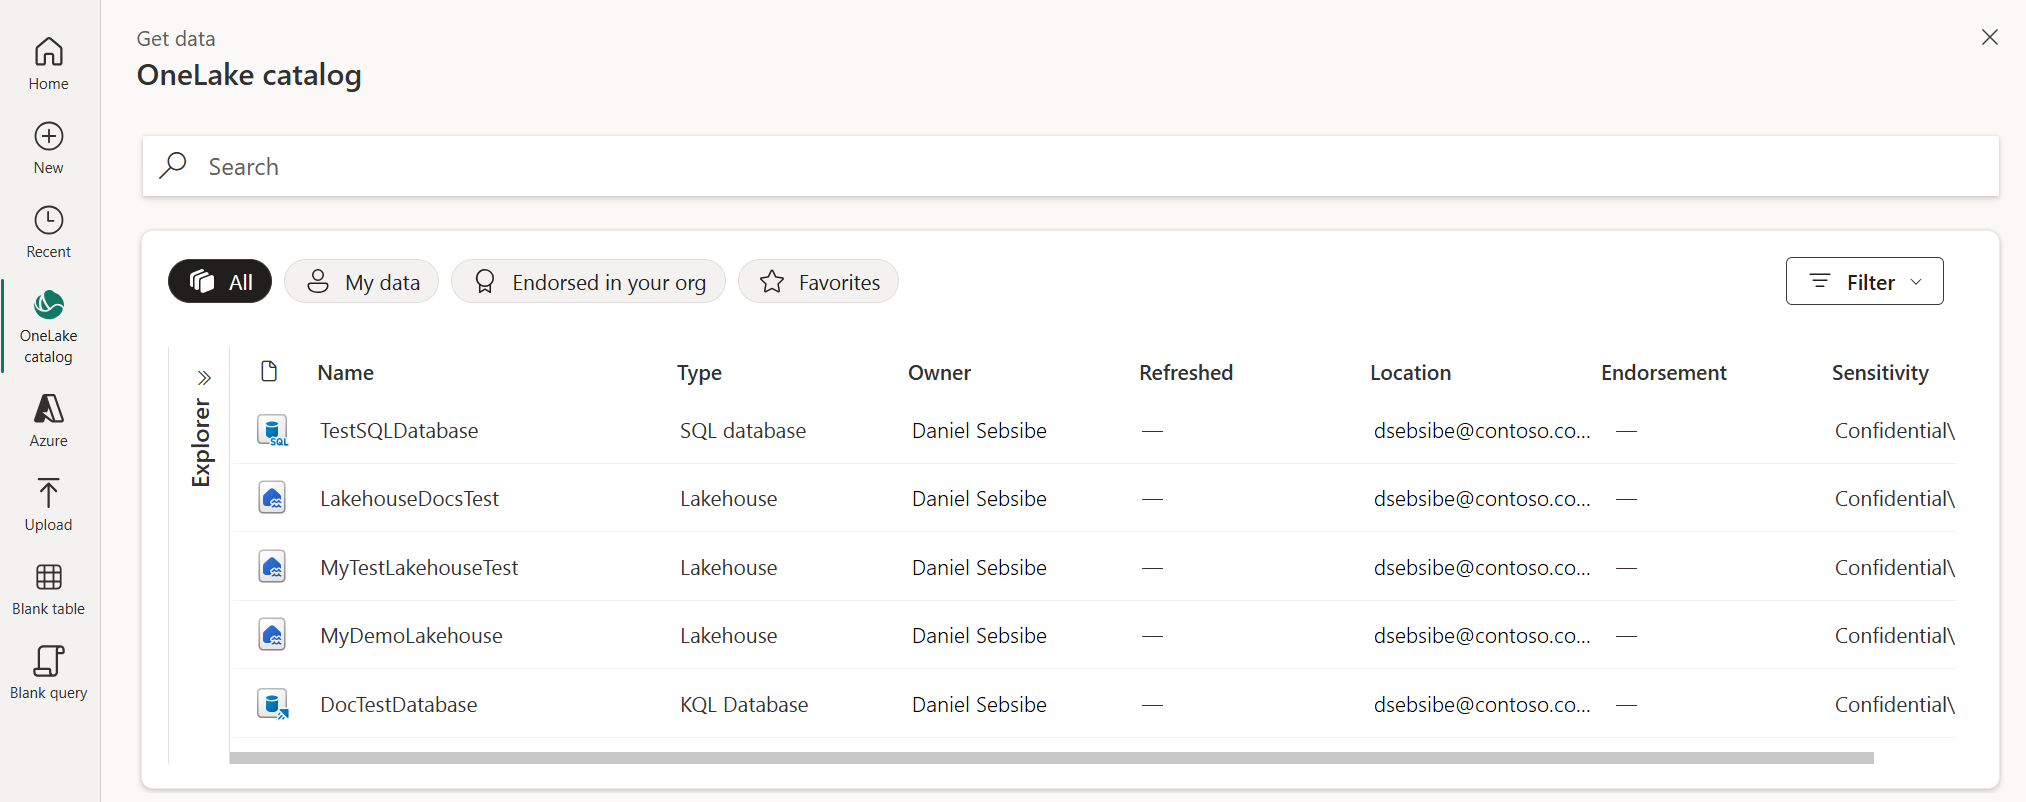
OneLake catalog module
In Microsoft Fabric, the OneLake catalog module makes it easy to find, explore, and use the Fabric data items in your organization that you have access to. It provides information about the items and entry points for working with them. For more information about the OneLake catalog, see OneLake catalog.
New Fabric item module
The New Fabric item module enables you to create a Microsoft Fabric item to use as a destination. This module appears when you choose a destination in supported Microsoft Fabric experiences.

Azure data sources module
The Azure module enables you to connect to Azure-hosted data sources such as Azure SQL Database, Azure Blob Storage, and Azure Data Lake Storage.

Upload file module
The Upload module accepts file uploads directly through local file browsing or drag and drop. The following connectors support this capability:
For more information about uploading files, see Upload a file.

Blank table module
The Blank table module provides a quick start for creating a table in a Power Query dataflow.

Blank query module
The Blank query module enables you to write or paste your own M script to create a new query.

Save and load your data
After you transform your data, use the product-specific command to save and load it: Close & Load in Excel, Close & Apply in Power BI Desktop, Save & close in Power Query Online, or Import or Close & Apply in Analysis Services.
For example, if you open the Power Query editor from Excel, you save and load your changes using the Close & Load option in the Home tab.

If you open the Power Query editor from Power BI Desktop, you save and load your changes using the Close & Apply option in the Home tab.

If you open the Power Query editor online, you save and load your changes using the Save & close button in the lower-right corner of the Power Query editor.

If you open the Power Query editor in Analysis Services, you can save and load your changes by either using the Import button or the Home > Close & Apply option in the Power Query editor ribbon.

