DevUI は、Microsoft Agent Framework でエージェントとワークフローを実行するための軽量のスタンドアロン サンプル アプリケーションです。 OpenAI と互換性のある API バックエンドと共に対話型テスト用の Web インターフェイスを提供します。これにより、アプリケーションに統合する前に、構築したエージェントとワークフローを視覚的にデバッグ、テスト、反復処理できます。
Important
DevUI は、開発中にエージェントとワークフローを視覚化およびデバッグするのに役立つ サンプル アプリ です。 運用環境での使用を目的とした ものではありません 。
パッケージをインストールする
1 つの.NET サービスの場合は、DevUI パッケージをインストールします。 複数のエージェント サービスを集約するアスパイア AppHost の場合は、同じくアスパイア ホスティング統合をインストールします。
dotnet add package Microsoft.Agents.AI.DevUI --prerelease
dotnet add package Aspire.Hosting.AgentFramework.DevUI --prerelease
DevUI をアスパイアと共に使用する
各エージェント サービスは、OpenAI 応答と会話エンドポイントを公開します。 アスパイア AppHost は、1 つの DevUI リソースを追加し、エージェント サービスを接続します。
var writerAgent = builder.AddProject<Projects.WriterAgent>("writer-agent", launchProfileName: "https")
    .WithHttpHealthCheck("/health", endpointName: "https")
    .WithReference(foundry).WaitFor(foundry);

// Add the editor agent service
var editorAgent = builder.AddProject<Projects.EditorAgent>("editor-agent")
    .WithHttpHealthCheck("/health")
    .WithReference(foundry).WaitFor(foundry);

// Add DevUI integration that aggregates agents from all agent services.
// Agent metadata is declared here so backends don't need a /v1/entities endpoint.
_ = builder.AddDevUI("devui")
    .WithAgentService(writerAgent, agents: [new("writer")]) // the name of the agent should match the agent declaration in WriterAgent/Program.cs
    .WithAgentService(editorAgent, agents: [new("editor")]) // the name of the agent should match the agent declaration in EditorAgent/Program.cs
    .WaitFor(writerAgent)
    .WaitFor(editorAgent);
agents:に渡されるWithAgentService名は、各サービスのAddAIAgent(...)によって登録された名前と一致する必要があります。
エージェント サービス エンドポイントを公開する
var builder = WebApplication.CreateBuilder(args);

builder.AddServiceDefaults();

builder.AddAzureChatCompletionsClient(connectionName: "foundry",
    configureSettings: settings =>
        {
            // WARNING: DefaultAzureCredential is convenient for development but requires careful consideration in production.
            // In production, consider using a specific credential (e.g., ManagedIdentityCredential) to avoid
            // latency issues, unintended credential probing, and potential security risks from fallback mechanisms.
            settings.TokenCredential = new DefaultAzureCredential();
            settings.EnableSensitiveTelemetryData = builder.Environment.IsDevelopment();
        })
    .AddChatClient("gpt41");

builder.AddAIAgent("writer", "You write short stories (300 words or less) about the specified topic.");

// Register services for OpenAI responses and conversations
builder.Services.AddOpenAIResponses();
builder.Services.AddOpenAIConversations();

var app = builder.Build();

app.UseHttpsRedirection();

// Map OpenAI API endpoints — DevUI aggregator routes requests here
DevUI アグリゲーターは、構成されているすべてのサービスのエンティティを結合し、応答と会話の要求を適切なバックエンドにルーティングします。
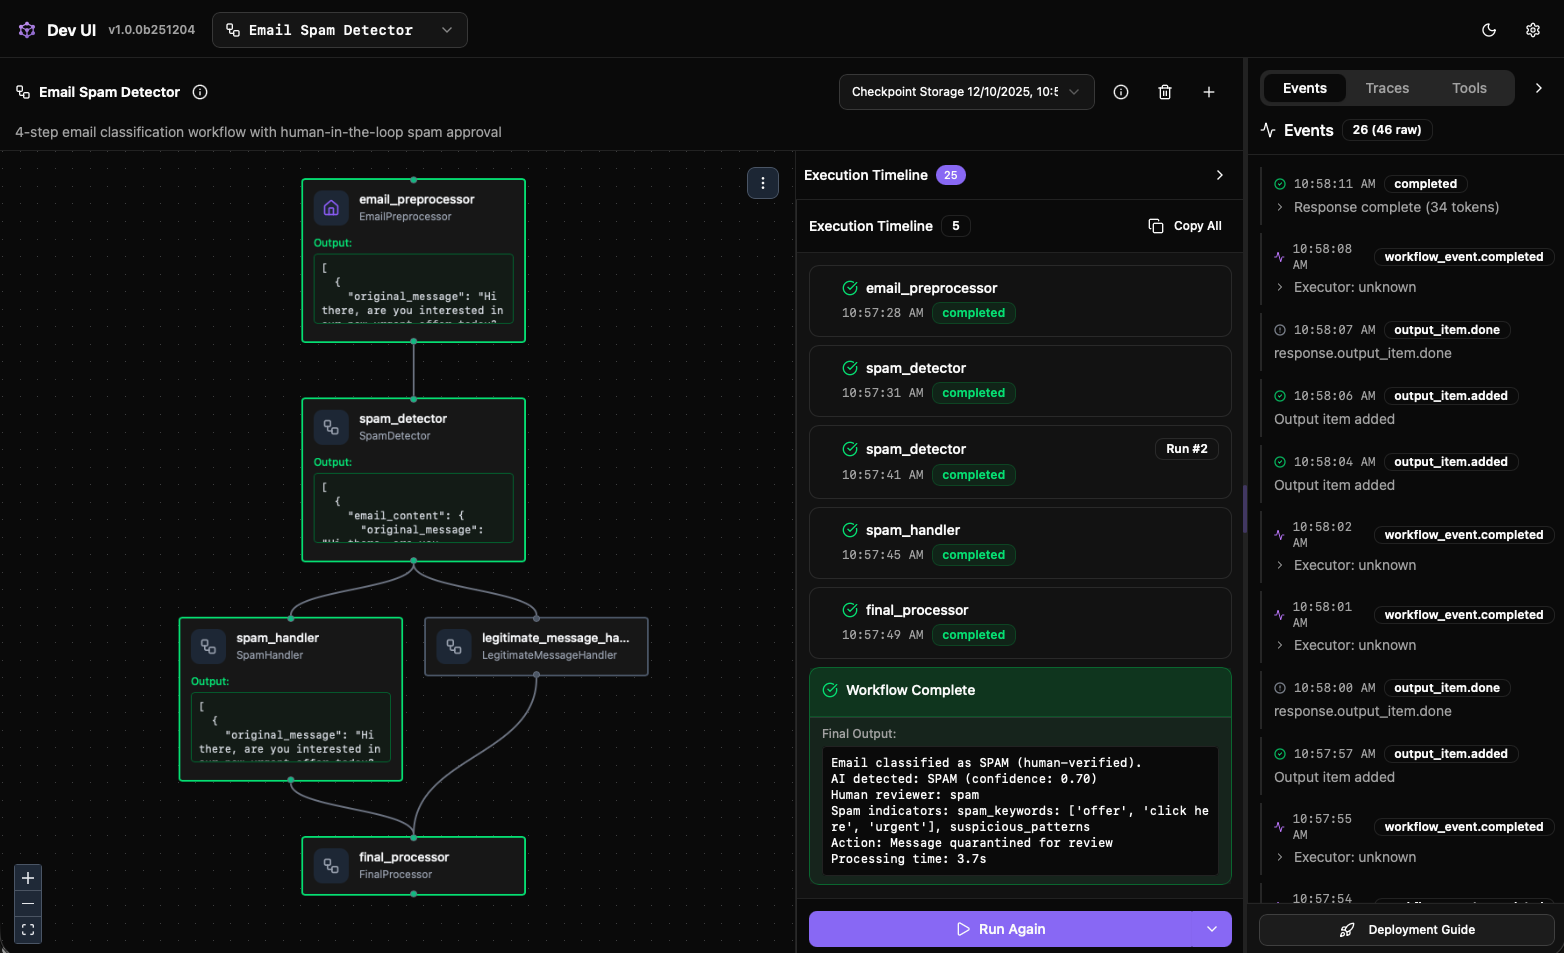
Features
- Web インターフェイス: エージェントとワークフローをテストするための対話型 UI
- 柔軟な入力の種類: ワークフローの最初の実行者に基づくテキスト、ファイルアップロード、およびカスタム入力タイプのサポート
- Directory-Based 検出: ディレクトリ構造からエージェントとワークフローを自動的に検出する
- In-Memory 登録: ファイル システムのセットアップなしでエンティティをプログラムで登録する
- OpenAI-Compatible API: OpenAI Python SDK を使用してエージェントを操作する
- サンプル ギャラリー: エンティティが検出されない場合にキュレーションされた例を参照してダウンロードする
- トレース: デバッグと監視のために OpenTelemetry トレースを表示する
入力の種類
DevUI は、エンティティ型に基づいて入力インターフェイスを調整します。
- エージェント: マルチモーダル操作のためのテキスト入力と添付ファイル (画像、ドキュメントなど) をサポートします
- ワークフロー: 入力インターフェイスは、最初の Executor の入力の種類に基づいて自動的に生成されます。 DevUI はワークフローをイントロスペクトし、予想される入力スキーマを反映するため、構造化された入力型またはカスタム入力型のワークフローを簡単にテストできます。
この動的な入力処理を使用すると、エージェントとワークフローを、アプリケーションで入力を受け取るのとまったく同じようにテストできます。
Installation
PyPI から DevUI をインストールします。
pip install agent-framework-devui --pre
クイック スタート
オプション 1: プログラムによる登録
メモリ内に登録されたエージェントを使用して DevUI を起動します。
from agent_framework import Agent
from agent_framework.openai import OpenAIChatClient
from agent_framework.devui import serve

def get_weather(location: str) -> str:
    """Get weather for a location."""
    return f"Weather in {location}: 72F and sunny"

# Create your agent
agent = Agent(
    name="WeatherAgent",
    client=OpenAIChatClient(),
    tools=[get_weather]
)

# Launch DevUI
serve(entities=[agent], auto_open=True)
# Opens browser to http://localhost:8080
オプション 2: ディレクトリ探索 (CLI)
エージェントとワークフローがディレクトリ構造で編成されている場合は、コマンド ラインから DevUI を起動します。
# Launch web UI + API server
devui ./agents --port 8080
# Web UI: http://localhost:8080
# API: http://localhost:8080/v1/*
必要なディレクトリ構造の詳細については、 ディレクトリ探索 を参照してください。
OpenAI SDK の使用
DevUI には、OpenAI と互換性のある Responses API が用意されています。 OpenAI Python SDK を使用して、エージェントを操作できます。
from openai import OpenAI

client = OpenAI(
    base_url="http://localhost:8080/v1",
    api_key="not-needed"  # API key not required for local DevUI
)

response = client.responses.create(
    metadata={"entity_id": "weather_agent"},  # Your agent/workflow name
    input="What's the weather in Seattle?"
)

# Extract text from response
print(response.output[0].content[0].text)
API の詳細については、API リファレンスを 参照してください。
CLI オプション
devui [directory] [options]

Options:
  --port, -p      Port (default: 8080)
  --host          Host (default: 127.0.0.1)
  --headless      API only, no UI
  --no-open       Don't automatically open browser
  --tracing       Enable OpenTelemetry tracing
  --reload        Enable auto-reload
  --mode          developer|user (default: developer)
  --auth          Enable Bearer token authentication
  --auth-token    Custom authentication token
Note
この機能の Go サポートは近日公開予定です。 最新の状態については、 Agent Framework Go リポジトリ を参照してください。
次のステップ
より深く進む: