ヒント
推奨事項: サポートされているプロコード宣言型エージェントとプラグイン シナリオ用の Work IQ 開発ツール から始めます。 WIQD クイックスタートを参照してください。 Toolkit ベースの手順は、それらを必要とする既存のプロジェクトおよびワークフローで引き続き使用できます。 ツールを選択する前に 、機能とターゲット エクスペリエンスのサポート を確認します。WIQD はカスタム エンジン エージェントを対象としません。
機能またはカスタム アクションを追加することで、エージェントの機能を強化できます。 画像ジェネレーターやコード インタープリターなどの組み込み機能を有効にしたり、MCP または API プラグインをカスタム アクションとして追加したりすることで、エージェントを強化できます。 このチュートリアルでは、API プラグインを追加します。 MCP サーバーを追加するには、「 MCP サーバーの構築または再利用 」および 「MCP サーバーから宣言型エージェントのプラグインを構築する」を参照してください。
重要
このガイドは、「 Microsoft 365 Agents Toolkit と JSON を使用して宣言型エージェントを作成する 」チュートリアルを完了していることを前提としています。
エージェントに画像ジェネレーターを追加する
画像生成機能を使用すると、エージェントはユーザー プロンプトに基づいて画像を生成できます。 画像ジェネレーターを追加するには:
appPackage/declarativeAgent.jsonファイルを開き、GraphicArtエントリをcapabilities配列に追加します。 詳細については、「 グラフィック アート オブジェクト」を参照してください。{ "name": "GraphicArt" }Microsoft 365 Agents Toolkit の [ライフサイクル ] ウィンドウで、[ プロビジョニング] を選択します。
宣言型エージェントは、ページを再読み込みした後に画像を生成できます。
注
Image Generator は、Microsoft 365 Government Community Cloud High (GCCH) 環境のエージェントでは使用できません。

エージェントにコード インタープリターを追加する
コード インタープリターは、Python コードを介して複雑なタスクを解決するために設計された高度なツールです。
注
GCCH 環境では、コード インタープリターは Microsoft 365 Copilot アドオン ライセンスを持つユーザーのみが使用できます。
appPackage/declarativeAgent.jsonファイルを開き、CodeInterpreterエントリをcapabilities配列に追加します。{ "name": "CodeInterpreter" }詳細については、「 コード インタープリター オブジェクト」を参照してください。
Agents Toolkit の [ライフサイクル] ウィンドウで [プロビジョニング] を選択します。
宣言型エージェントには、ページを再読み込みした後のコード インタープリター機能があります。
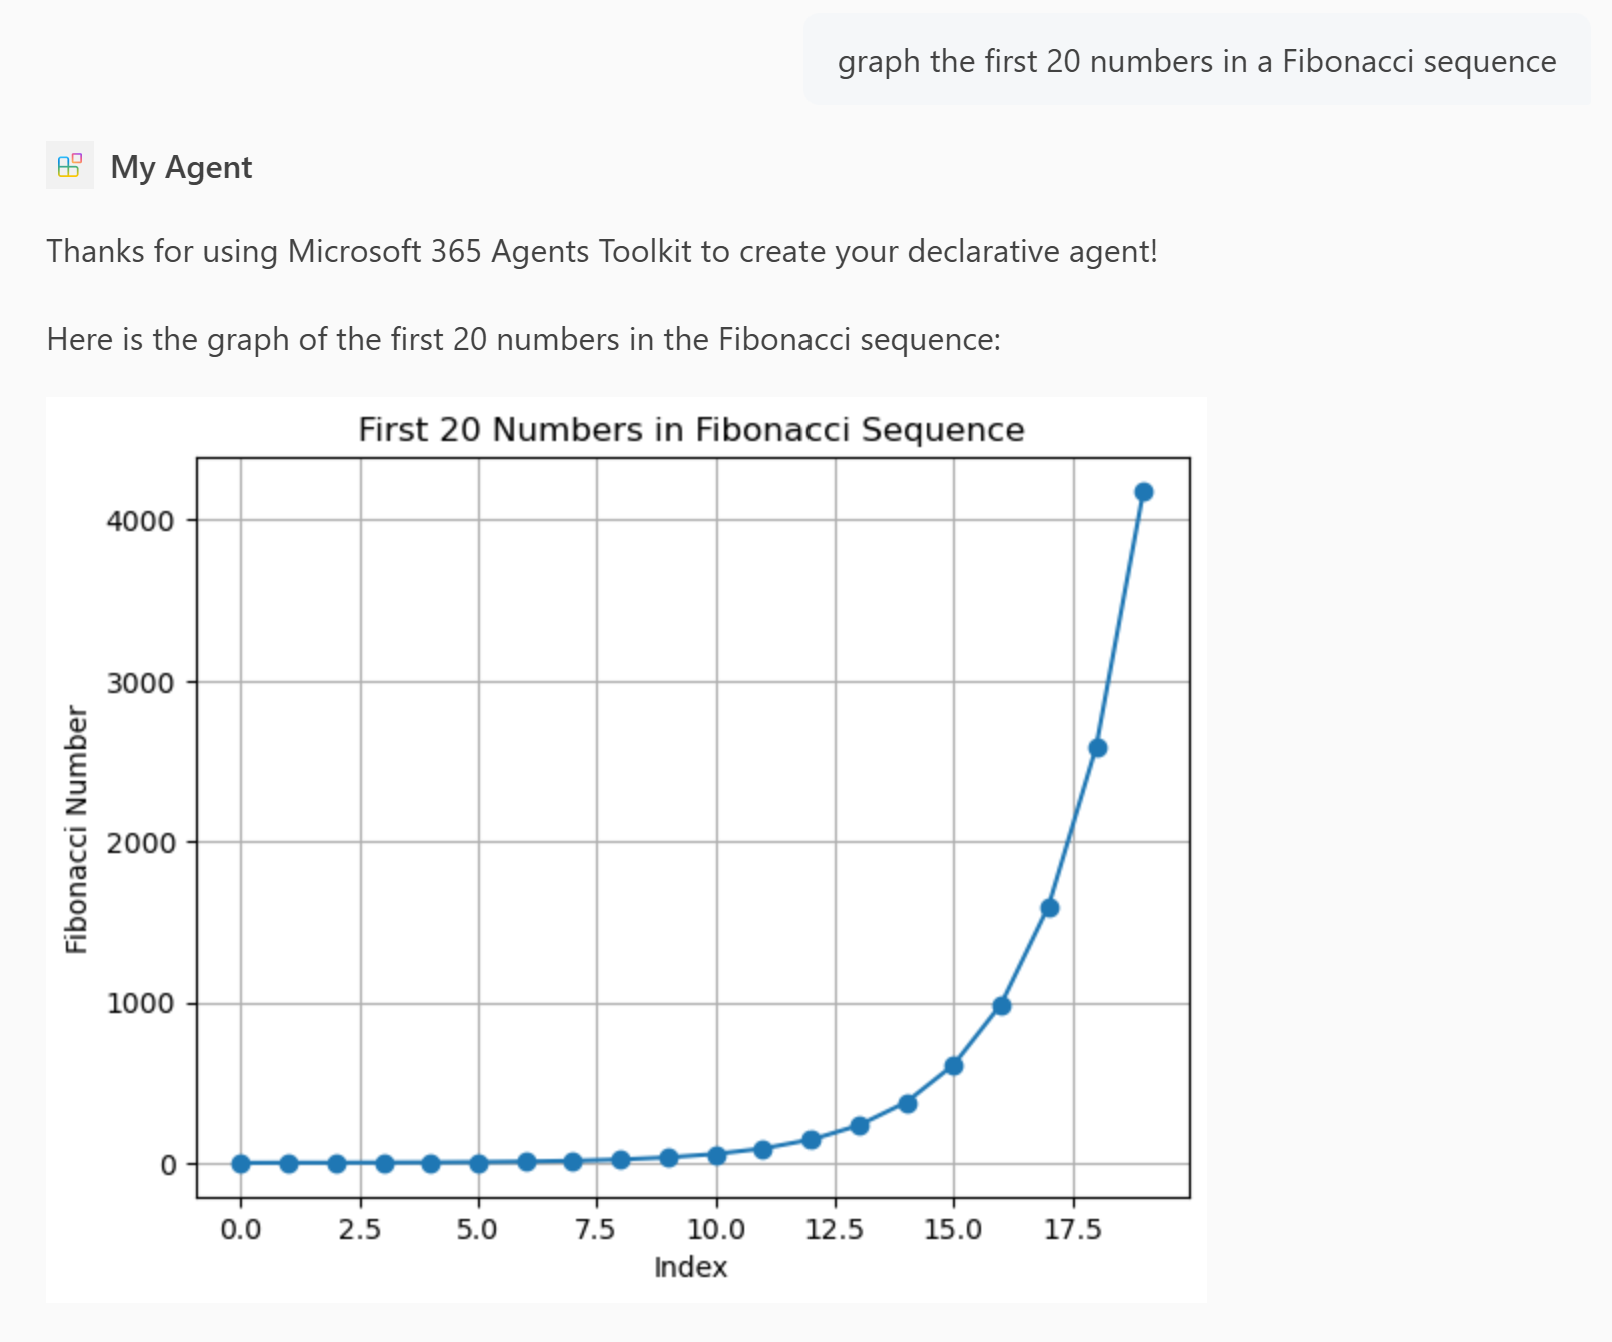
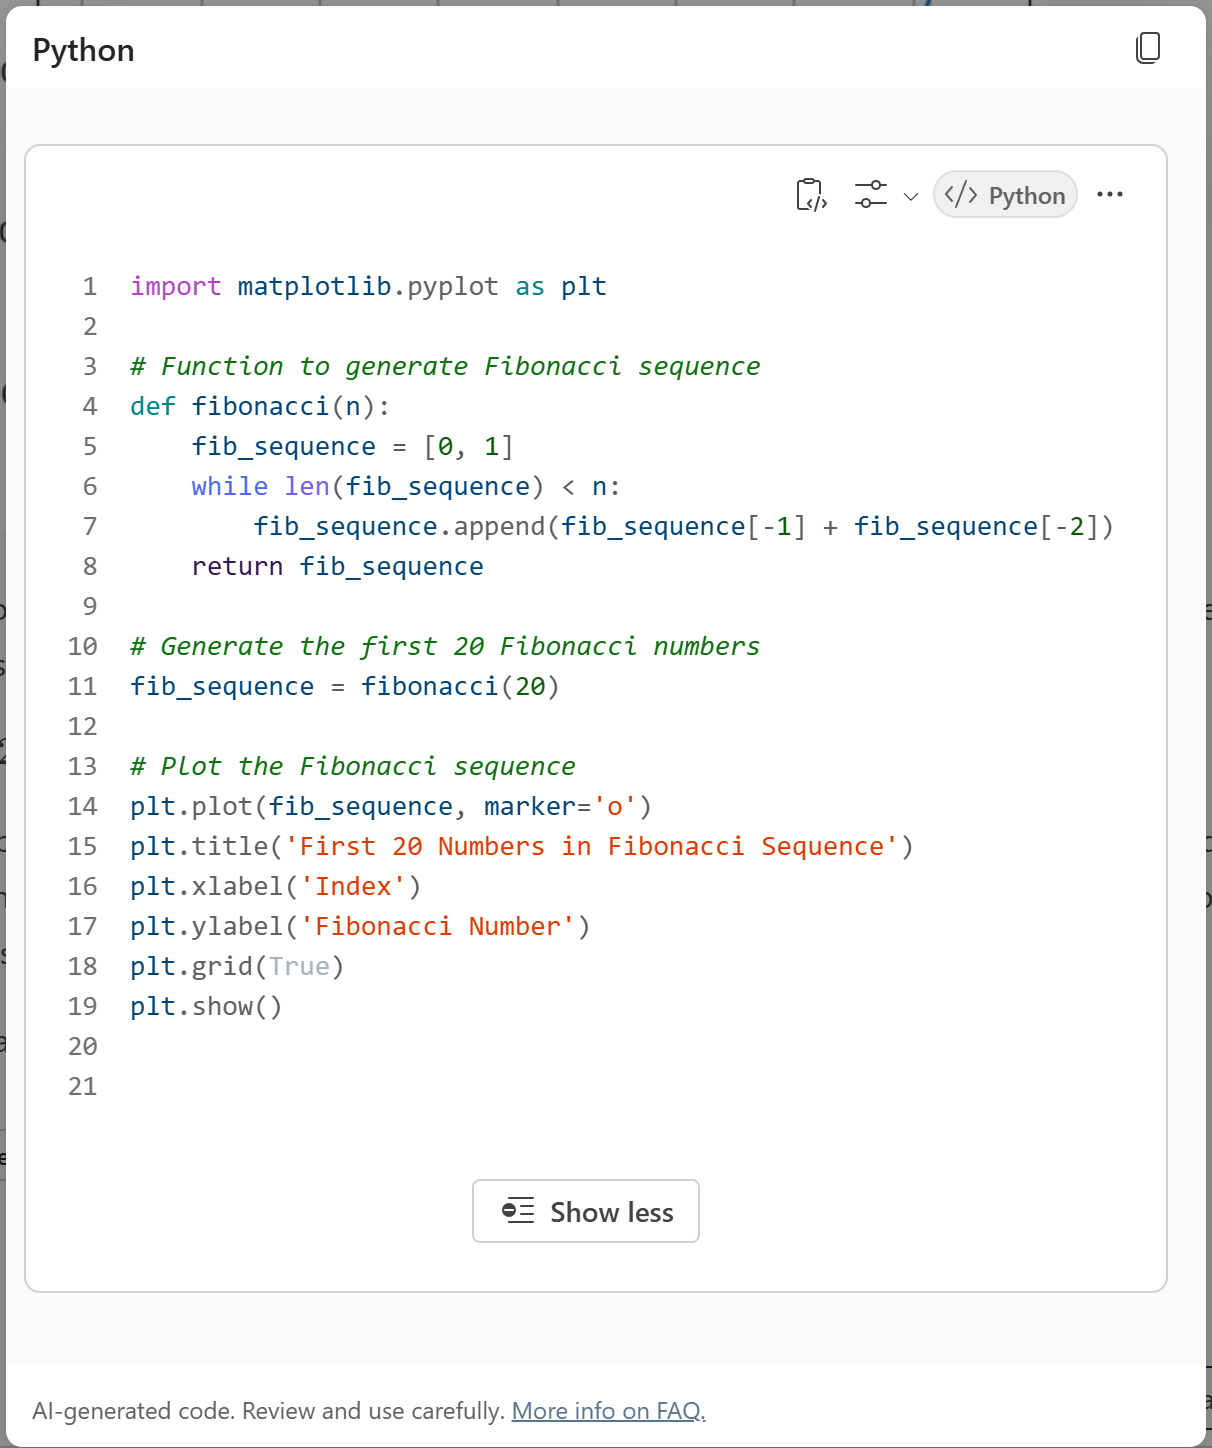
カスタム アクションとして API プラグインをエージェントに追加する
API プラグインは、エージェントが REST API と対話できるようにすることで、エージェントに新しい機能を追加します。
注
カスタム アクションは、GCCH 環境ではサポートされていません。
始める前に、 posts-api.yml という名前のファイルを作成し、 Posts API OpenAPI の説明ドキュメントからコードを追加します。
エージェント ツールキットの [開発] ウィンドウで [アクションの追加] を選択します。
[ OpenAPI の説明ドキュメントで開始する] を選択します。
[ 参照 ] を選択し、
posts-api.ymlファイルを参照します。使用可能なすべての API を選択し、[ OK] を選択します。

[ manifest.json] を選択します。
ダイアログで警告を確認します。 続行する準備ができたら、[ 追加] を選択します。
Agents Toolkit の [ライフサイクル] ウィンドウで [プロビジョニング] を選択します。
宣言型エージェントは、プラグイン コンテンツにアクセスして、ページを再読み込みした後に回答を生成できます。
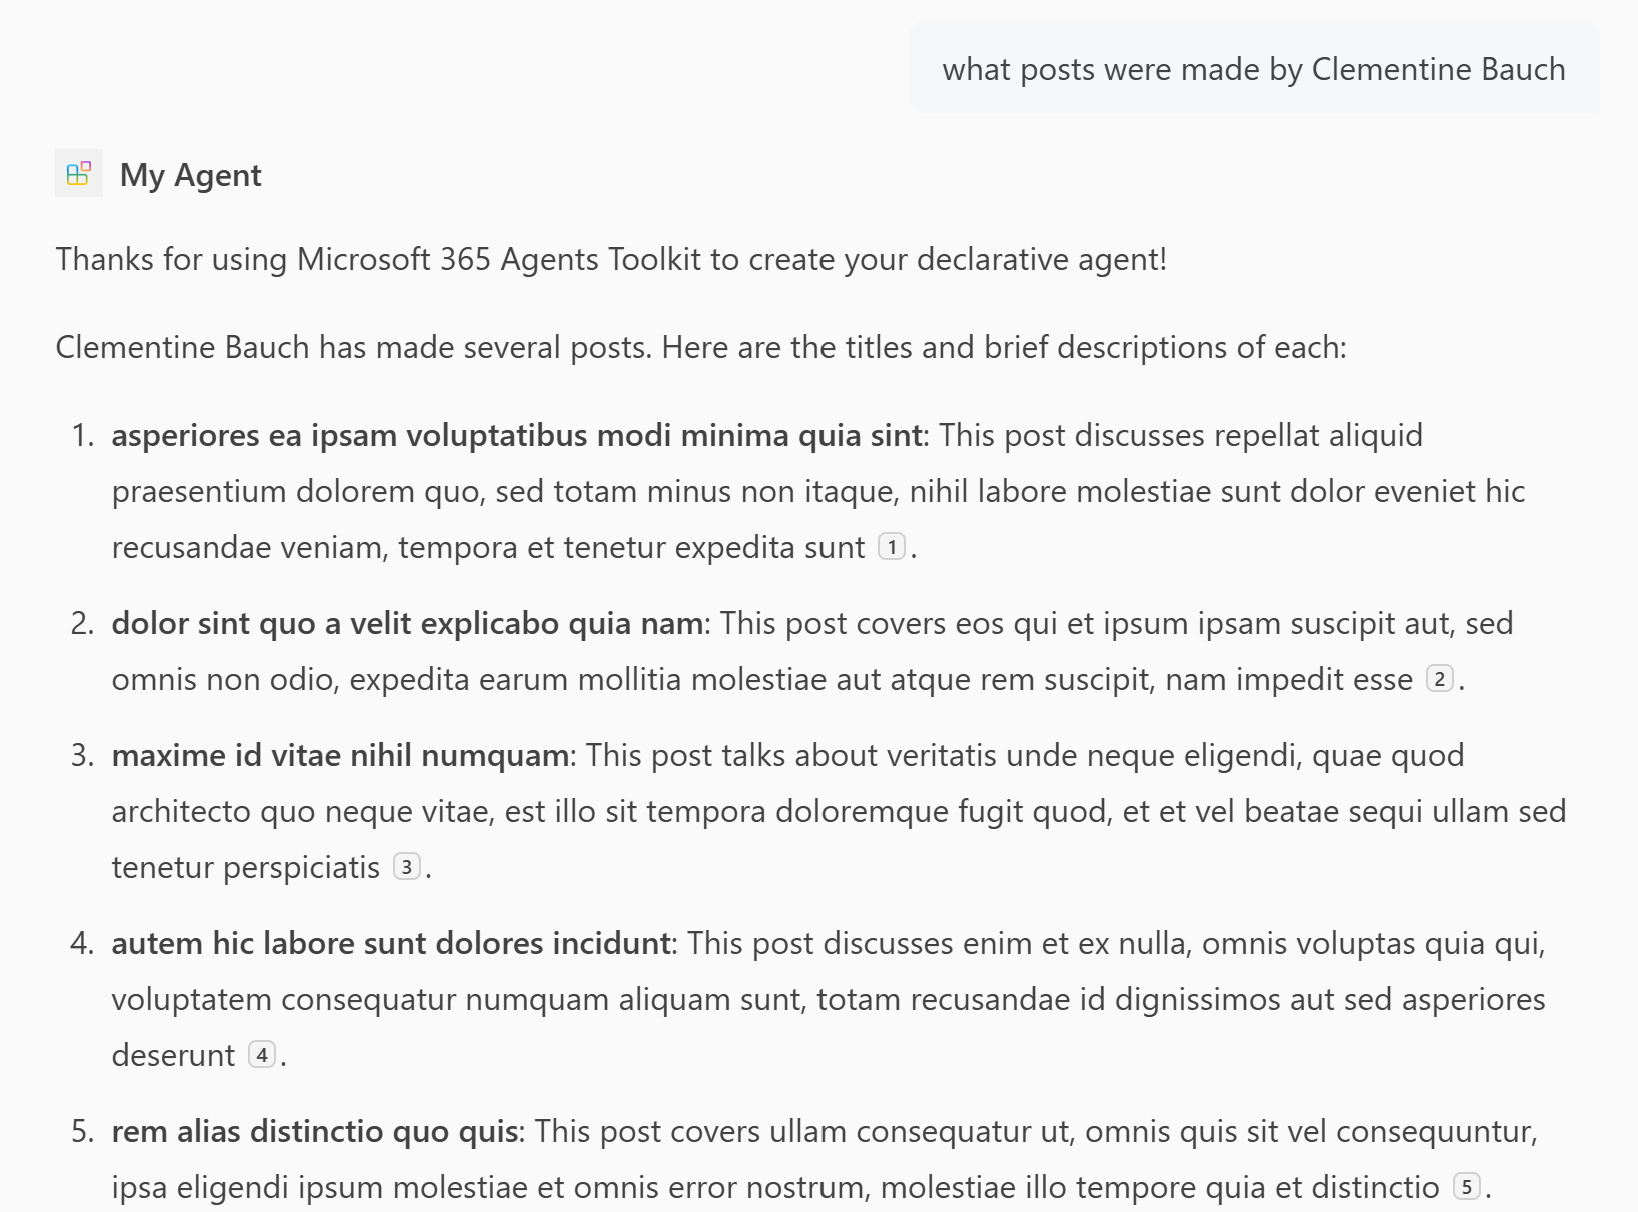
Posts API OpenAPI の説明ドキュメント
次の OpenAPI の説明は、偽のデータが必要なときにいつでも使用できる無料のオンライン REST API である JSONPlaceHolder API 用です。
openapi: '3.0.2'
info:
  title: Posts API
  version: '1.0'
servers:
- url: https://jsonplaceholder.typicode.com/

components:
  schemas:
    post:
      type: object
      properties:
        userId:
          type: integer
          description: The ID of the user that authored the post.
        id:
          type: integer
        title:
          type: string
        body:
          type: string
    user:
      type: object
      properties:
        id:
          type: integer
        name:
          type: string
        username:
          type: string
        email:
          type: string
        phone:
          type: string
        website:
          type: string
        address:
          $ref: '#/components/schemas/address'
        company:
          $ref: '#/components/schemas/company'
    address:
      type: object
      properties:
        street:
          type: string
        suite:
          type: string
        city:
          type: string
        zipcode:
          type: string
        geo:
          $ref: '#/components/schemas/coordinates'
    coordinates:
      type: object
      properties:
        lat:
          type: string
          description: The latitude of the location
        lng:
          type: string
          description: The longitude of the location
    company:
      type: object
      properties:
        name:
          type: string
        catchPhrase:
          type: string
        bs:
          type: string
  parameters:
    post-id:
      name: post-id
      in: path
      description: 'key: id of post'
      required: true
      style: simple
      schema:
        type: integer
    user-id:
      name: user-id
      in: path
      description: 'key: id of user'
      required: true
      style: simple
      schema:
        type: integer

paths:
  /posts:
    get:
      description: Get posts
      operationId: GetPosts
      parameters:
      - name: userId
        in: query
        description: Filter results by user ID
        required: false
        style: form
        schema:
          type: integer
          maxItems: 1
      - name: title
        in: query
        description: Filter results by title
        required: false
        style: form
        schema:
          type: string
          maxItems: 1
      responses:
        '200':
          description: OK
          content:
            application/json:
              schema:
                type: array
                items:
                  $ref: '#/components/schemas/post'
    post:
      description: 'Create post'
      operationId: CreatePost
      requestBody:
        required: true
        content:
          application/json:
            schema:
              $ref: '#/components/schemas/post'
      responses:
        '201':
          description: Created
          content:
            application/json:
              schema:
                $ref: '#/components/schemas/post'
  /posts/{post-id}:
    get:
      description: 'Get post by ID'
      operationId: GetPostById
      parameters:
      - $ref: '#/components/parameters/post-id'
      responses:
        '200':
          description: OK
          content:
            application/json:
              schema:
                $ref: '#/components/schemas/post'
    patch:
      description: 'Update post'
      operationId: UpdatePost
      requestBody:
        required: true
        content:
          application/json:
            schema:
              $ref: '#/components/schemas/post'
      parameters:
      - $ref: '#/components/parameters/post-id'
      responses:
        '200':
          description: OK
          content:
            application/json:
              schema:
                $ref: '#/components/schemas/post'
    delete:
      description: 'Delete post'
      operationId: DeletePost
      parameters:
      - $ref: '#/components/parameters/post-id'
      responses:
        '200':
          description: OK
  /users:
    get:
      summary: Get users
      description: Returns details about users
      operationId: GetUsers
      parameters:
      - name: name
        in: query
        description: The user's real name
        schema:
          type: string
      - name: username
        in: query
        description: The user's login name
        schema:
          type: string
      responses:
        '200':
          description: OK
          content:
            application/json:
              schema:
                type: array
                items:
                  $ref: '#/components/schemas/user'
  /users/{user-id}:
    get:
      description: 'Get user by ID'
      operationId: GetUserById
      parameters:
      - $ref: '#/components/parameters/user-id'
      responses:
        '200':
          description: OK
          content:
            application/json:
              schema:
                $ref: '#/components/schemas/user'
関連情報
Microsoft 365 Copilot の宣言型エージェント ガイドを完了しました。 宣言型エージェントの機能を理解したら、次の記事で宣言型エージェントについて詳しく学習できます。
- Microsoft 365 Agents Toolkit と TypeSpec を使用して宣言型エージェントを作成する
- エージェントに対して 効果的な指示を記述 する方法について説明します。
- 開発者モードでエージェントをテストし、Copilot オーケストレーターが特定のプロンプトに応答して使用するナレッジ ソースを選択するかどうか、またどのように選択するかを確認します。 詳細については、「 開発者モードを使用した Microsoft 365 Agents Toolkit のエージェントのテストとデバッグ」を参照してください。
- よく寄せられる質問に対する回答をご覧ください。
- 宣言型エージェントを構築する他の方法について説明します。Agent Builder のノーコードまたは Copilot Studio のローコードです。